WWUzoom: Installation & Use of the Outlook Plugins

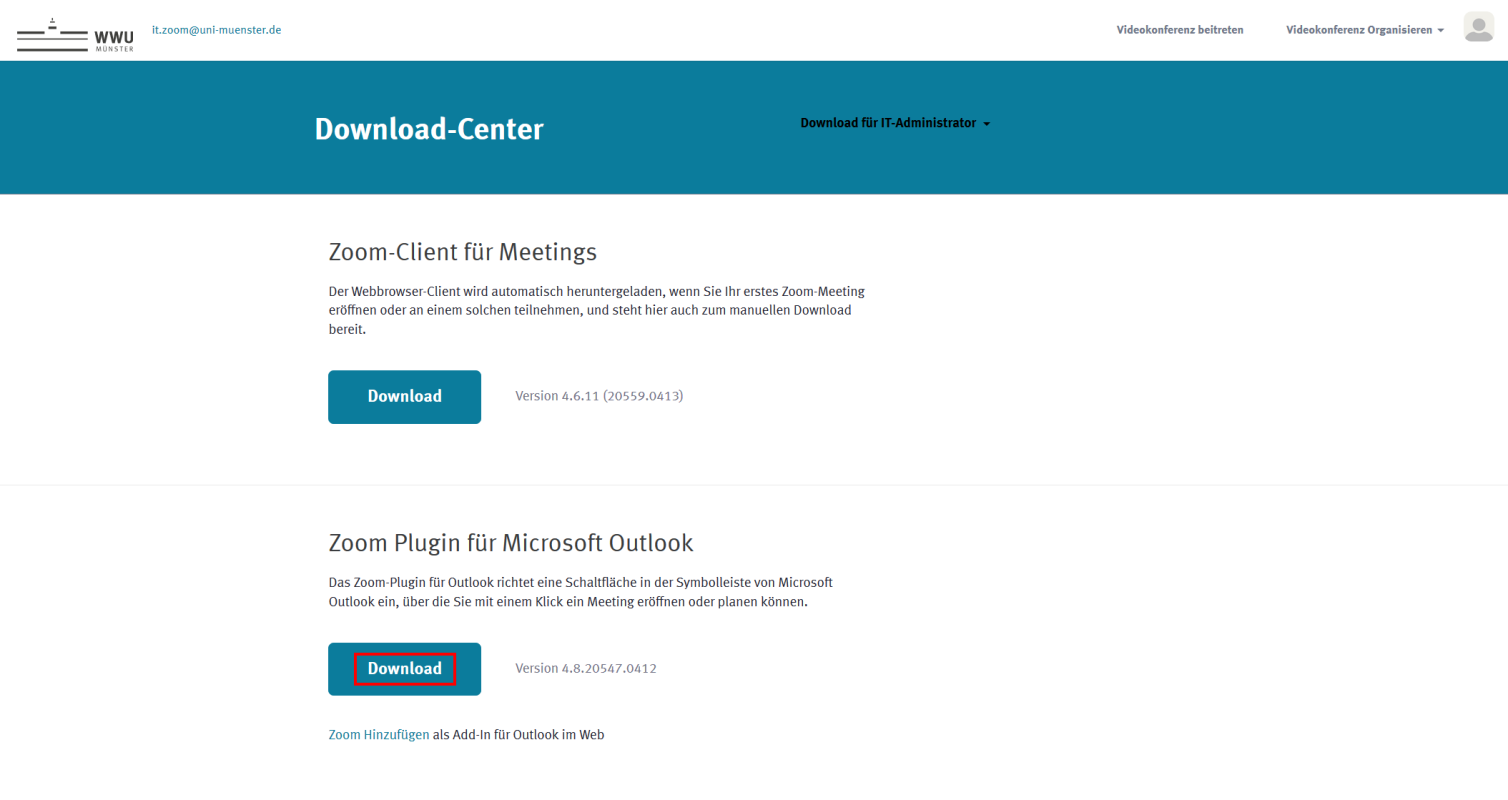
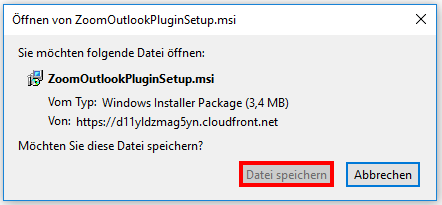
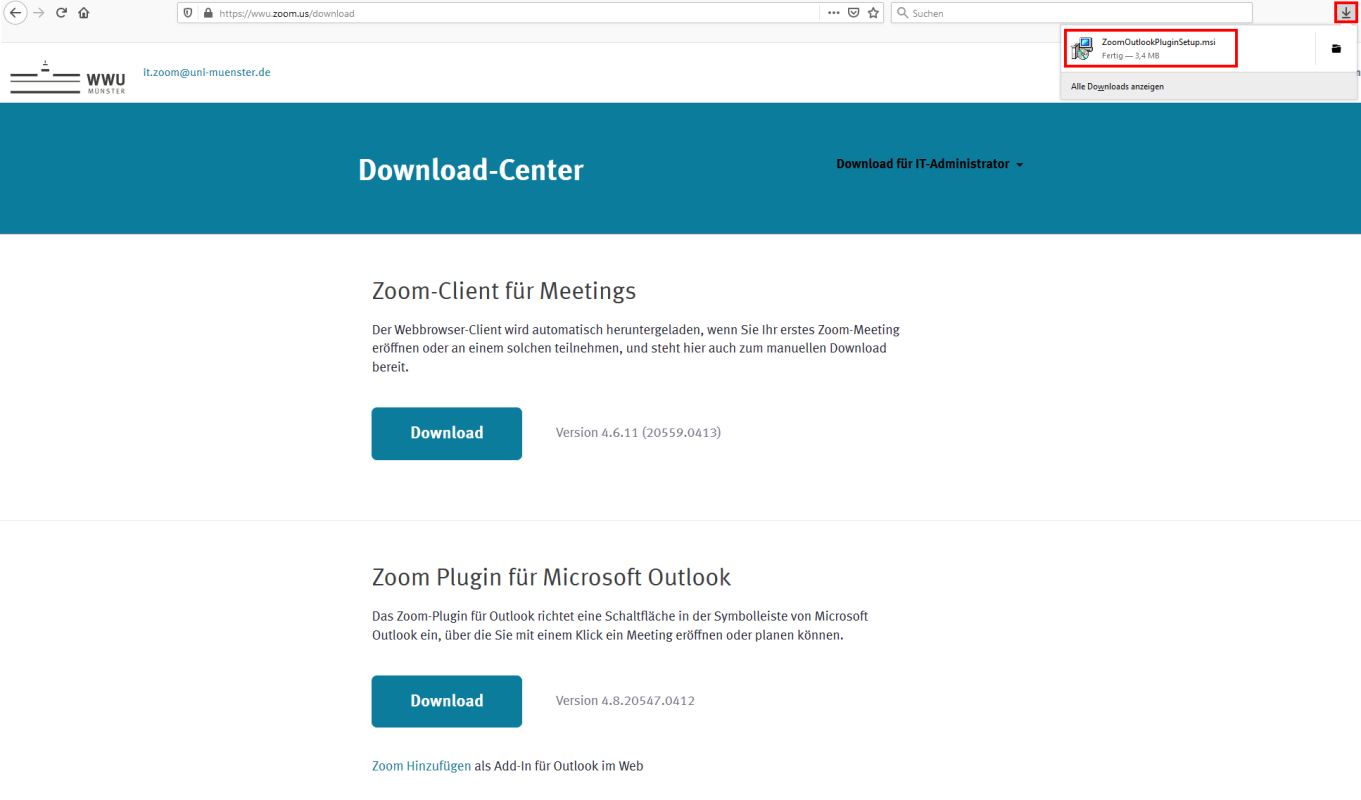
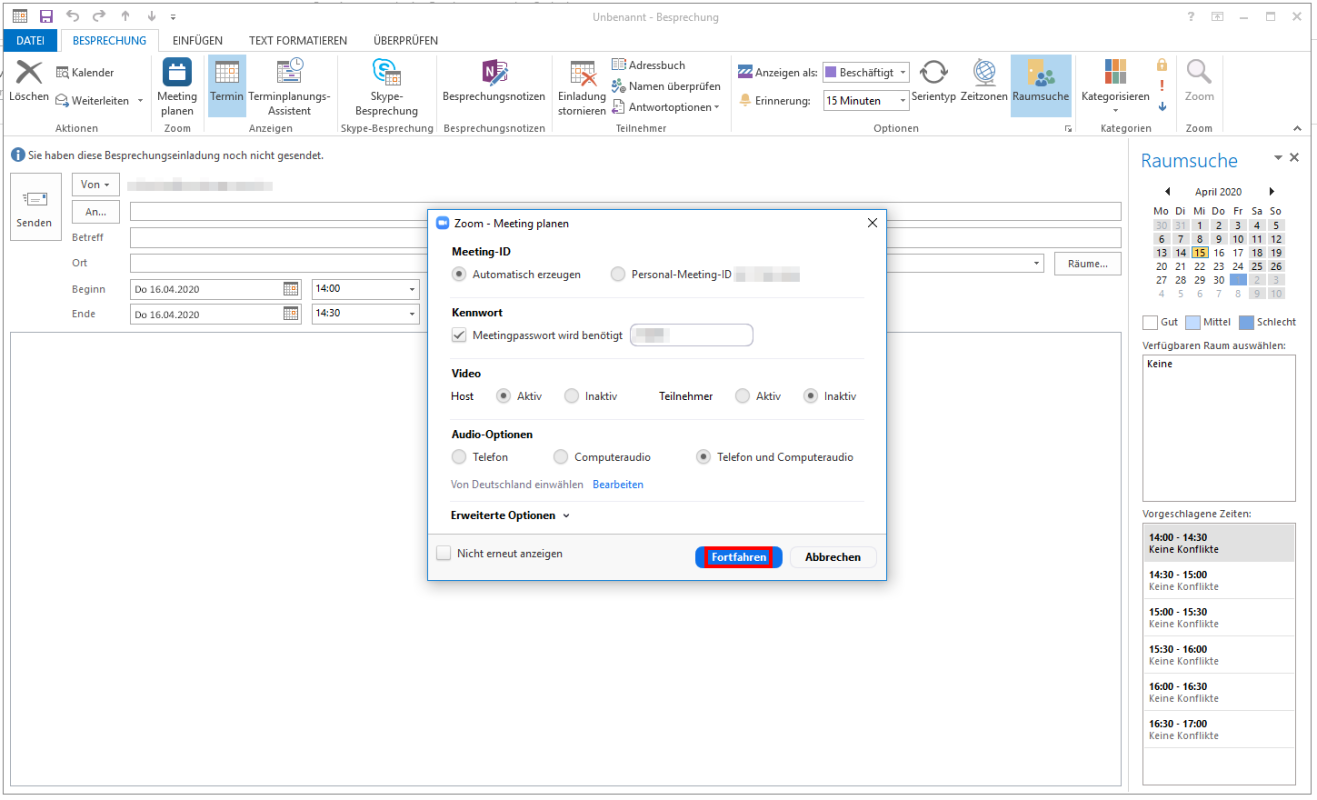
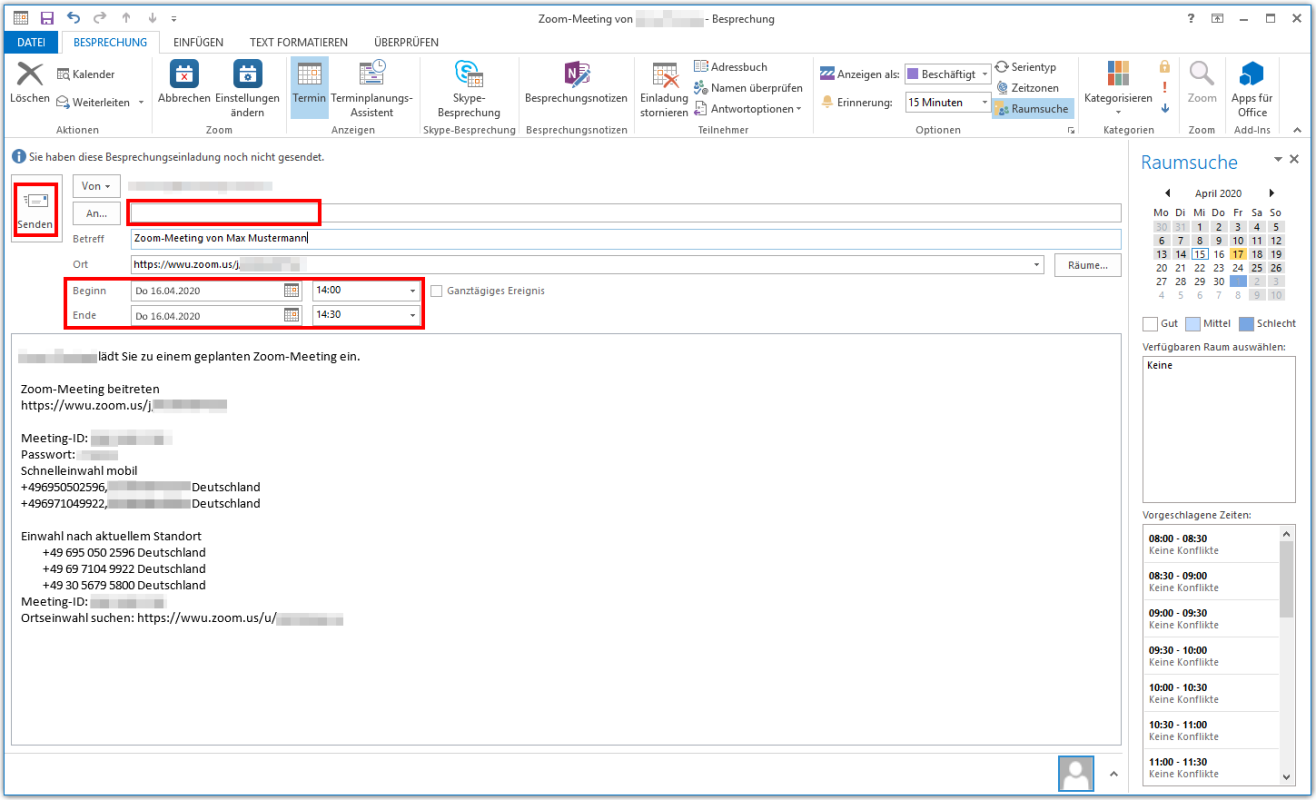
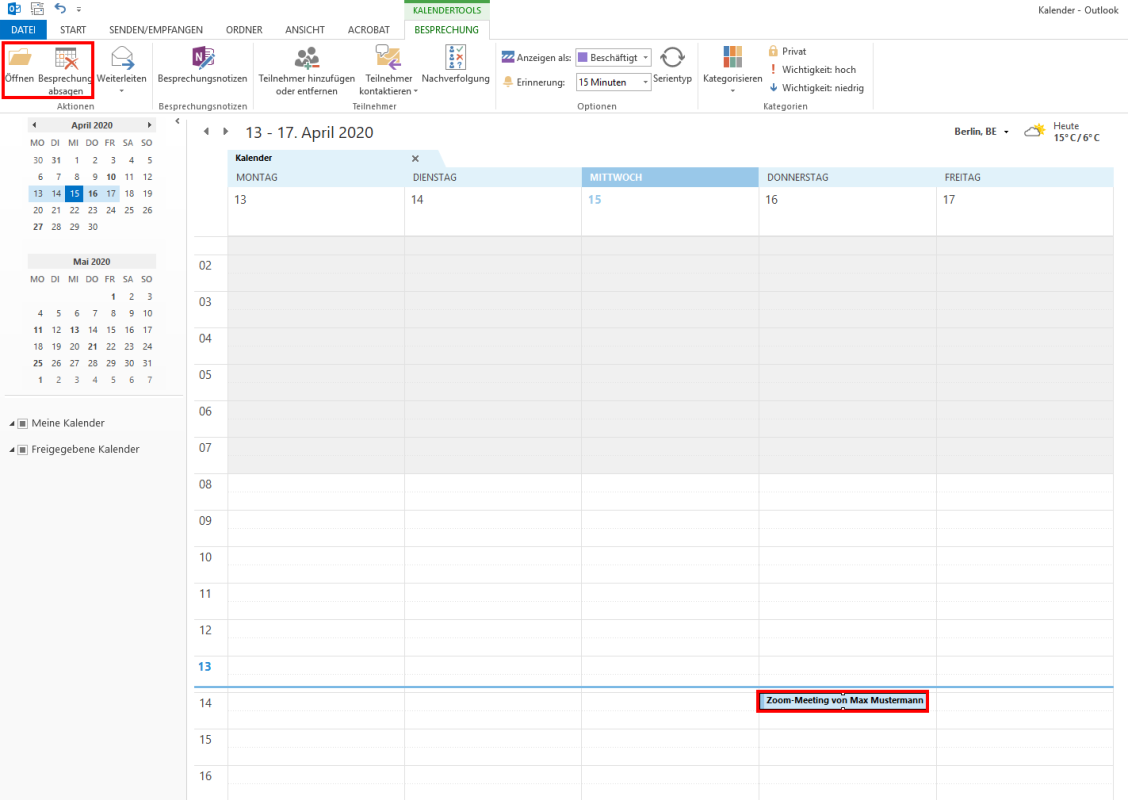
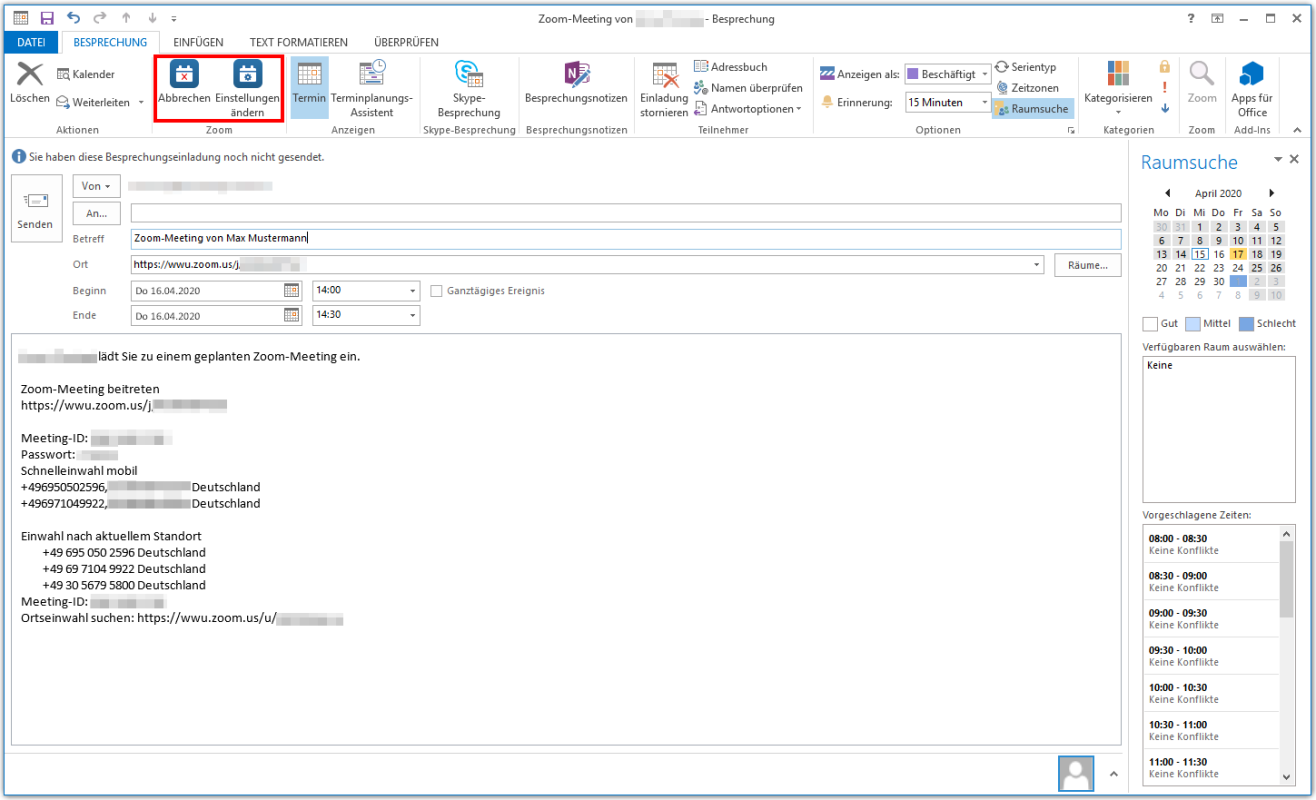
With the Outlook plugin you can start or schedule WWUzoom meetings immediately. Scheduled meetings are entered as appointments in your Outlook calendar.

Requirements:

  • Windows: at least Microsoft Outlook 2010
  • Mac: at least Microsoft Outlook 2011
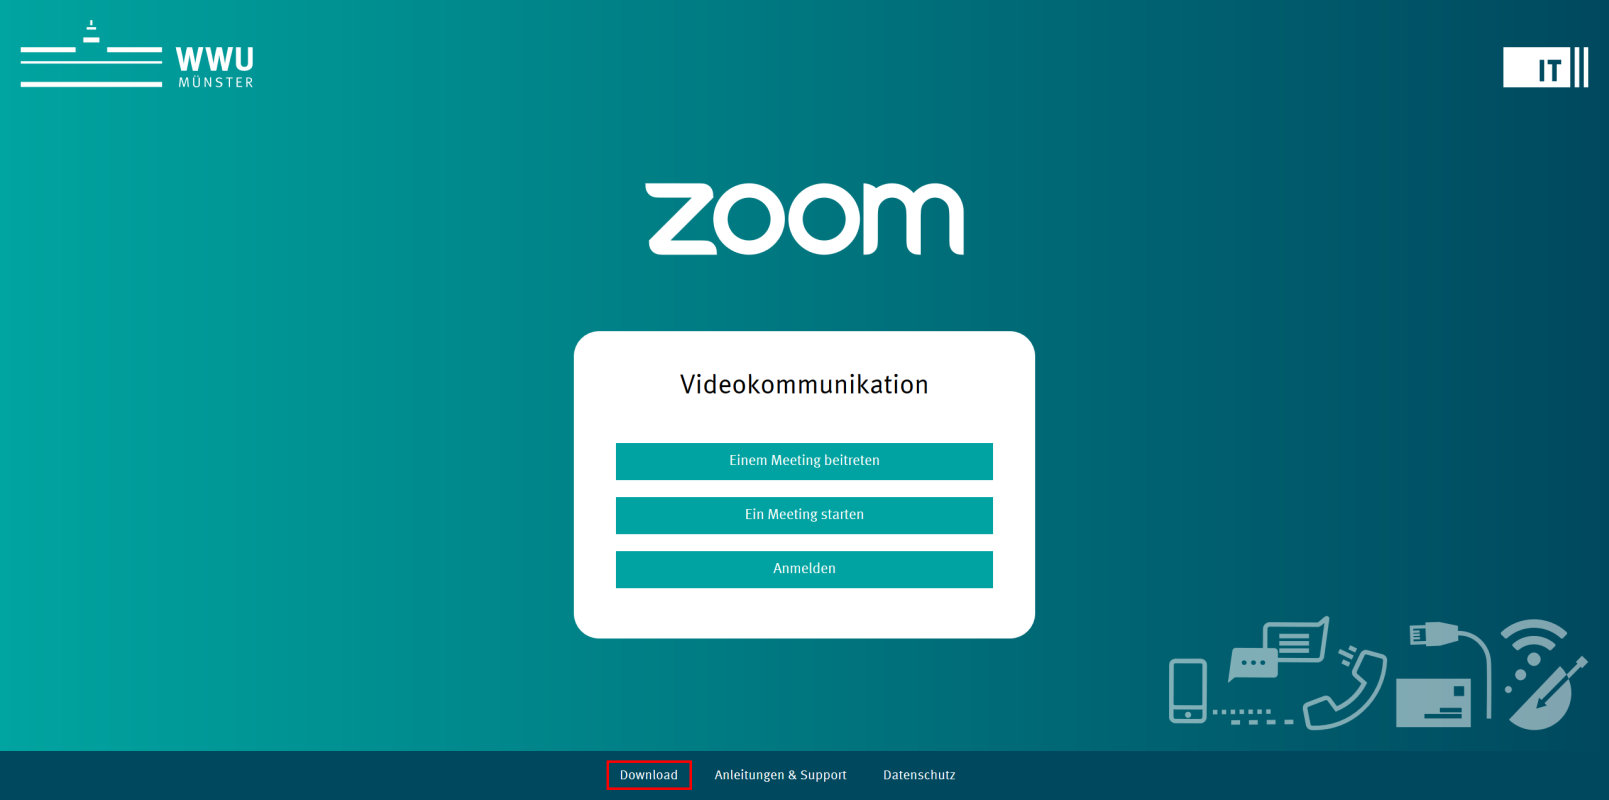
  • You have installed the WWUzoom desktop client ("Zoom-Client for Meetings") and are logged in. Download

  • Installing the Outlook Plugin

    In the download center, click on the "Download" button for the "Zoom Plugin for Microsoft Outlook".

    © WWU IT

    The pictured window opens. Click on "Save file".

    © WWU IT

    2. Installing the Plugin

    When the download is complete, click on the download icon in the browser and then on the downloaded file (ZoomOutlookPluginSetup.msi) to start the installation. Alternatively, you can find and open the file in the "Downloads" folder on your PC.

    2. Installing the Plugin
    © WWU IT

    Confirm the safety warning with "OK".

    © WWU IT

    Click on "Execute" to start the setup assistant. Then click "Next".

    © WWU IT

    Choose the installation folder and click "Next".

    © WWU IT

    Confirm the installation by clicking "Next". The Zoom Outlook Plugin will now be installed.

    © WWU IT

    When the installation is complete, click "Close". If your Outlook is currently open, you will need to restart the program to make the Zoom plugin available to you.

    © WWU IT
  • Scheduling a Meeting with the Outlook Plugin

    Open Outlook. In the menu bar you will find the "Zoom" section under the "Start" heading. Click on "Schedule Meeting".

    © WWU IT

    Two new windows will open in which you can make the settings for your WWUzoom meeting. (If the WWUzoom client is not open, it will also start.) When you have set all the desired options, click on "Continue".

    © WWU IT

    Now the standard invitation text with the key data of your meeting (meeting link, meeting ID, meeting password) is displayed in the Outlook appointment planner. You can adapt and add the text and the subject. In addition, you must now set the date and time of the meeting. To send the invitation, enter the e-mail addresses of the participants and click "Send".

    © WWU IT

    The meeting is now displayed as an appointment in your calendar. Click on the meeting to edit or cancel it. In the menu bar you can then select "Open" or "Cancel meeting".

    © WWU IT

    If you have clicked on "Open", you will be taken to the appointment planner. Here you can change the invitation text and the date and time. Click "Change settings" in the "Zoom" section of the menu bar to adjust further details of the meeting (e.g. video/audio settings, waiting room activation).

    © WWU IT