Zoom X: Recordings
Cloud Recording vs. Local Recording
We recommend that you select the "Local recording" option for your recordings. Cloud recordings are deleted automatically after 7 days, so this variant is only suitable if you want to provide a recording for this limited period of time (e.g. for students who could not attend the live meeting). Otherwise, you must also back up the cloud recording locally. In the case of local recording, the recording is saved on your local device and is therefore available to you in the long term. How you provide the recording (e.g. via the Learnweb) is up to you.
Recording Meetings
In order to record Zoom meeting, you need the prior consent of all persons who will be seen or heard in the recording. The consent must be given voluntarily and there must be no disadvantages for those who do not consent. Otherwise you are not allowed to make a recording. You can find a sample template on the intranet [DE]of the University of Münster.
If consent is revoked, the passages containing the image or sound of the person concerned must be removed from the recording. For lectures and courses, the requirements below apply.
We recommend: Already in the invitation/information about the event to point out the recording and any alternatives. If a room with participants is also being recorded on site, an area should be set up and marked where people are not being recorded. Verbal notification of the recording should be given at the event before it begins so that everyone has the opportunity to switch off their camera or go to the area that is not being filmed.
Recording Courses
If you want to record your lecture or course and make it available at a later date, you have the following options, taking into account data protection:
- The primary delivery path for recorded videos should be the asynchronous variants described in the Learnweb at https://www.uni-muenster.de/LearnWeb/learnweb2/, i.e. "video preserves" without audience. The subsequent discussion on these contents can then take place, for example, in a separate Zoom session (which is not recorded).
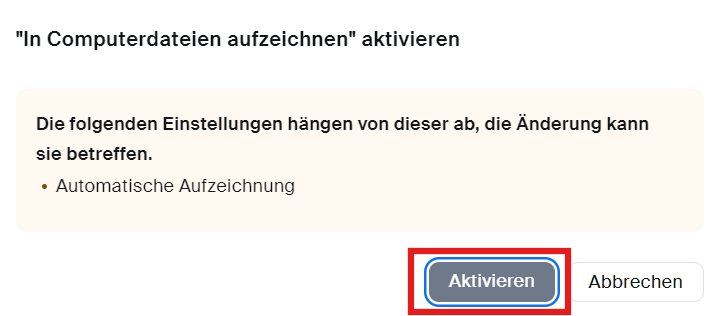
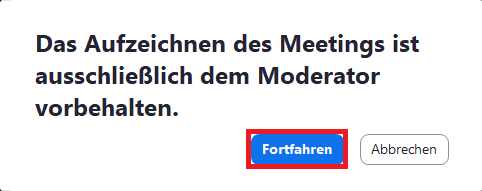
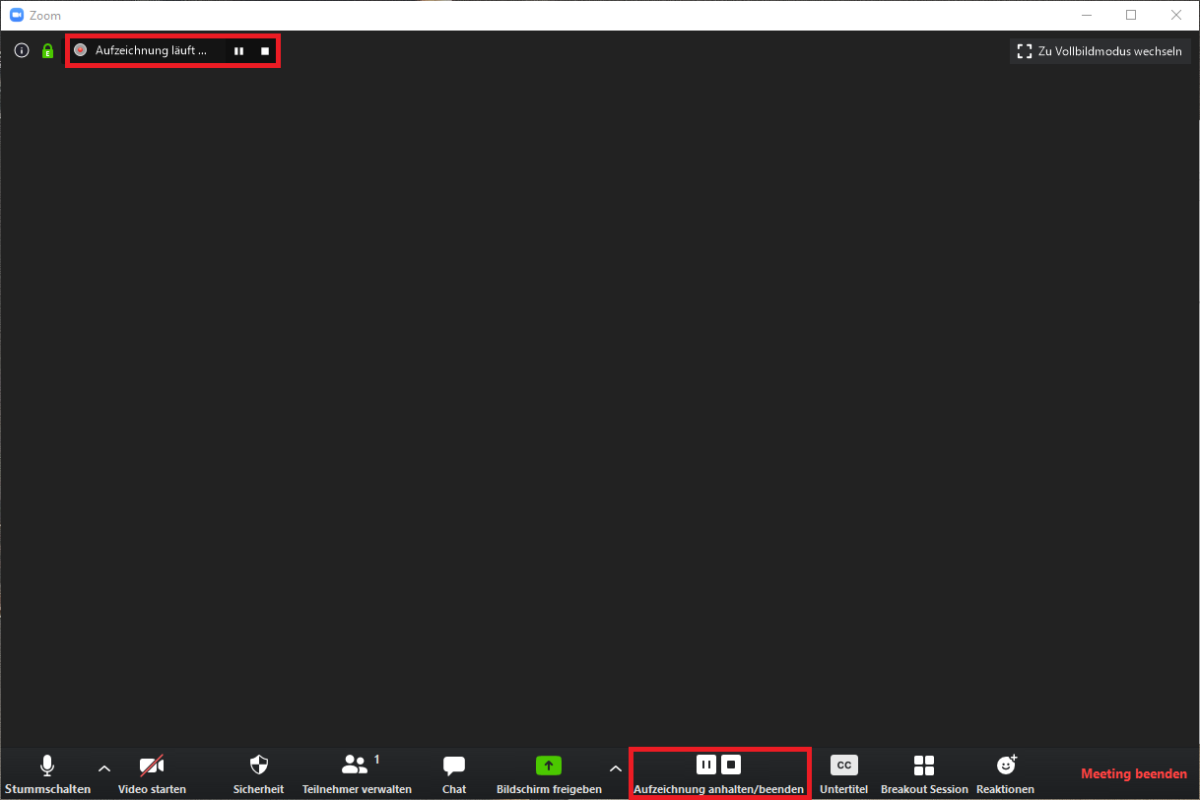
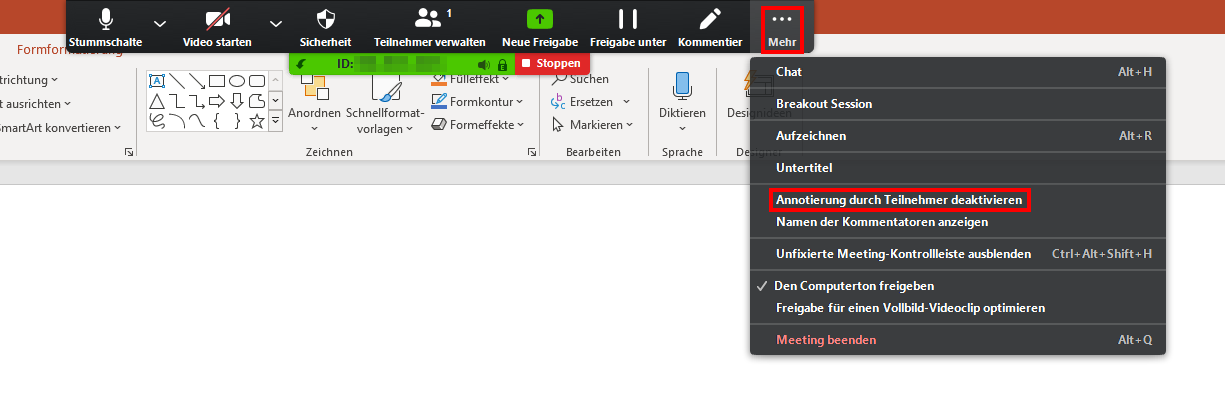
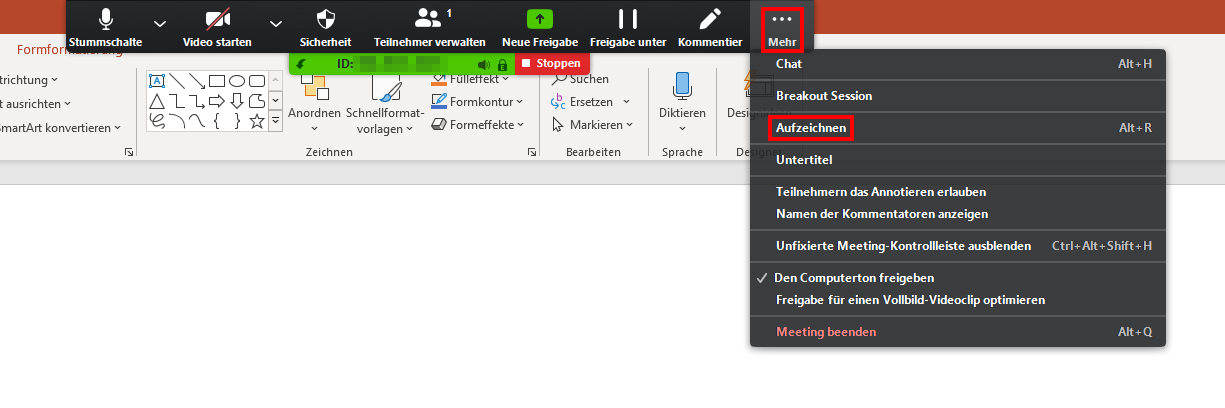
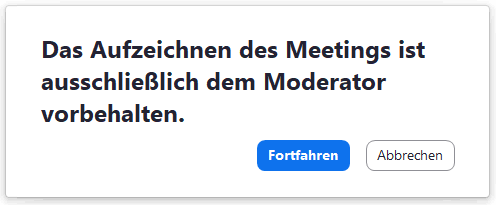
- If a course takes place live via Zoom X, it is not advisable to record it, since a) the consent of students in the context of teaching does not always have the voluntary nature required by the GDPR (moreover, those who do not consent are also excluded from the Zoom meeting for technical reasons) and b) the subsequent deletion of individual comments in a video is hardly feasible in practice. (This would have to be done manually with the help of a separate video editing tool, with the lecturer himself/herself reviewing the entire video, which takes several hours.) Therefore we have deactivated the recording function as standard. However, it can be switched on again by the moderator when the meeting is created.
- If a recording is still desired, only the lecturer should be visible and audible. Students' questions should be asked via a separate channel (e.g. the integrated chat). However, it is not technically possible in Zoom X meetings to permanently mute participants or prevent their video transmission. We will soon provide the additional module "Webinar" where these settings are possible.
Since a person's voice is also considered a "personal date" in terms of data protection regulations, it makes no difference for the assessment of the recording of an event under data protection law whether "picture and sound" or only "sound" is recorded and whether a person that can be seen and/or heard has registered for the recording with a real name or, for example, an anonymizing fantasy name.