Secure Web Gateway (SWG) - MacOS X
To set up the Secure Web Gateway (SWG) correctly, it is important that both parts of the instructions (installing the certificate and setting up the SWG proxy) are carried out.
Contact: Network Service


To set up the Secure Web Gateway (SWG) correctly, it is important that both parts of the instructions (installing the certificate and setting up the SWG proxy) are carried out.
Contact: Network Service
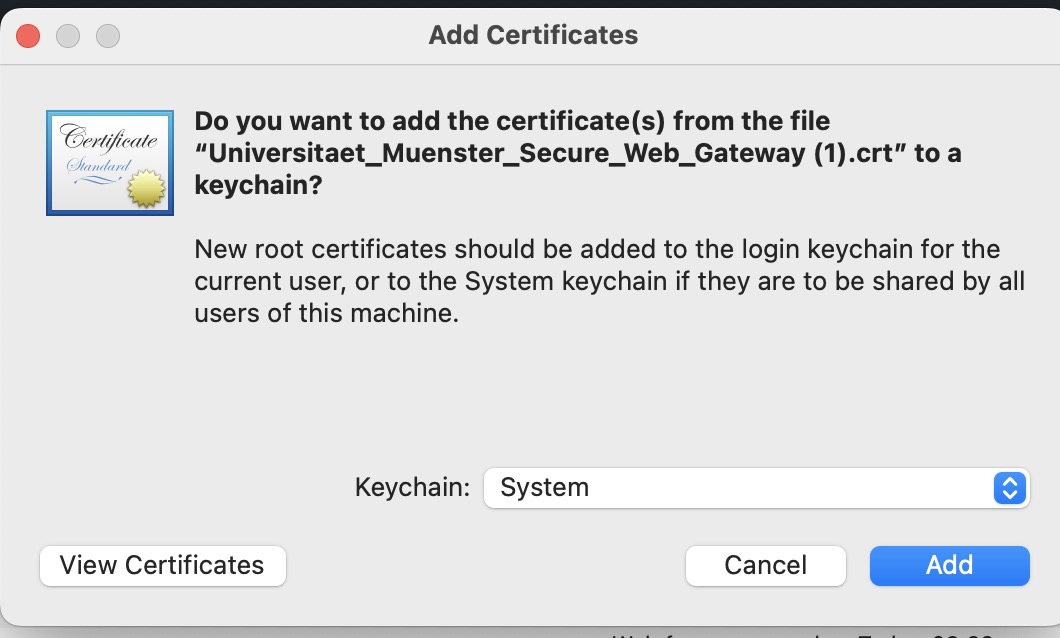
Download the certificate. This will then appear in your download folder in the Finder.
Open the downloaded file with a double click and start the installation.
The certificate can be added to the "System" keyring (for all users of the computer).
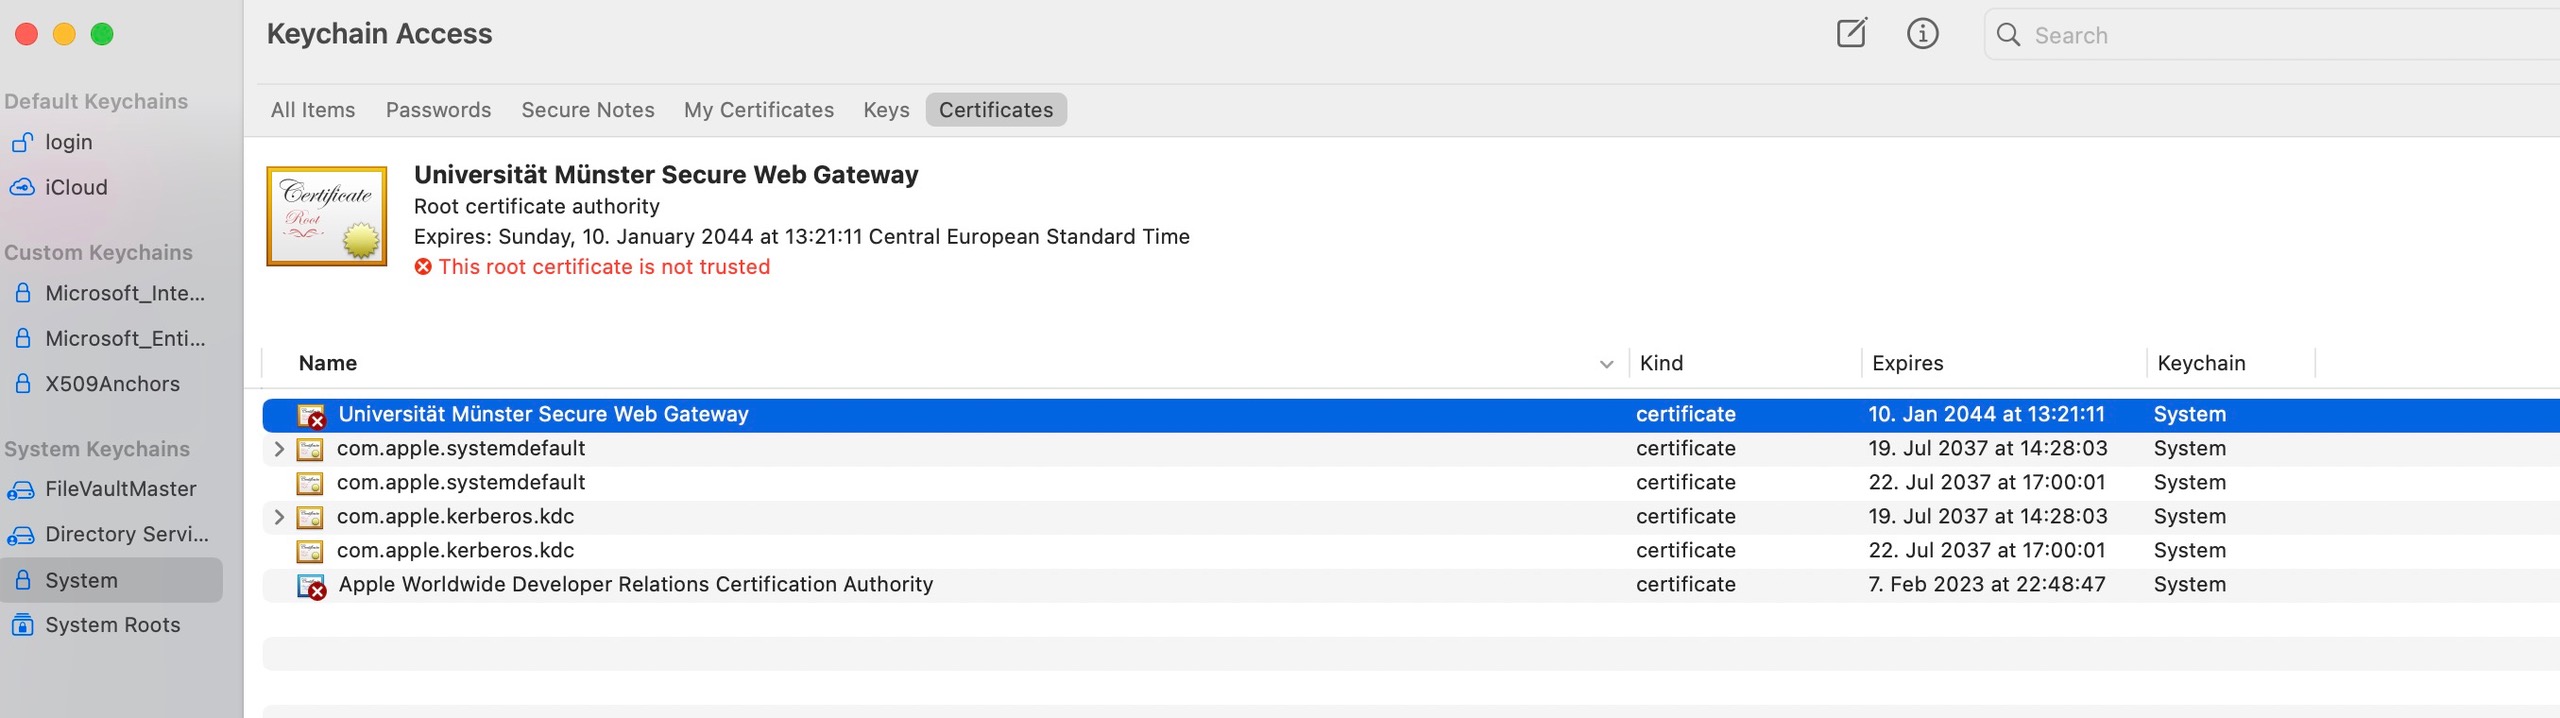
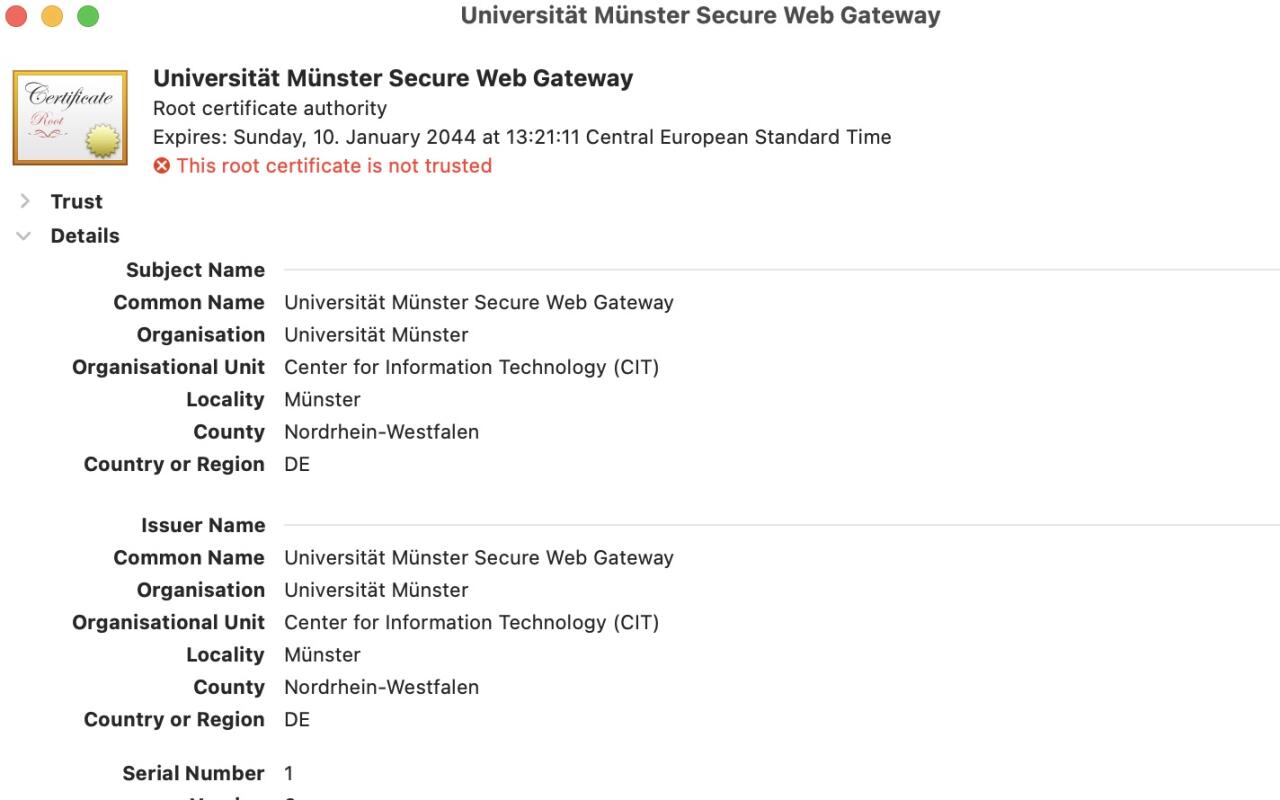
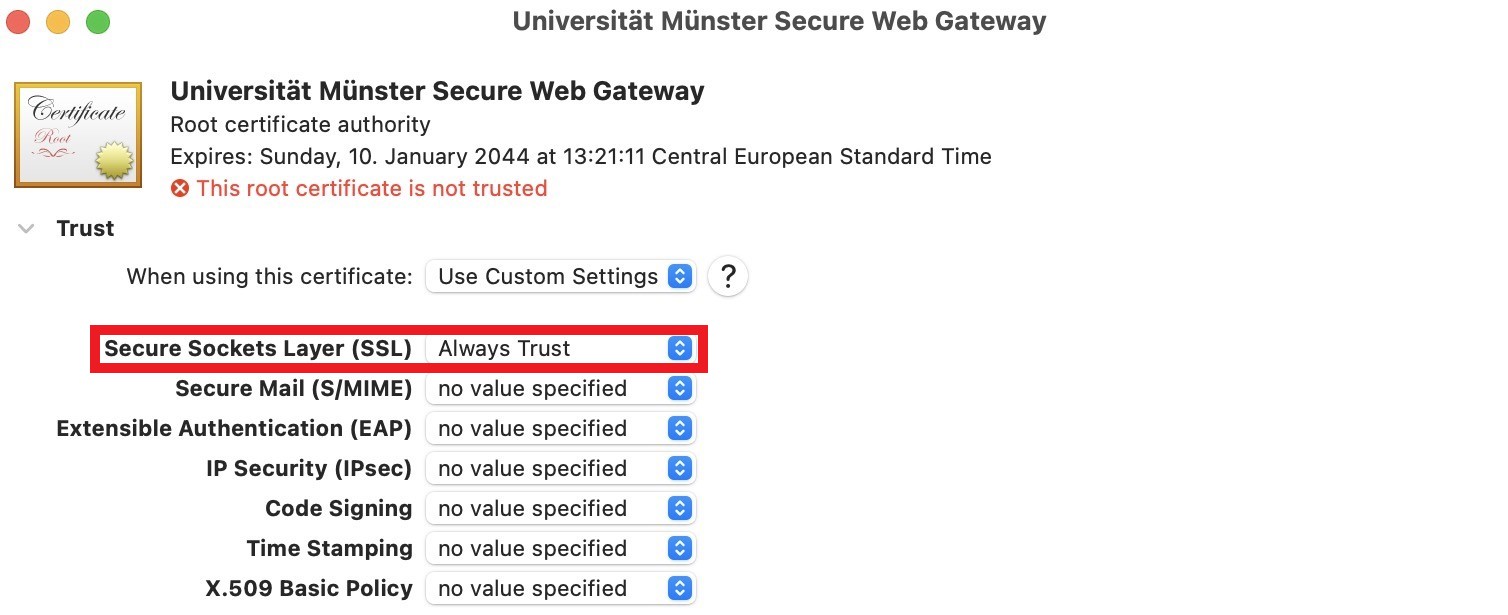
The certificate first appears in the keychain with a red cross. The certificate in the keychain must still be trusted at least for Secure Socket Layer (SSL). To do this, open the certificate in the keychain and select "Always Trust" in the "Secure Socket Layer (SSL)" area.
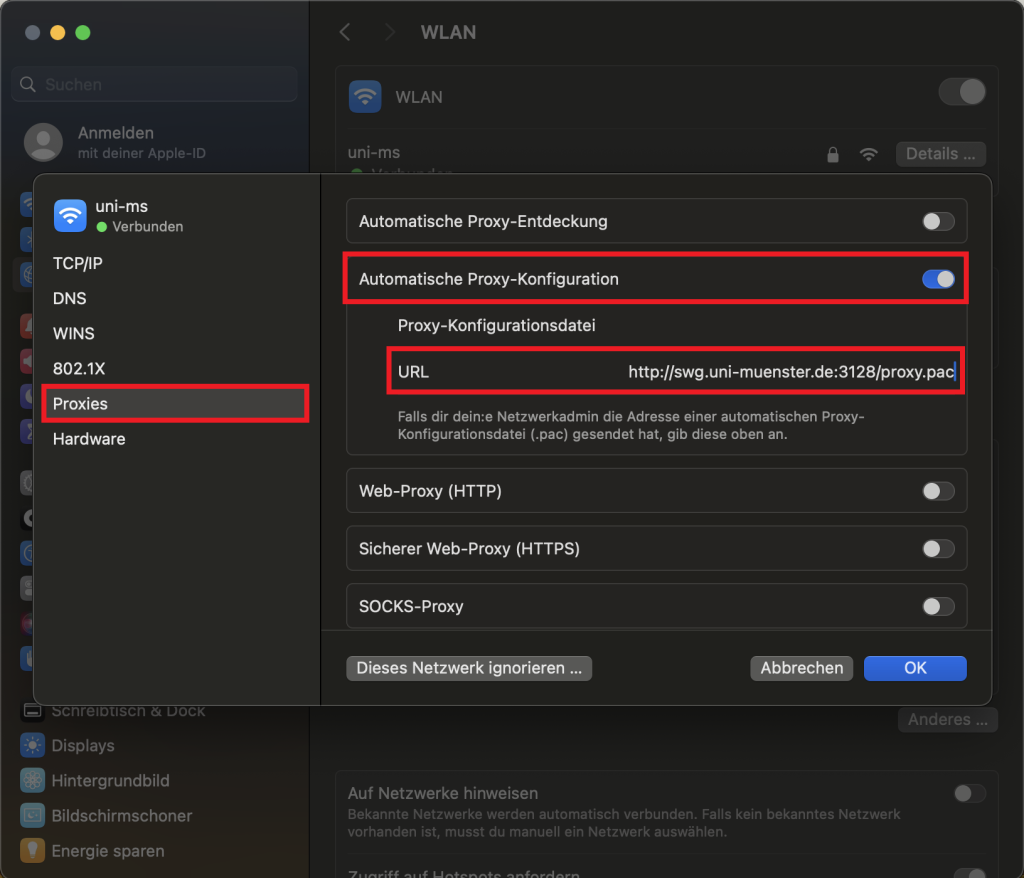
The next step is to set up the SWG proxy.
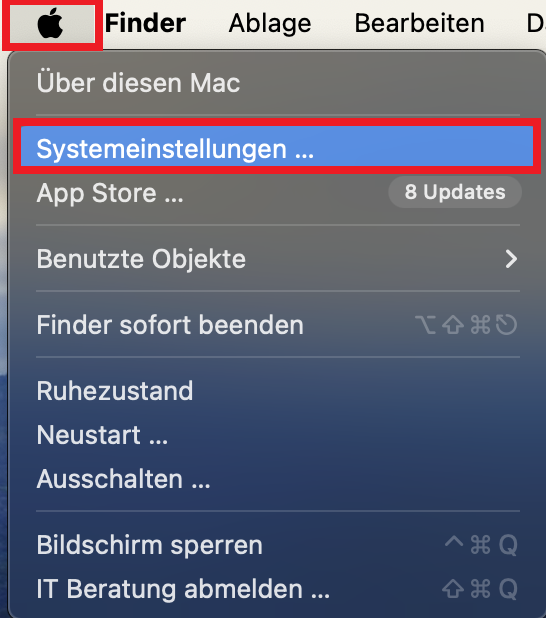
Click on the “Apple” icon at the top left and select “System Preferences”.
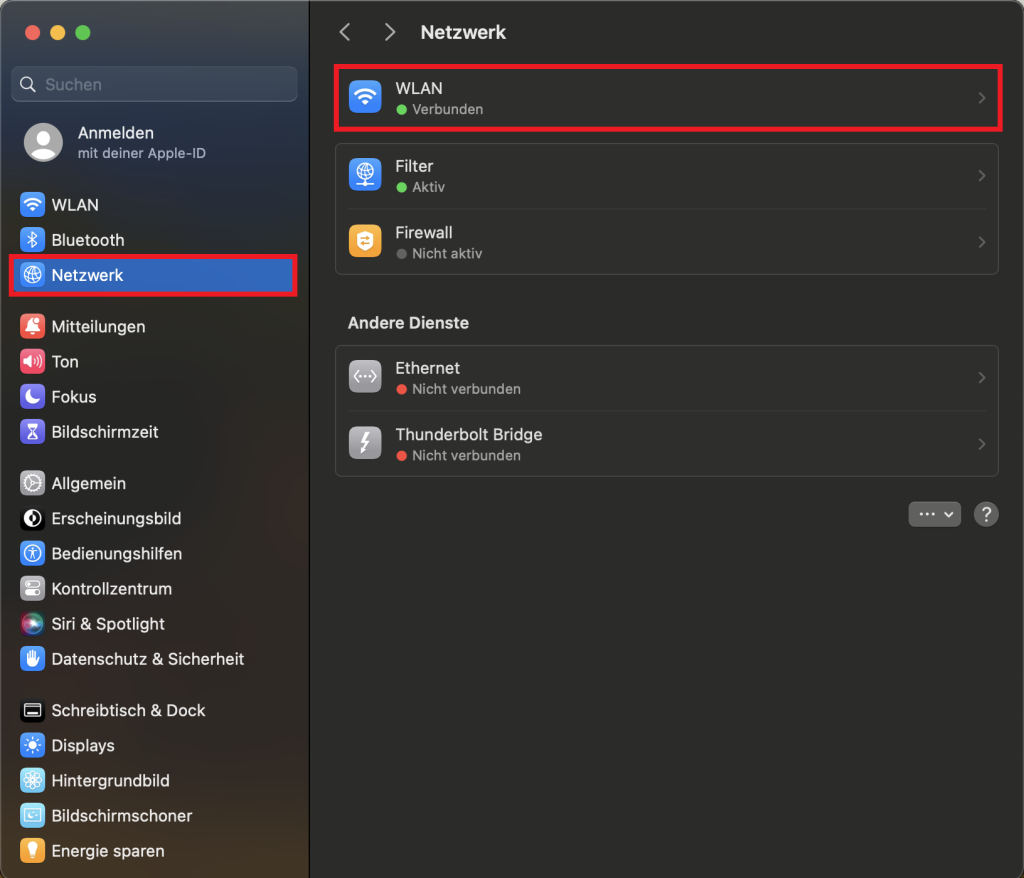
Click on “Network” on the left-hand side. Then select “WLAN”. If you are connected via Ethernet, click on this instead.
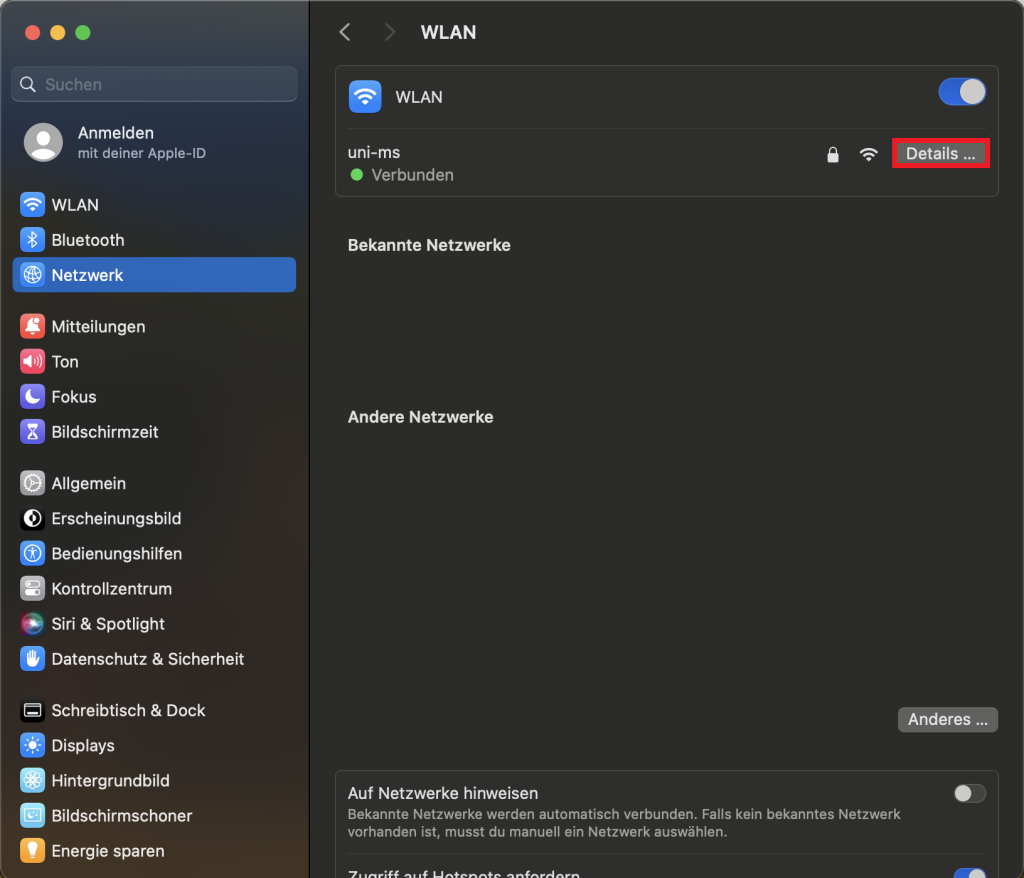
Select your network on the right (in this case “uni-ms”) and then click on “Details”.
Under Proxies, select “Automatic proxy configuration” and then enter the following URL: https://swg.uni-muenster.de/proxy.pac