Zoom X: Planning and Starting Webinars
Note: The webinar licence can only be assigned to one Zoom X profile at a time.


Note: The webinar licence can only be assigned to one Zoom X profile at a time.
Note: Configuring volume licenses via Zoom X
As of April 1, 2026, Zoom X will no longer provide Big Meeting licenses (>300 participants) or webinar licenses (>500 participants) for large events.
However, if you would like to book 500-participant webinar licenses, please contact it@uni-muenster.de.
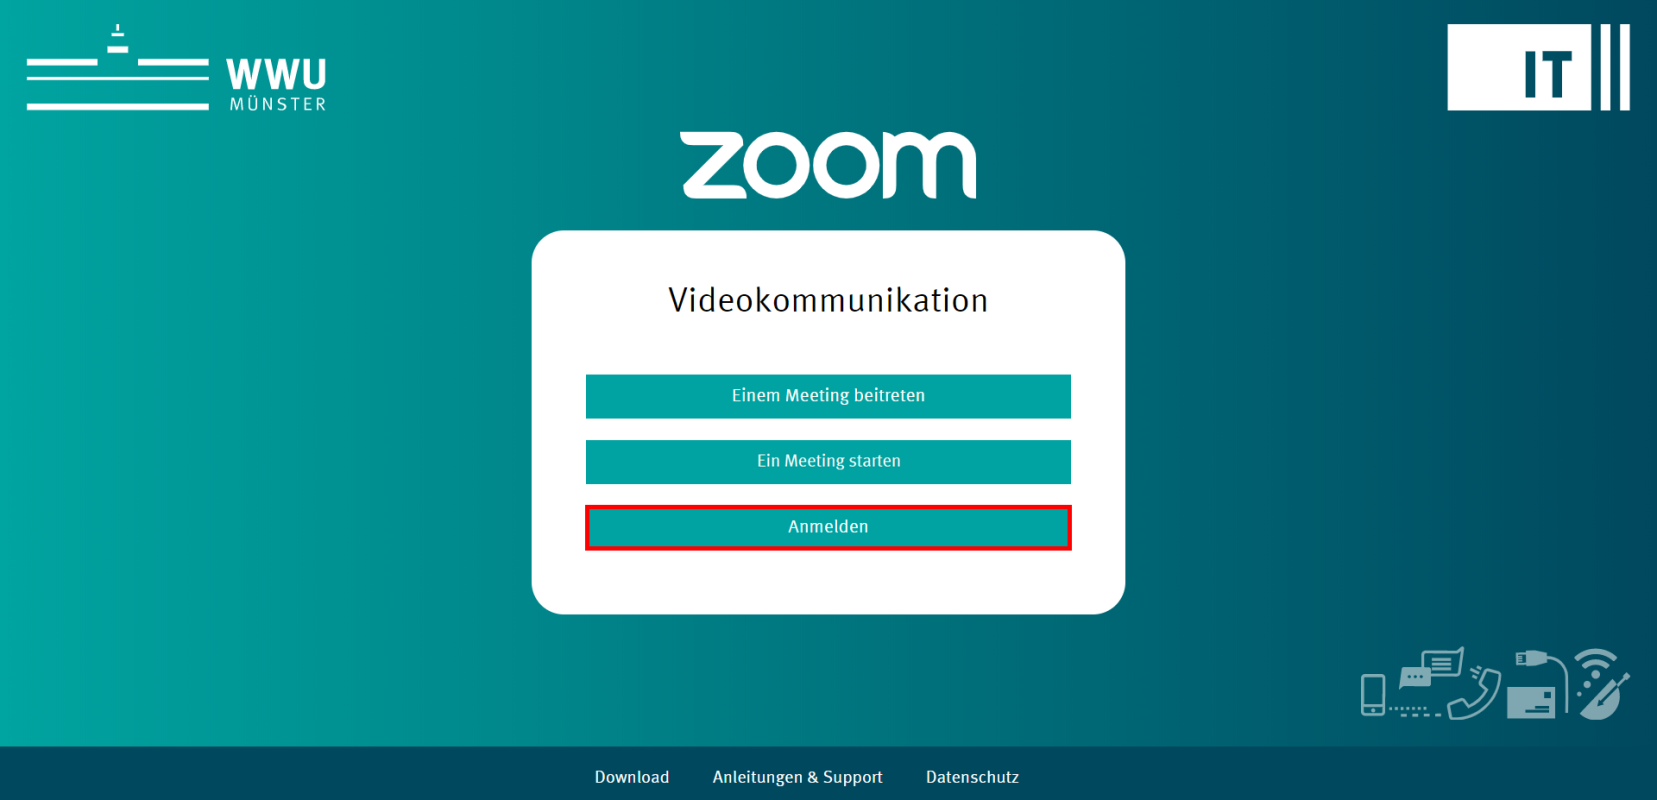
We recommend that you plan webinars via the browser. To do this, go to uni-ms.zoom.us and click on "Anmelden" ("Log in").
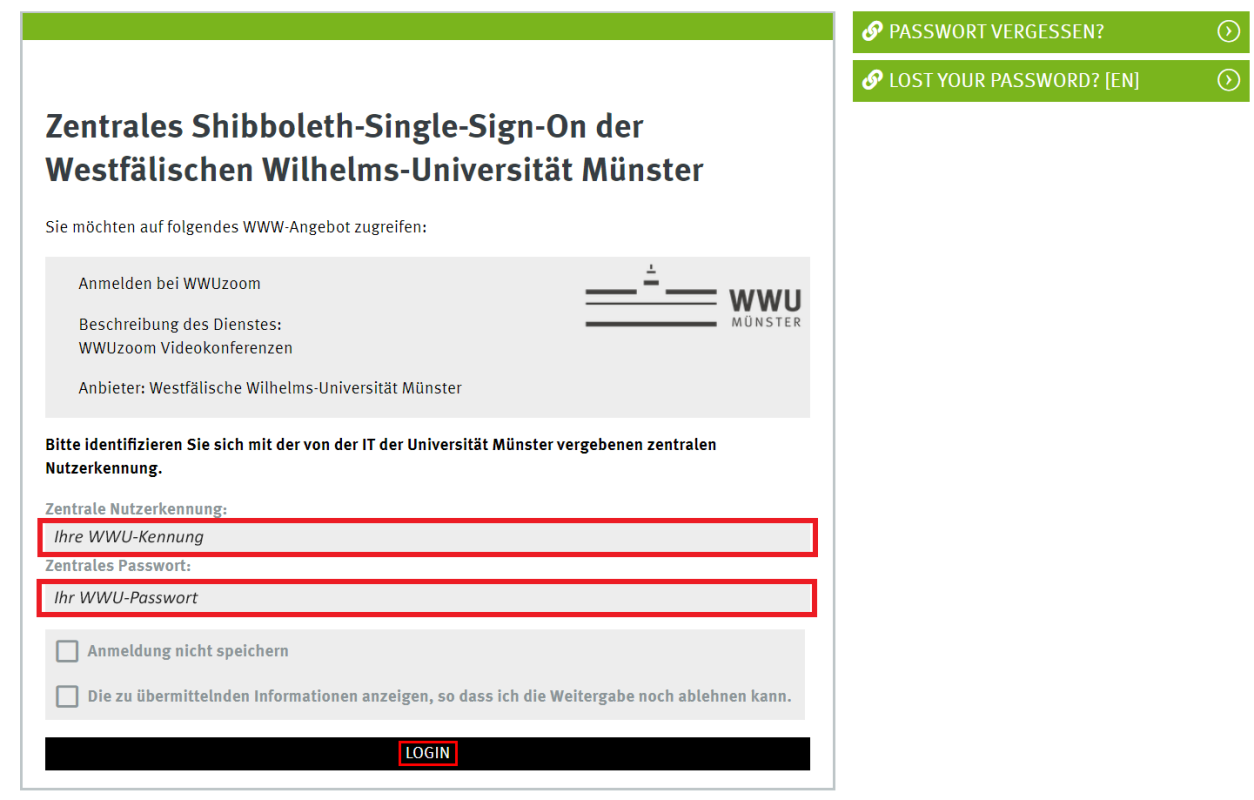
You will get to the Münster University login page. Enter your university ID and your university password and click on "LOGIN".
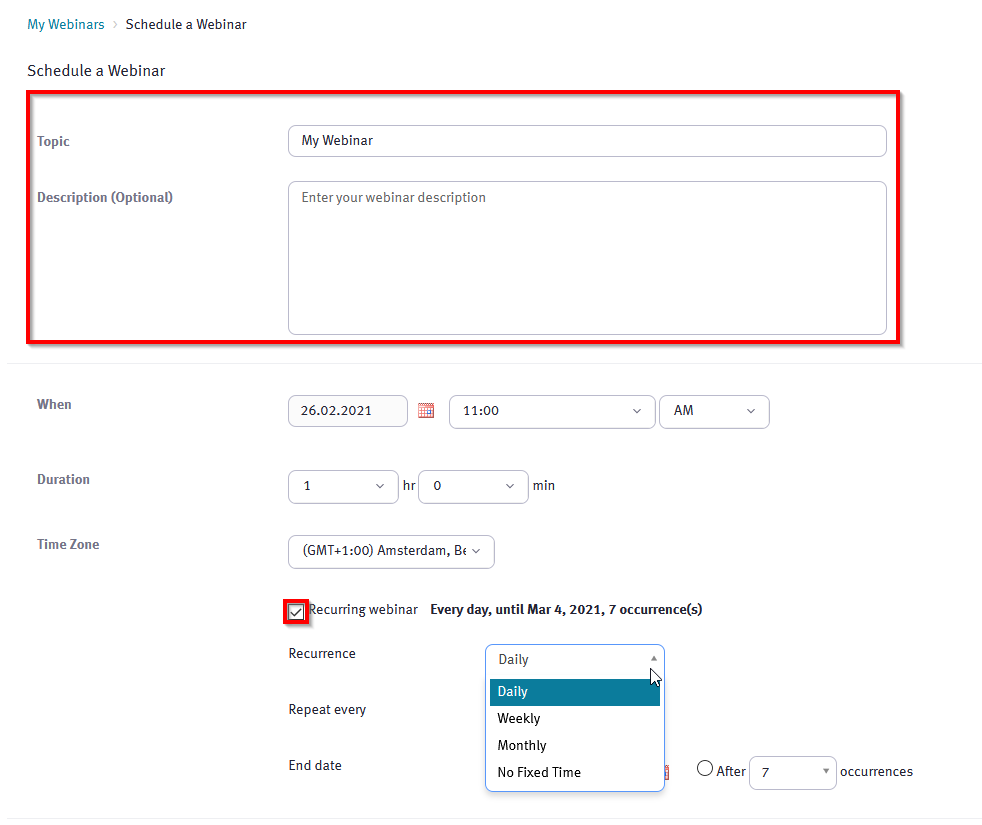
You are now in your Zoom X account. Click on "Webinars". To schedule a new meeting, click on "Schedule a Webinar". (Note: If you don't see this option in menu, please contact administrator for webinar license)


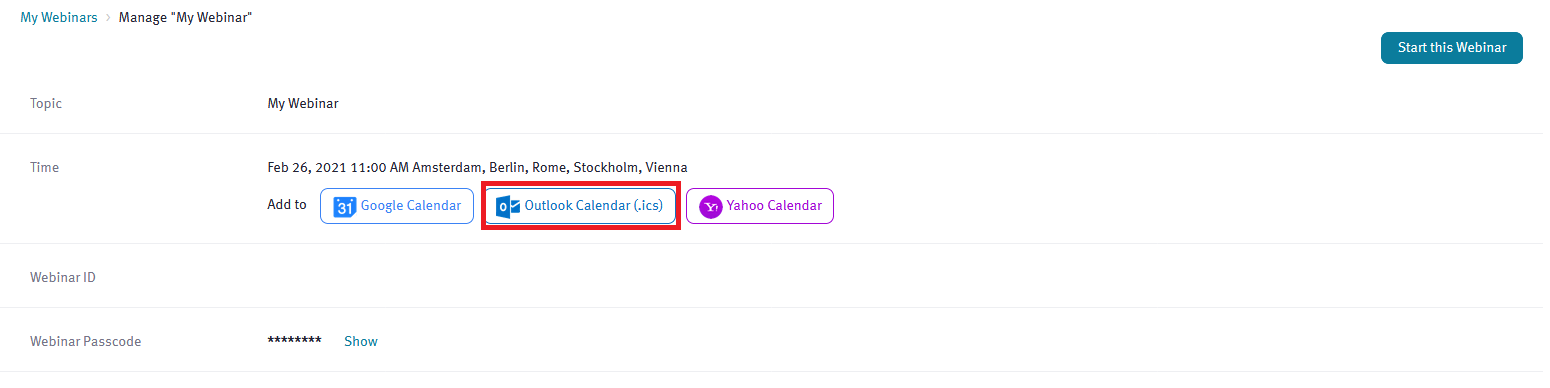
You now see an overview of your saved webinar settings. If you have an Exchange mailbox, you can also click on "Outlook Calendar". A new e-mail will then open in your Outlook with an appointment and an invitation text containing all necessary information about the webinar. You can send this e-mail to the attendees.
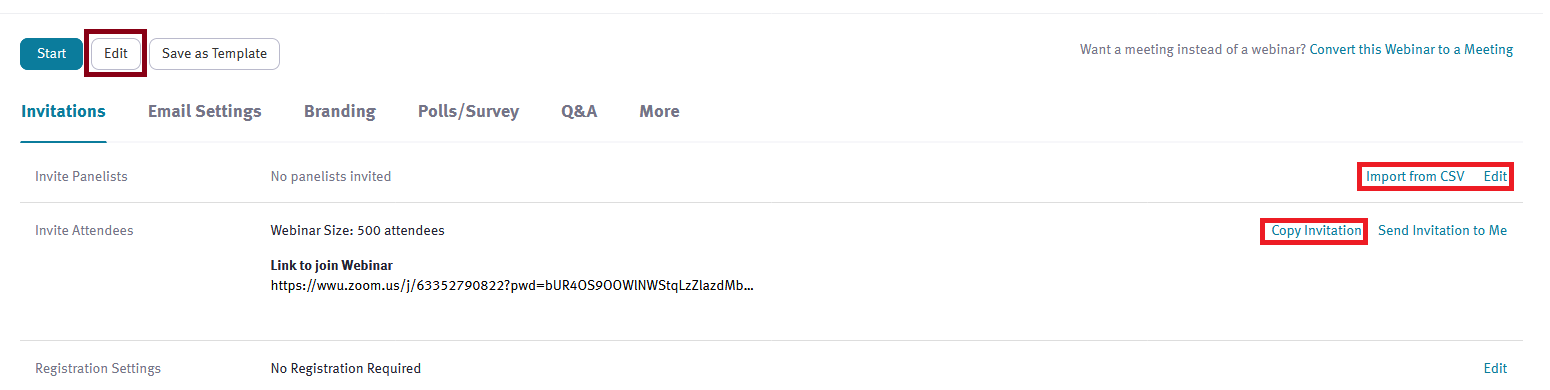
Under "Copy invitation" an invitation text is automatically generated. This contains, among other things, the webinar ID and the webinar password. You can send this information to your attendees e.g. by e-mail or Learnweb.
Under Invite Panelis you can edit the list of panelists via click on "Edit", for manual editing, or by "Inport from CSV".
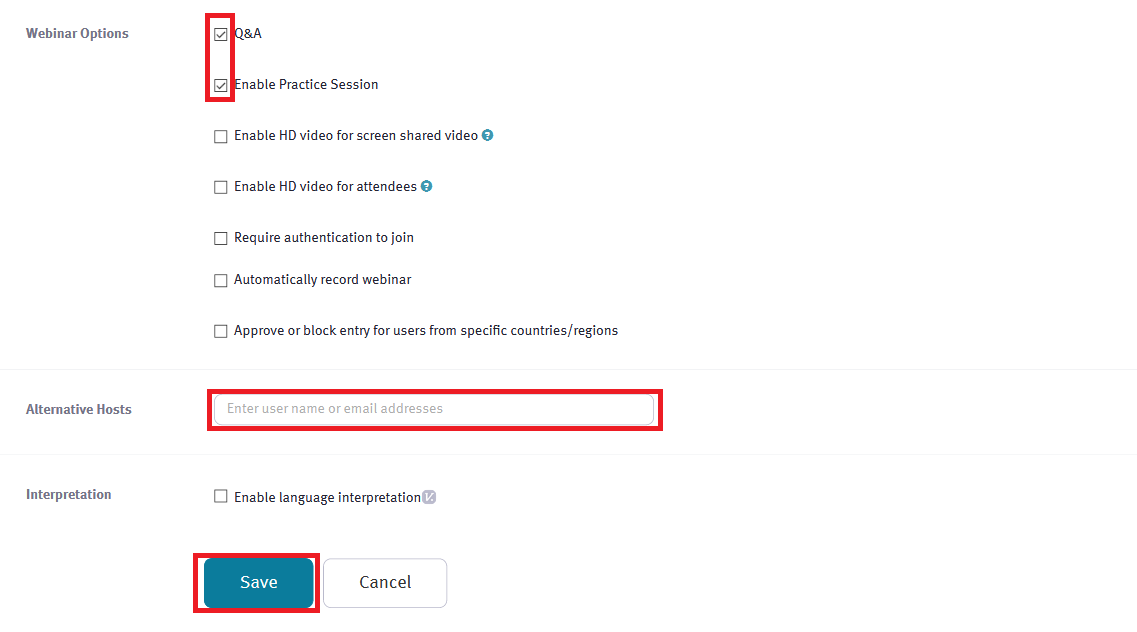
Under "Edit", you can change the saved settings at any time.
When conducting a course, we recommend using the Zoom desktop client, as it offers more options. Open the desktop client and log in via SSO. Then click on "Meetings" in the upper menu bar. Here you will find an overview of your scheduled webinars.

Select the desired course on the left side and click on "Start".
