Setting up a VPN Connection with iOS
Requirements:
- You have installed an up-to-date version of iOS.
- You have set your network access password in the IT Portal.
- You hve set a one time password (OTP).
Installation of the VPN-Client
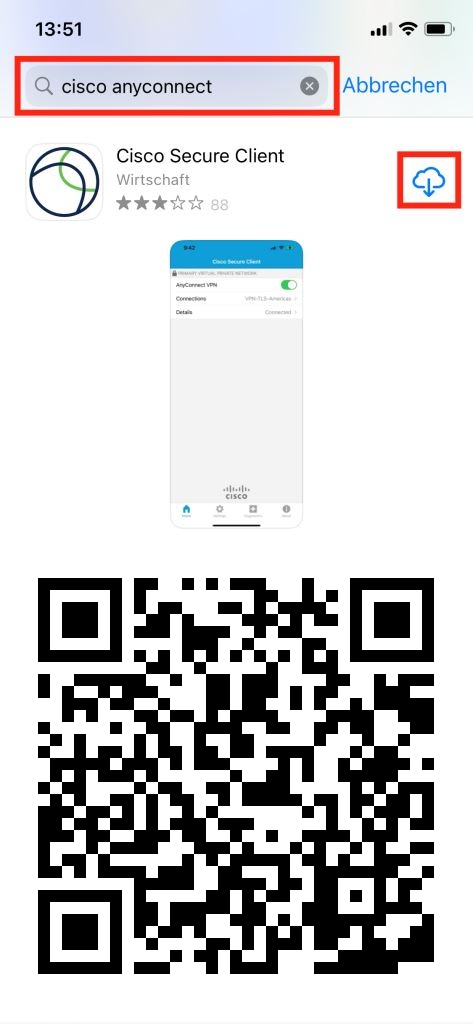
1. Download of the AnyConnect App
Download the Cisco AnyConnect VPN-Client. Alternatively you can find the app in the AppStore or with the QR-Code.
© CIT 2. Opening the App
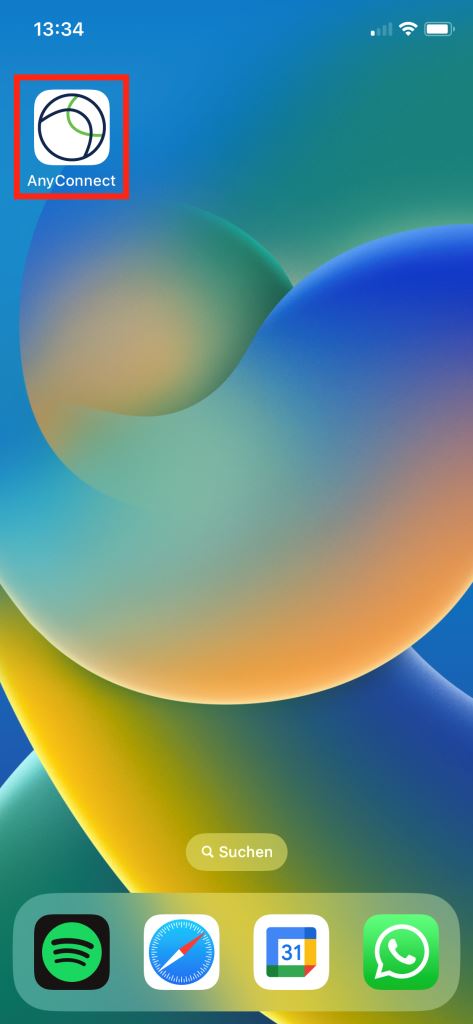
After successful download, open the AnyConnect App.
© CIT 3. Adding the VPN Connection
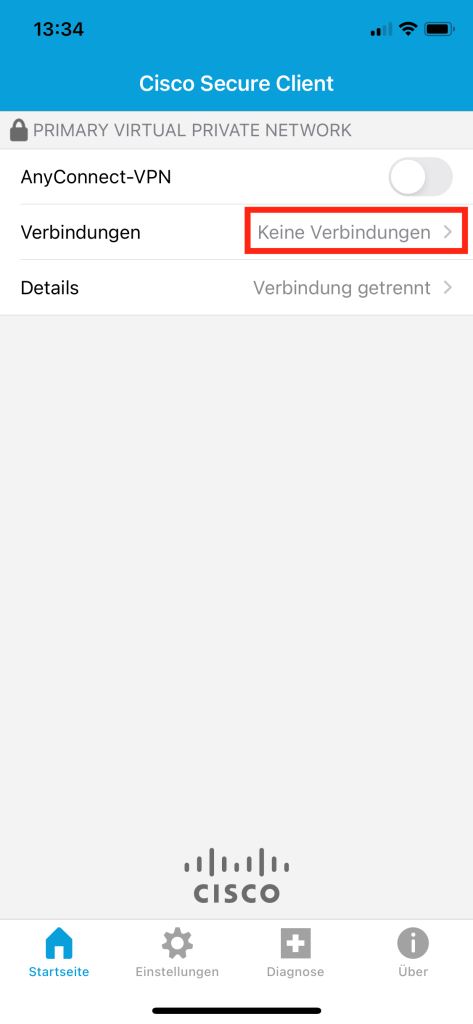
Tap on "Connections".
© CIT 4. Adding the VPN Connection
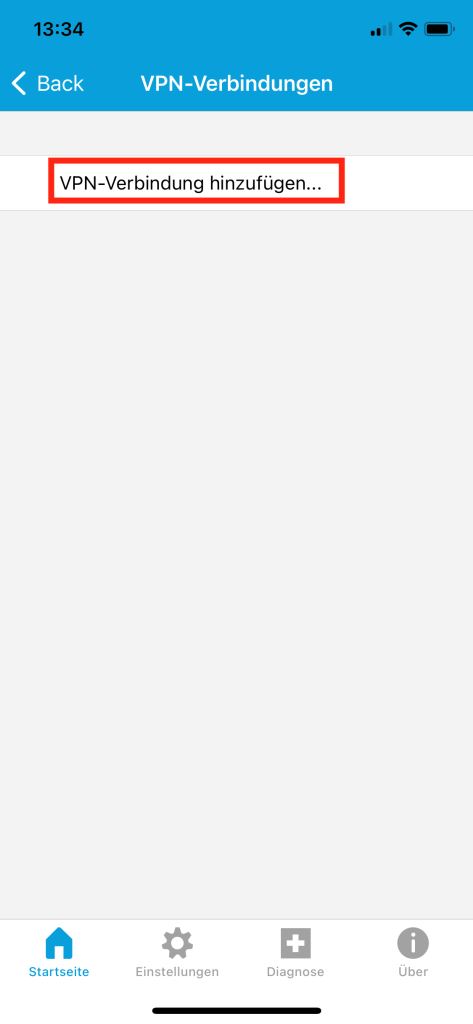
Tap on "Add VPN Connection...".
© CIT 5. Entering the Serveraddress
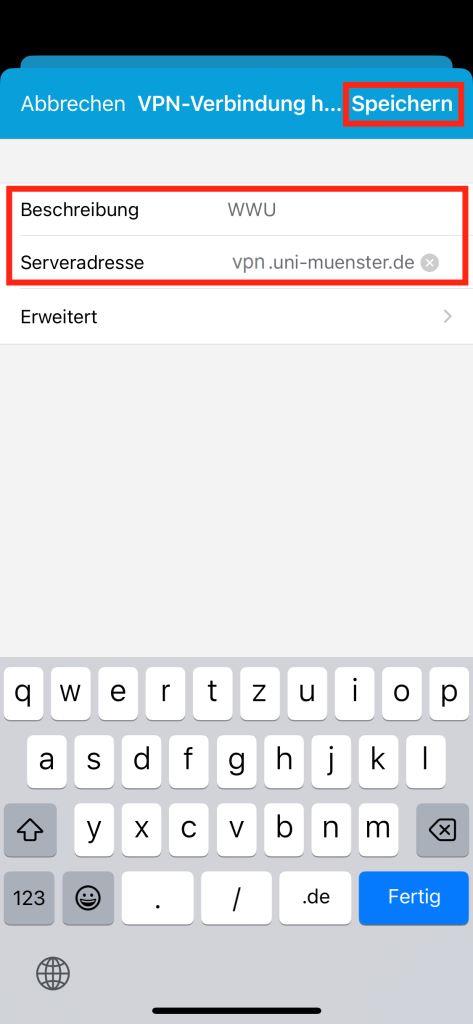
Choose description for the network (e.g. Universität Münster) and enter vpn.uni-muenster.de as the server address and save.
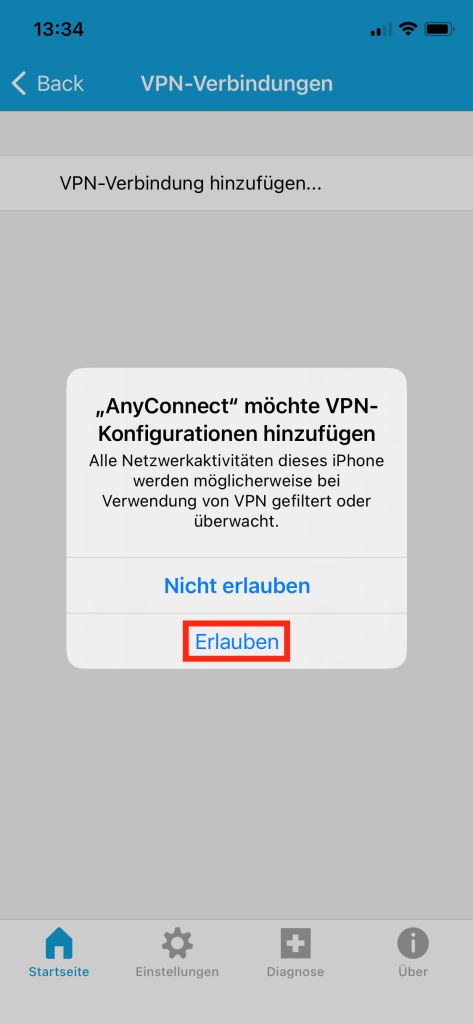
© CIT 6. Allowing the VPN-Connection
Tap on "Allow" to add the VPN-Connection. Confirm by entering your passcode, Touch-ID or Face-ID.
© CIT Starting & Ending the VPN-Connection
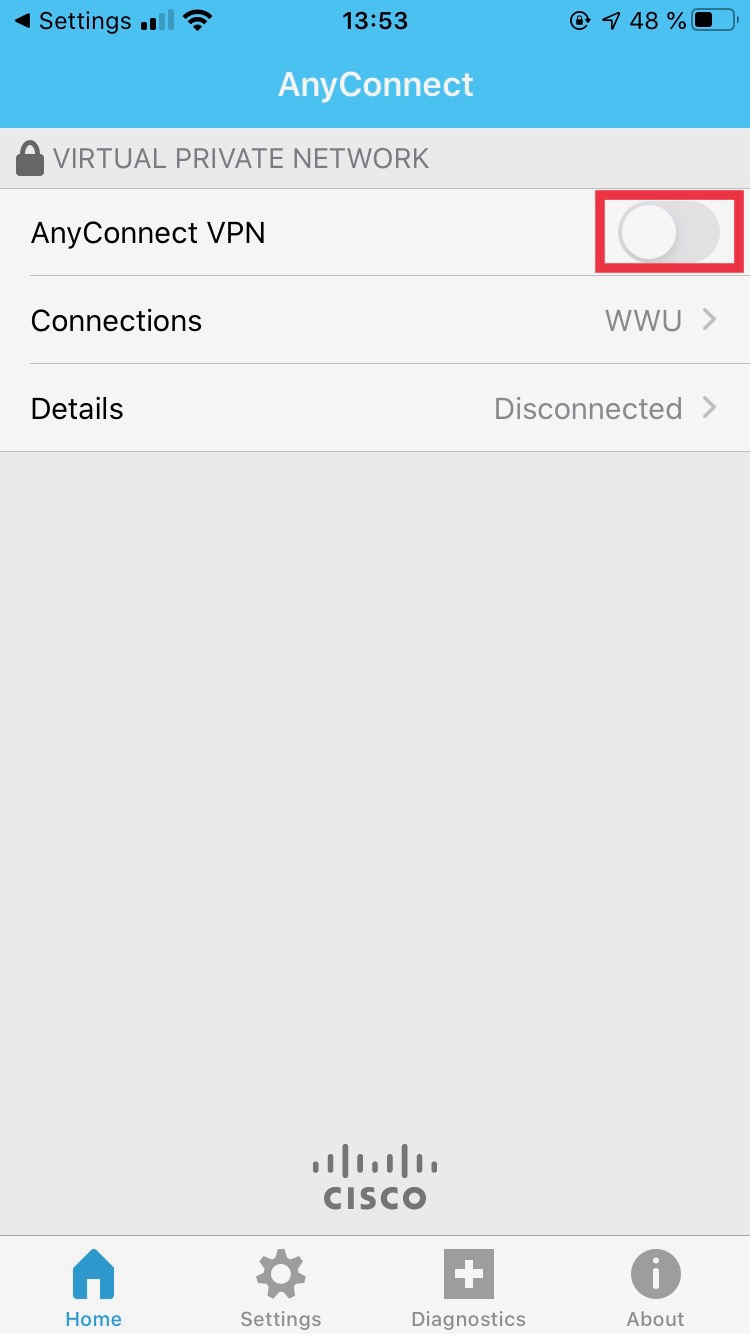
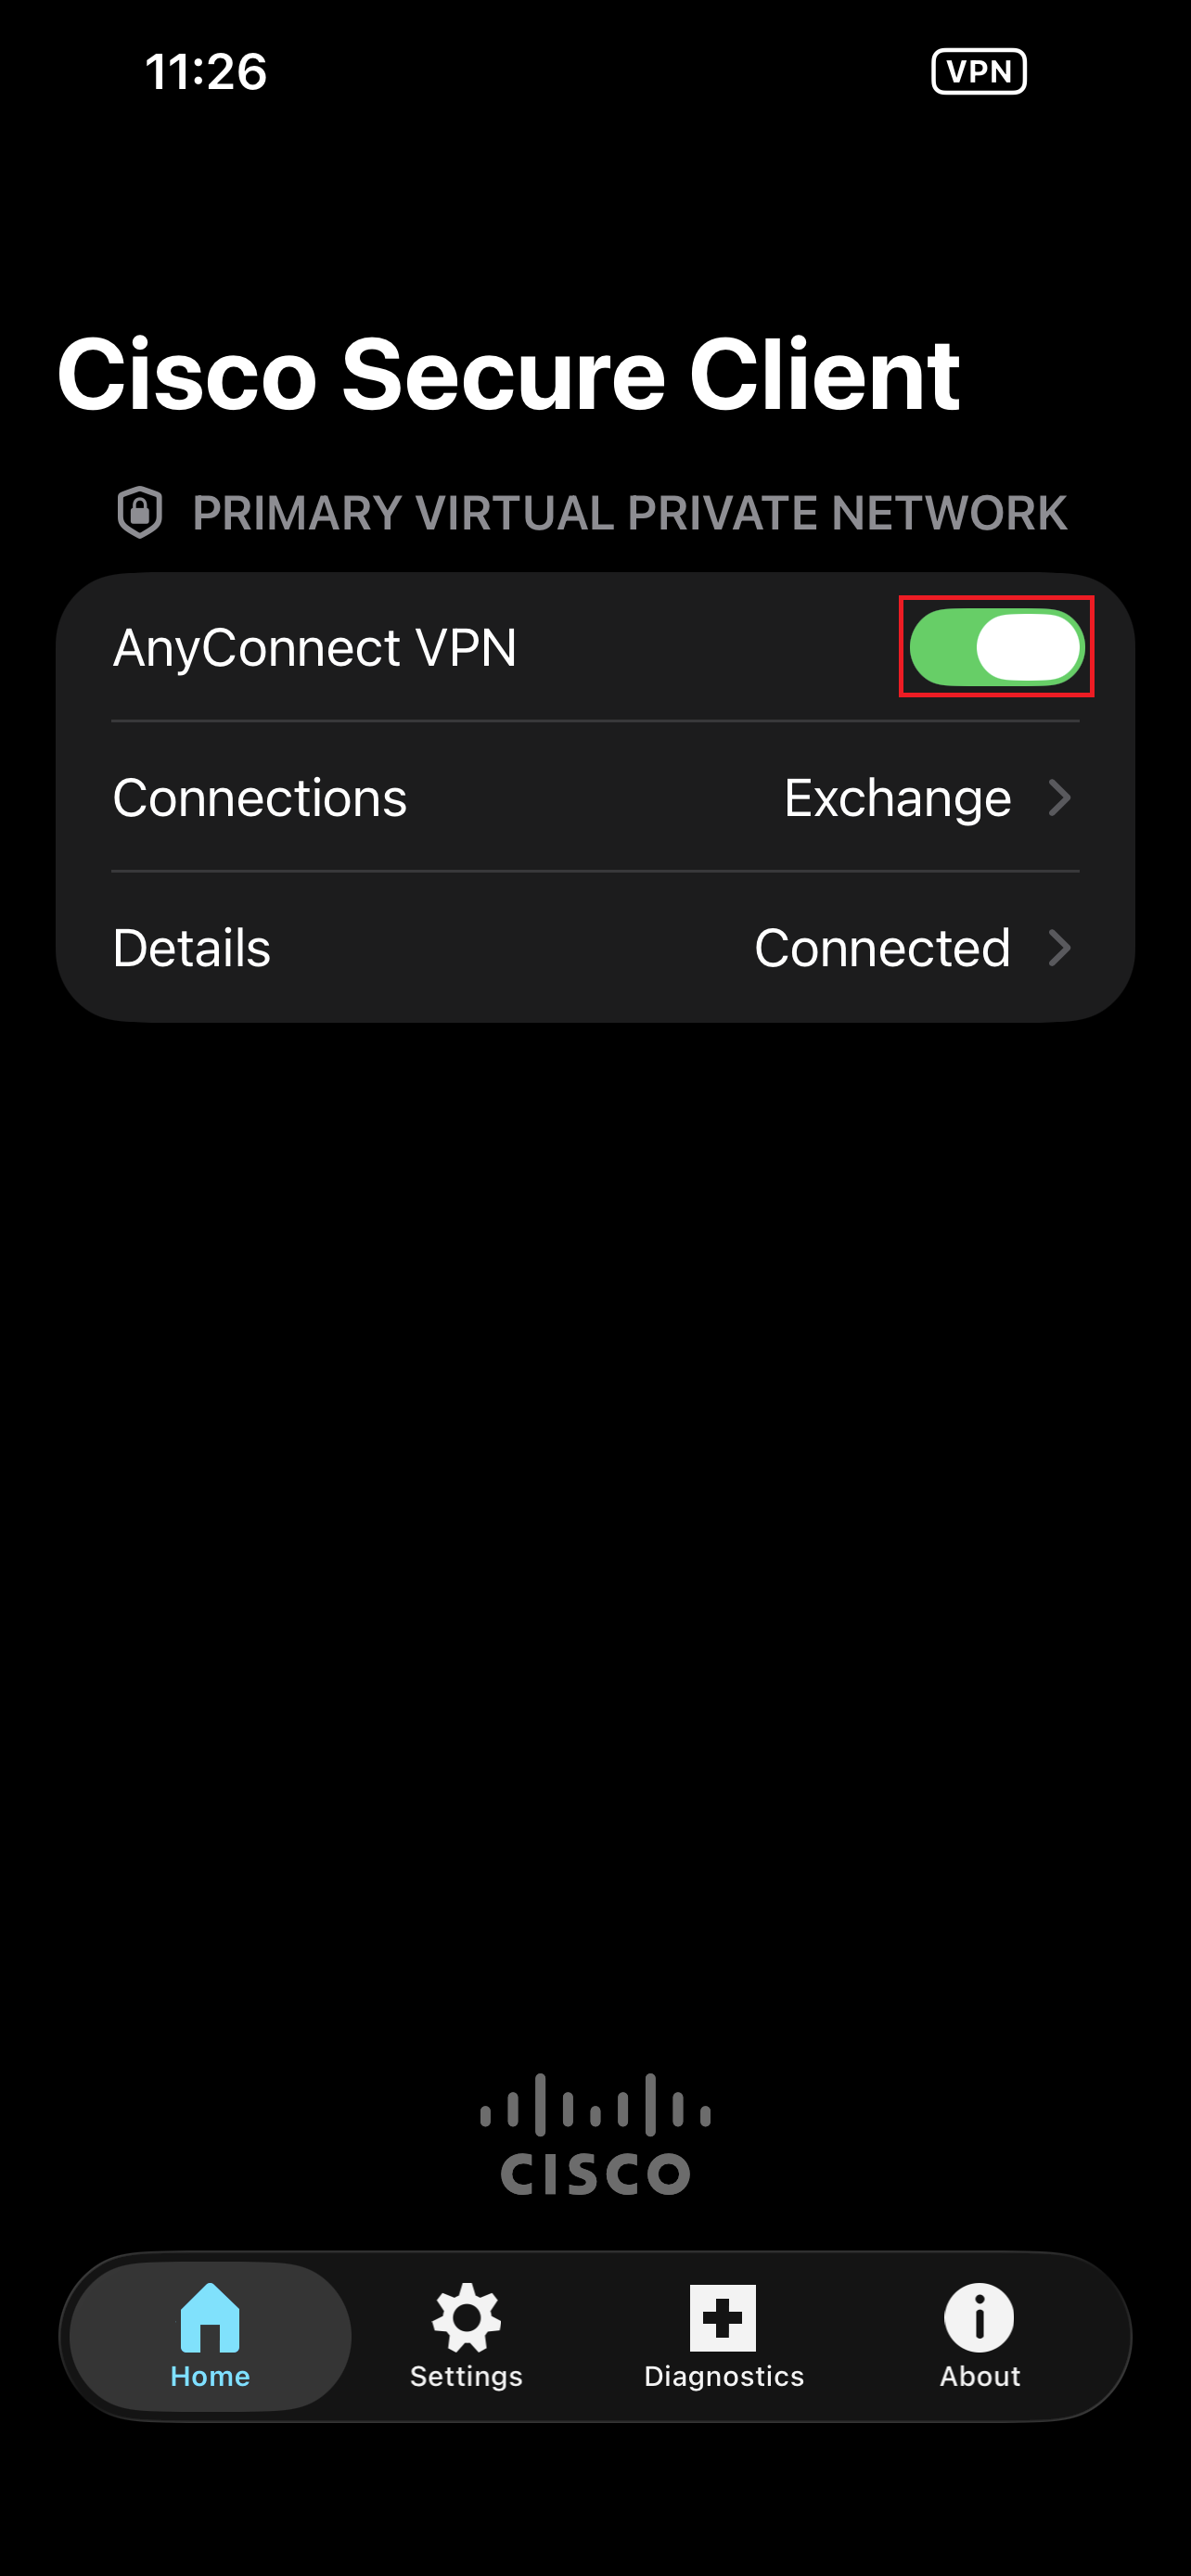
1. Starting the VPN Connection
Open the app and move the AnyConnect VPN slider to the right (green background).
© Uni MS IT 2. Entering Your User Data
Enter your university ID, for password your password for network access and for second password / OTP your one time password and tap on "Connect" afterwards. (Note: The network access password this is not your normal university password. You can set it in the IT Portal.)

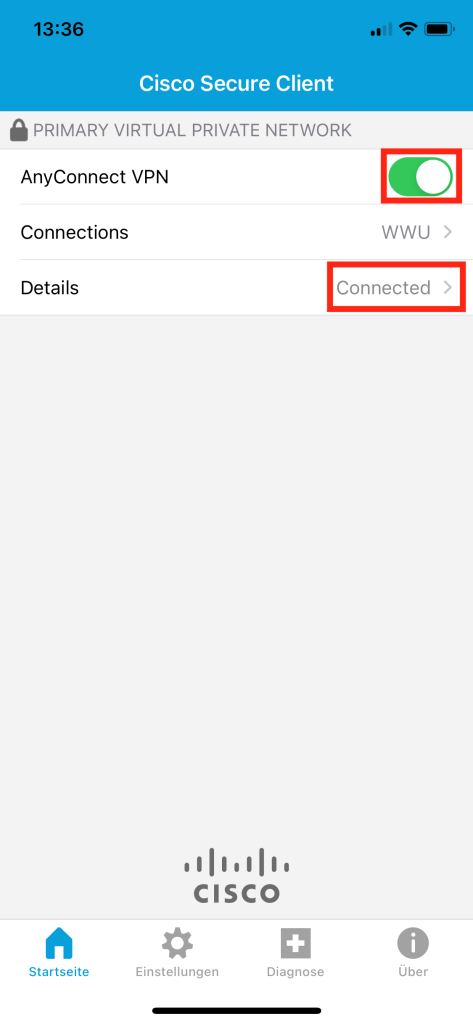
© CIT 3. Established VPN Connection
The status "Connected" indicates that the VPN connection has been established successfully.
© CIT 4. Disconnecting the VPN Connection
If the VPN connection is no longer needed, open the app and move the AnyConnect-VPN slider to the left (grey background). This will disconnect the connection.

© CIT
Special VPN-Profile for Exchange and OWA
To use Exchange on personal devices, you need the following dedicated VPN connection. This connection only manages Exchange traffic and does not have access to your other data traffic. On work devices, you can use the "Standard" connection listed above.
Important: To use the VPN, you need the Cisco Secure app. Install it according to the instructions above.
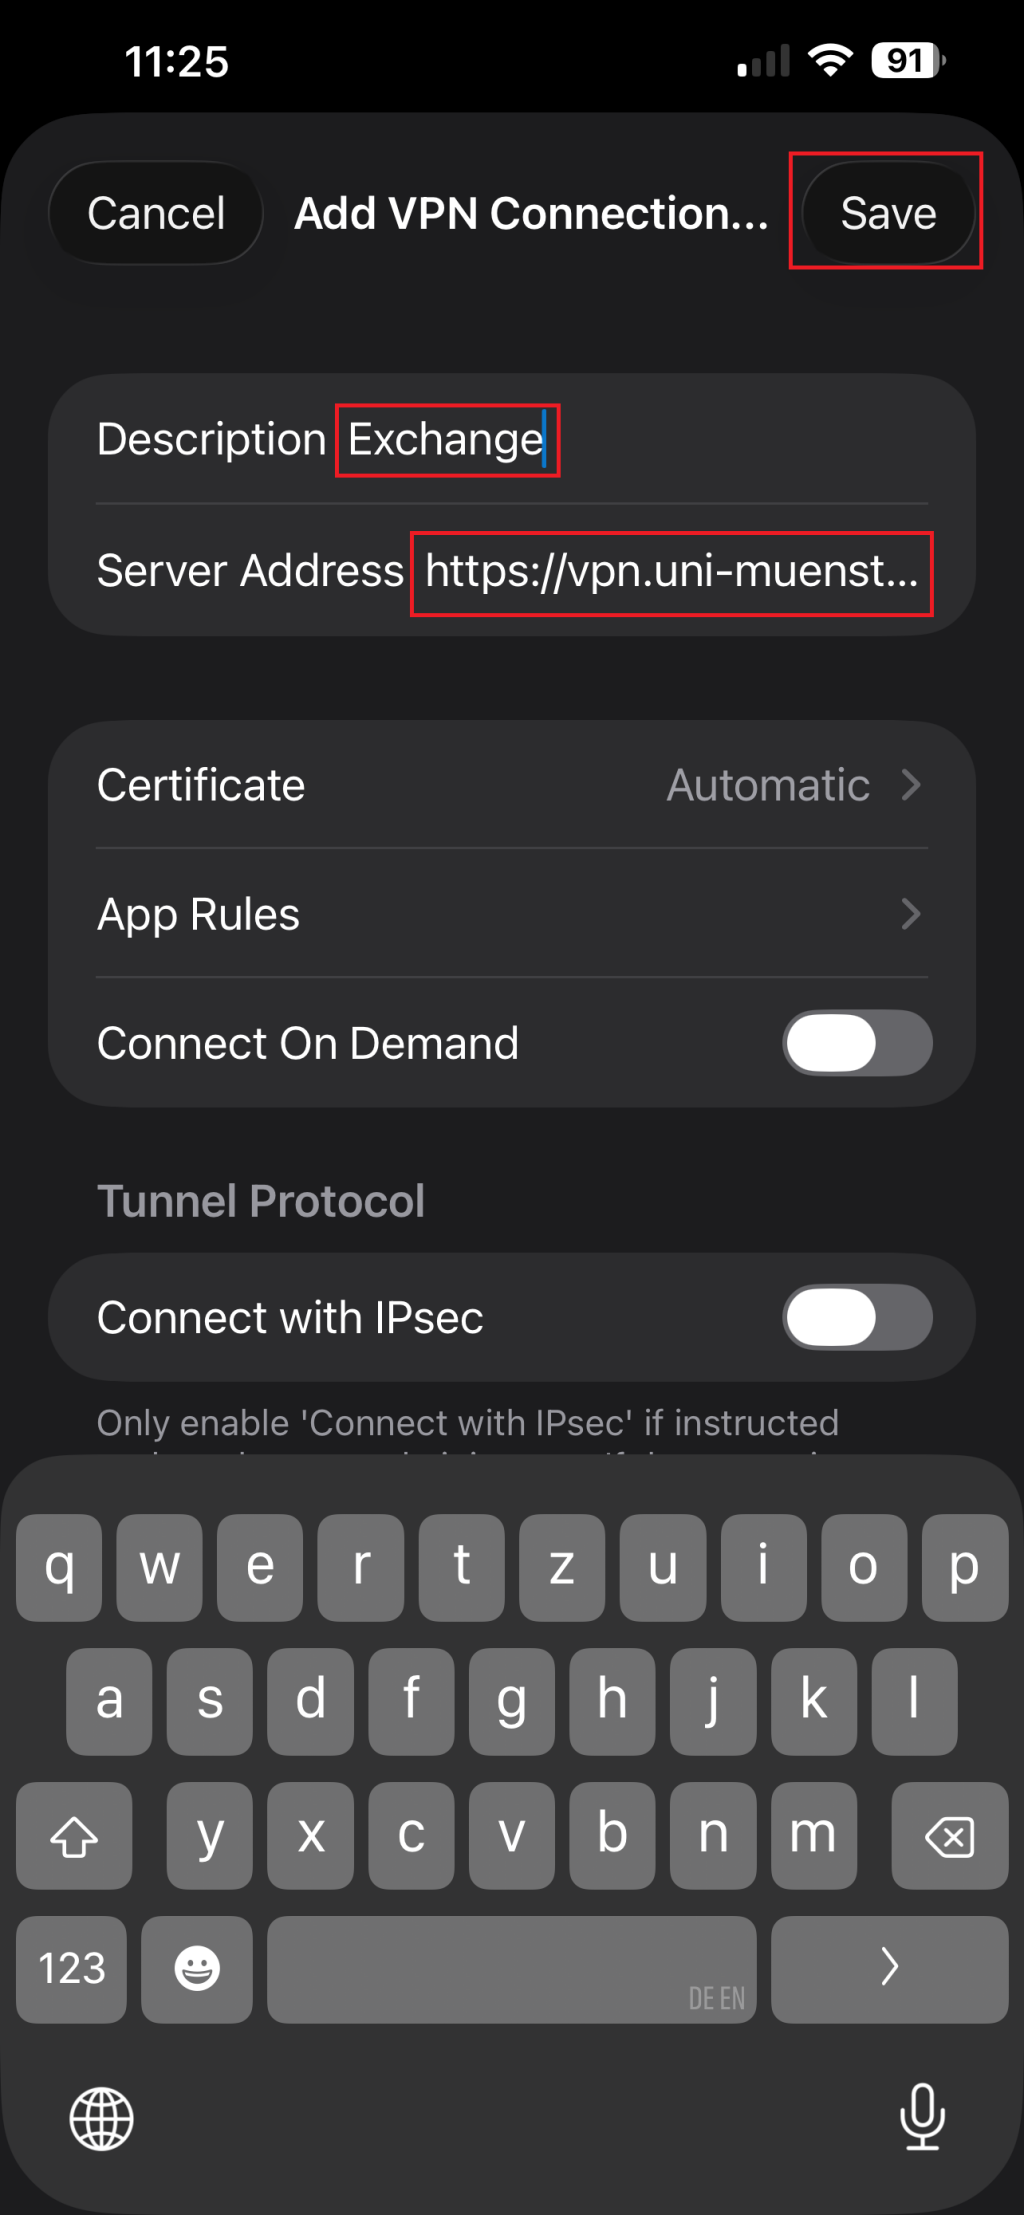
© CIT 1. Enter Server
First, enter "Exchange" as the description, and then type the following server address into the field:
https://vpn.uni-muenster.de/exchange
Click Save.
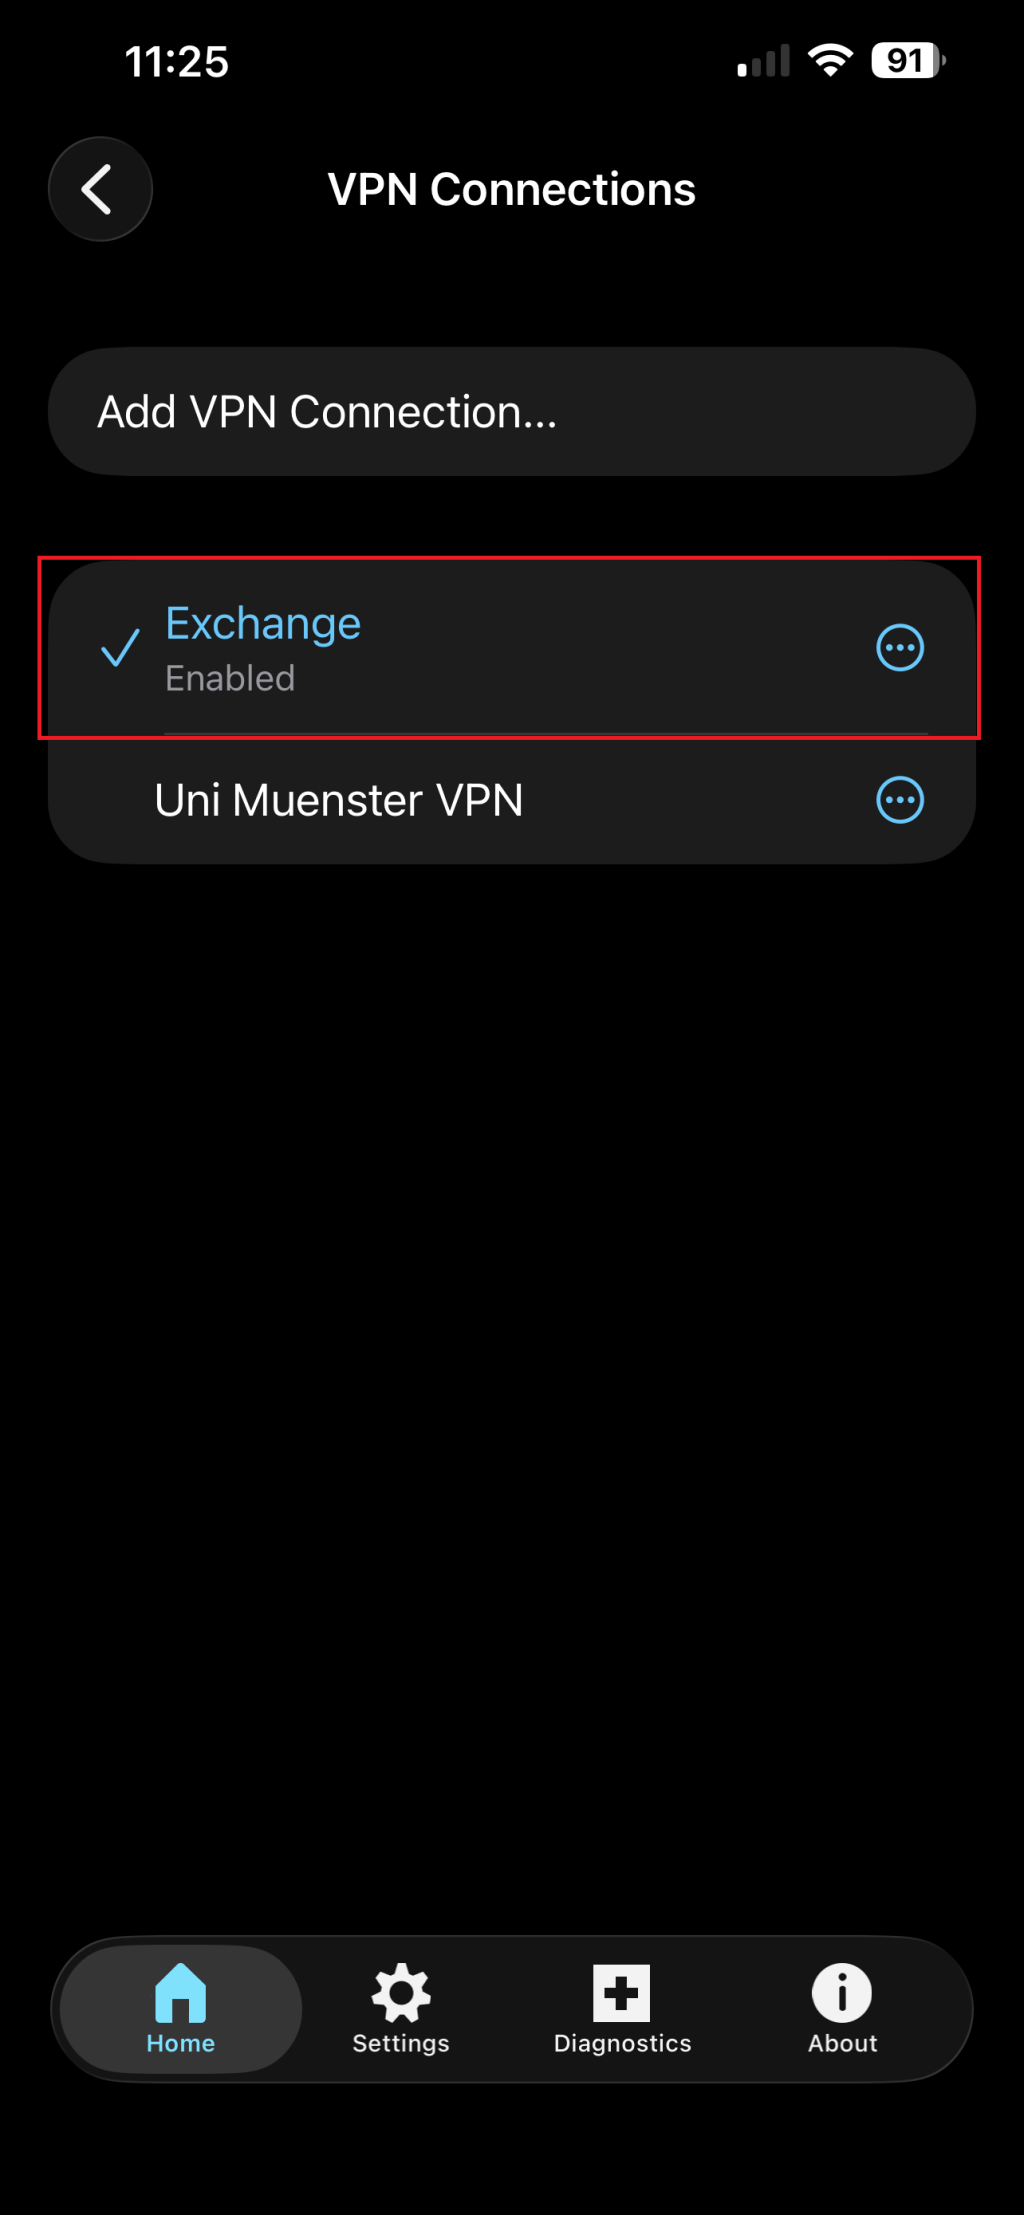
© CIT Select the Exchange-Server.

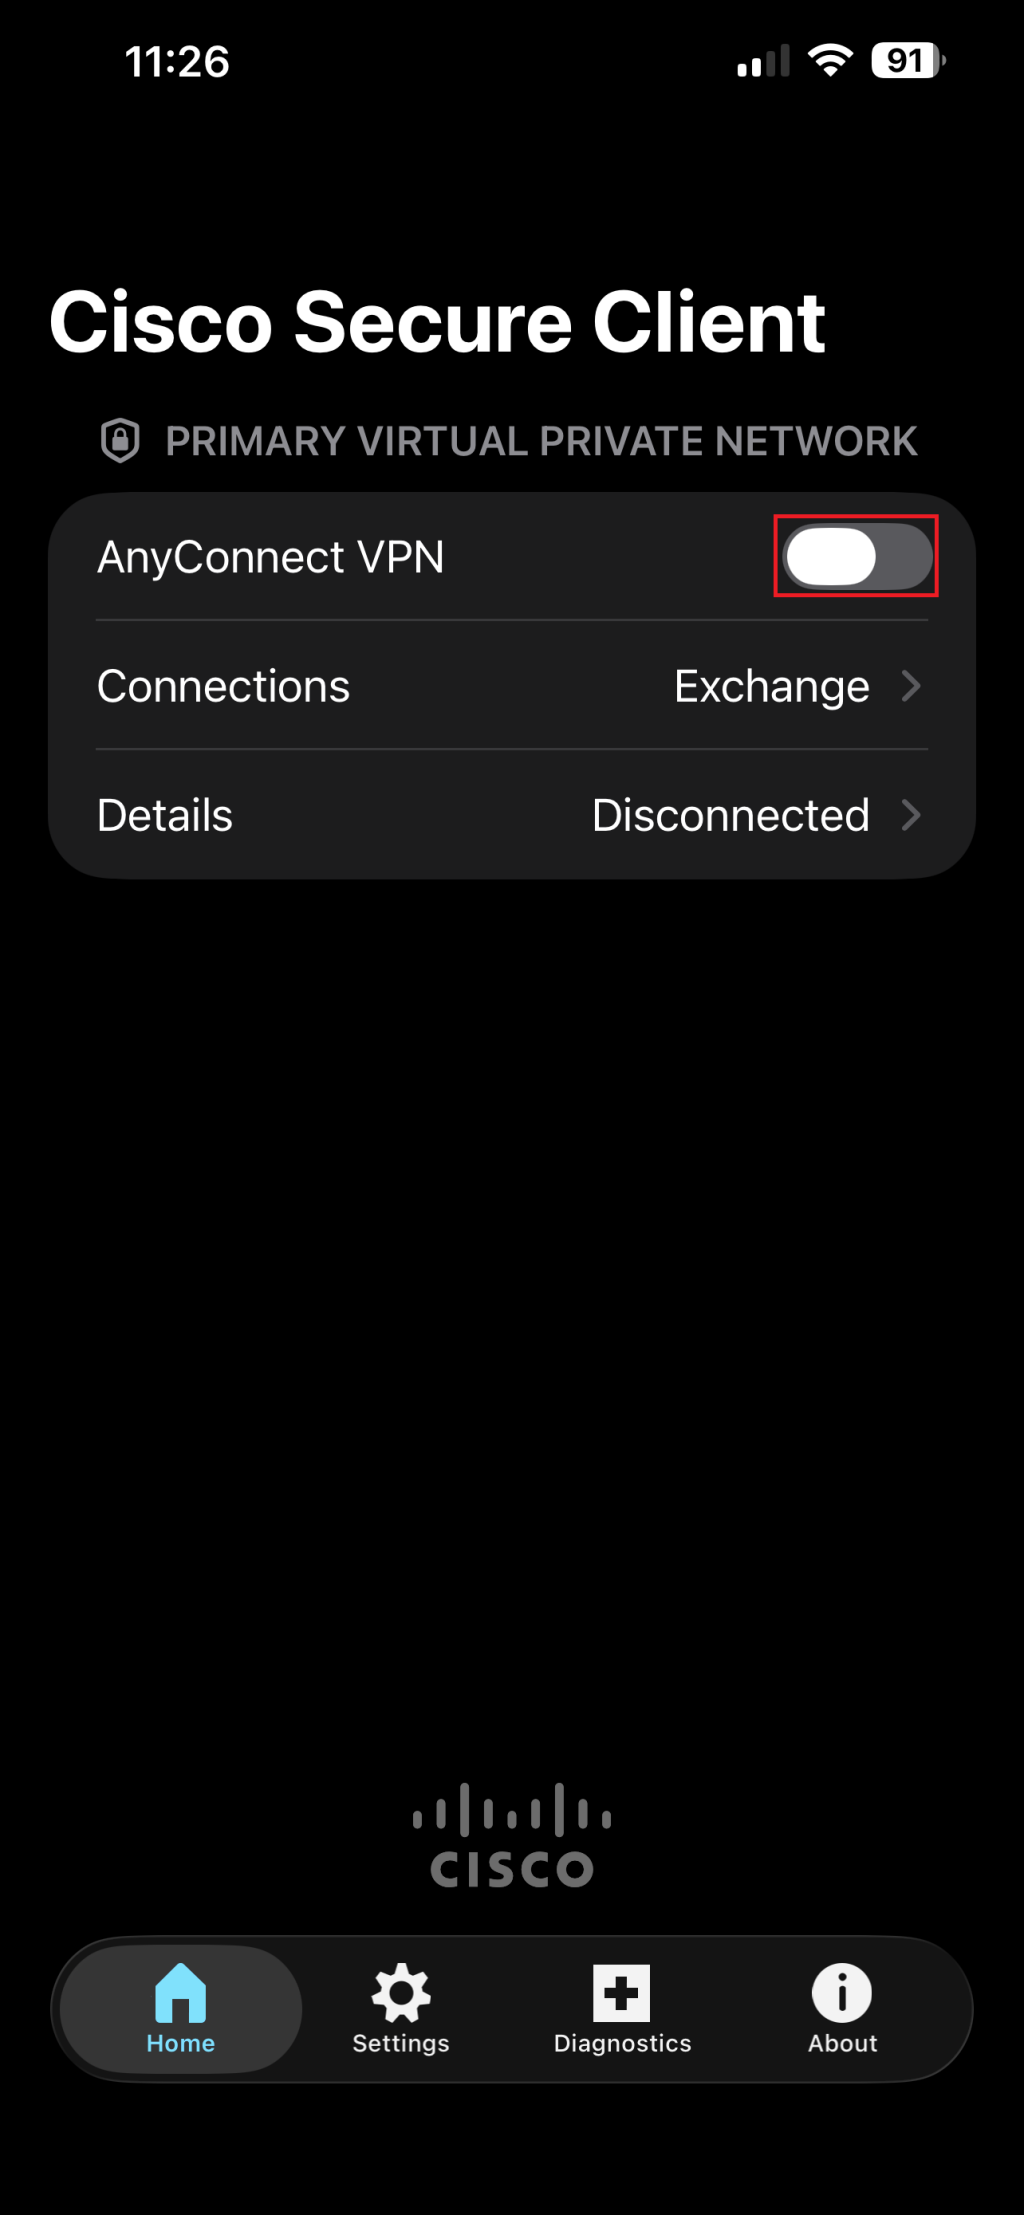
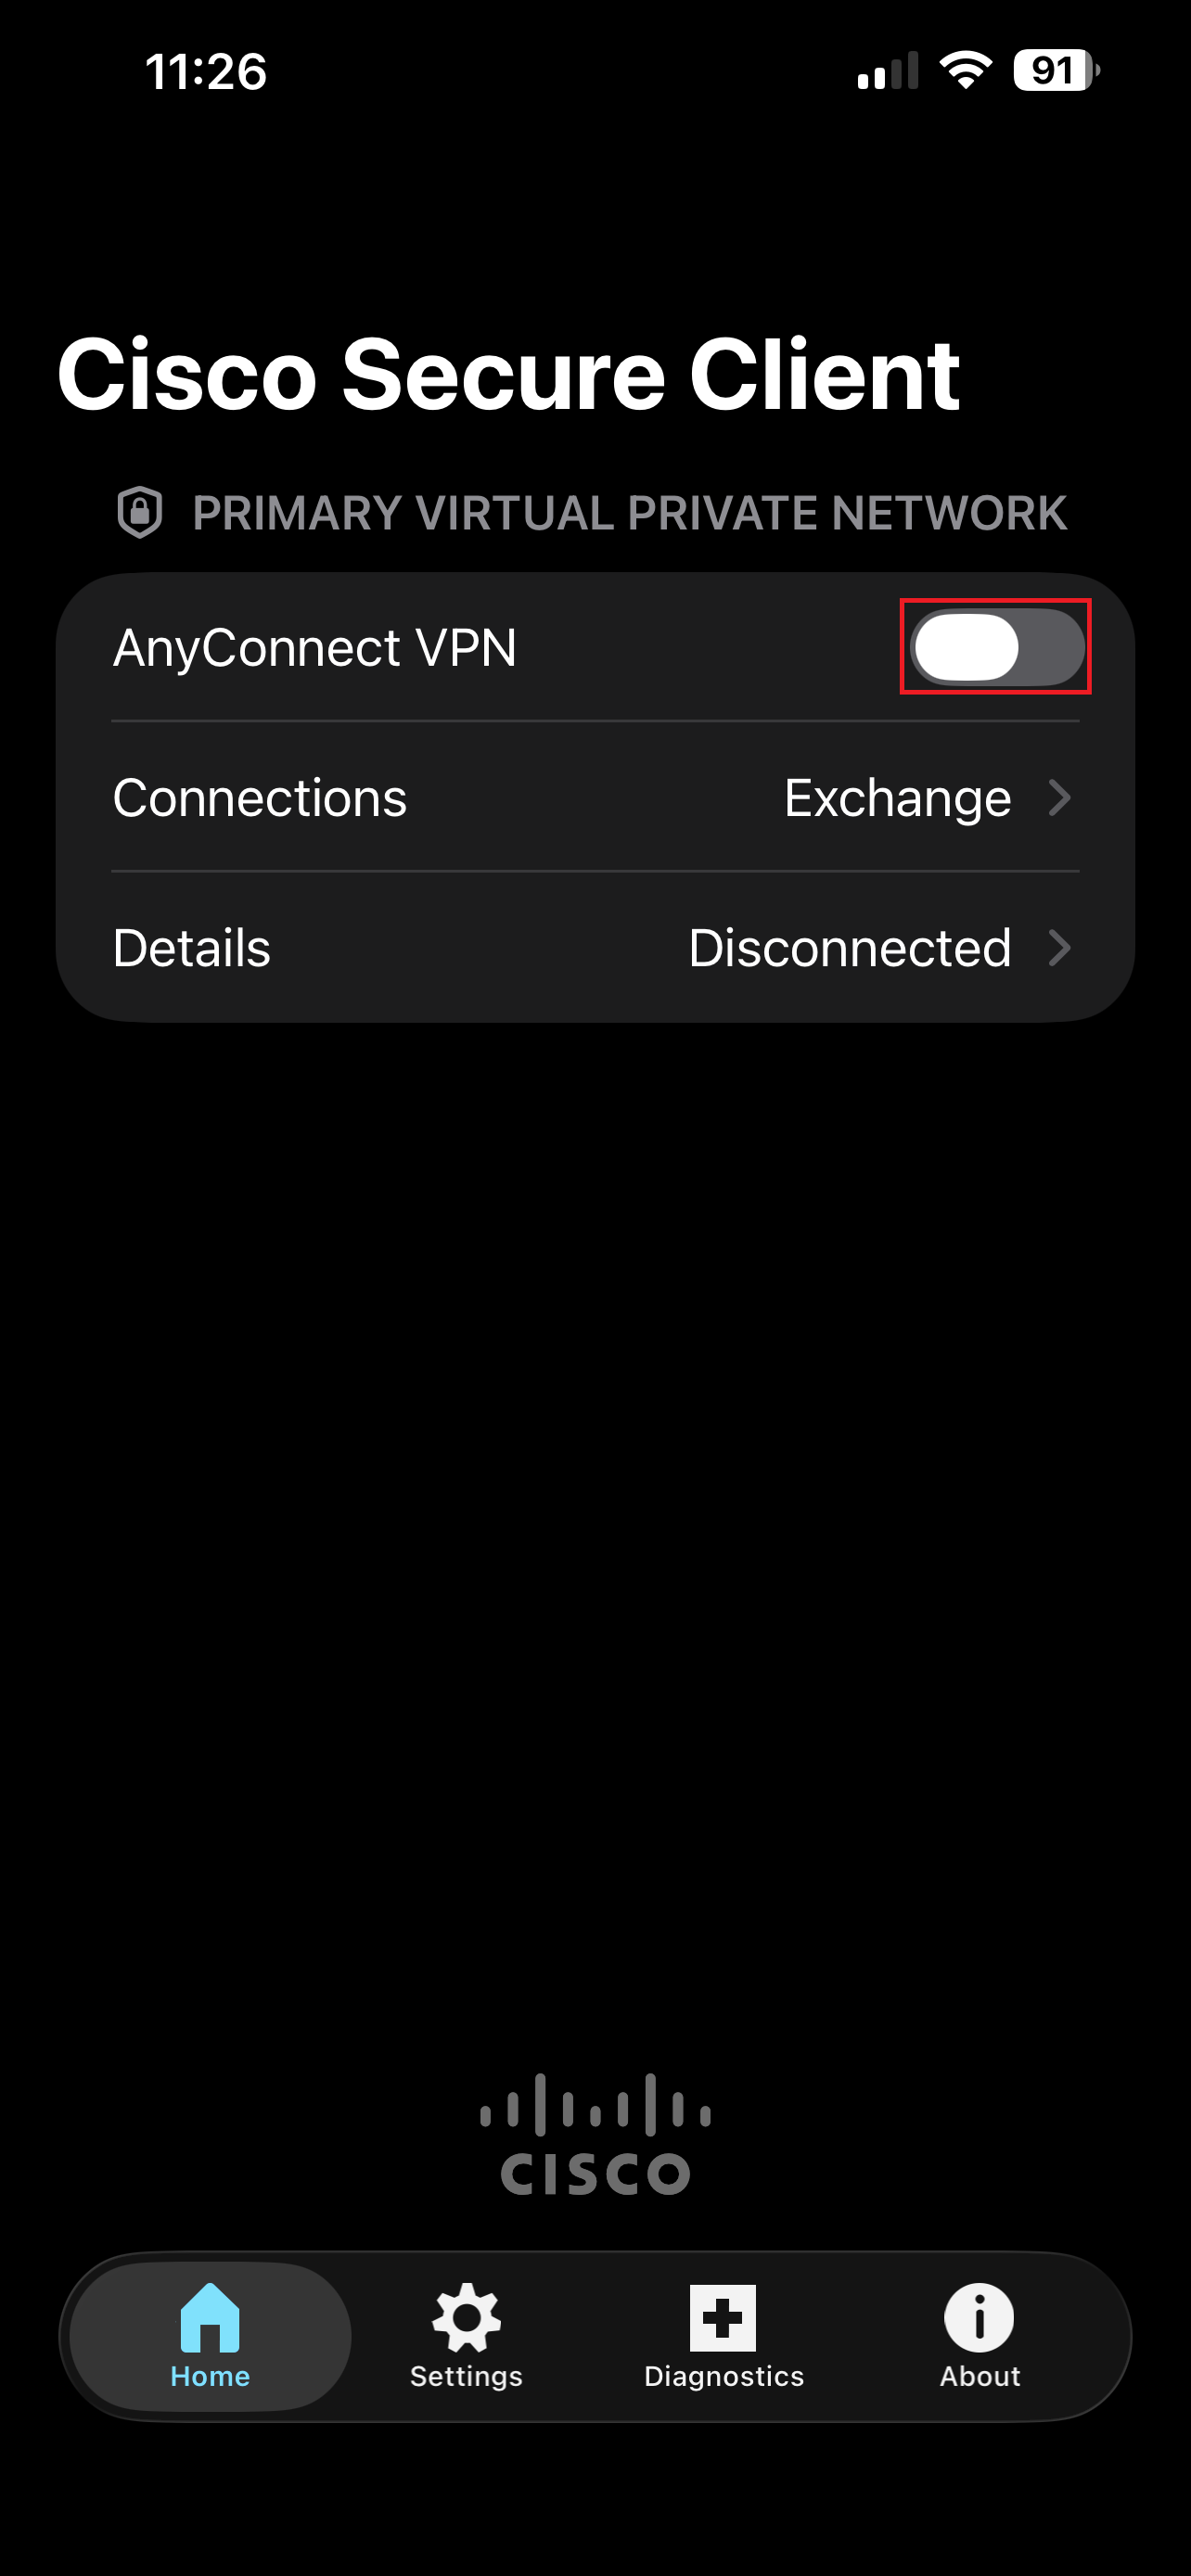
© CIT 2. VPN Startup
Start the VPN.
© CIT 3. Login
Log in using your university ID, your net-access password and your one-time-password.
Click on connect.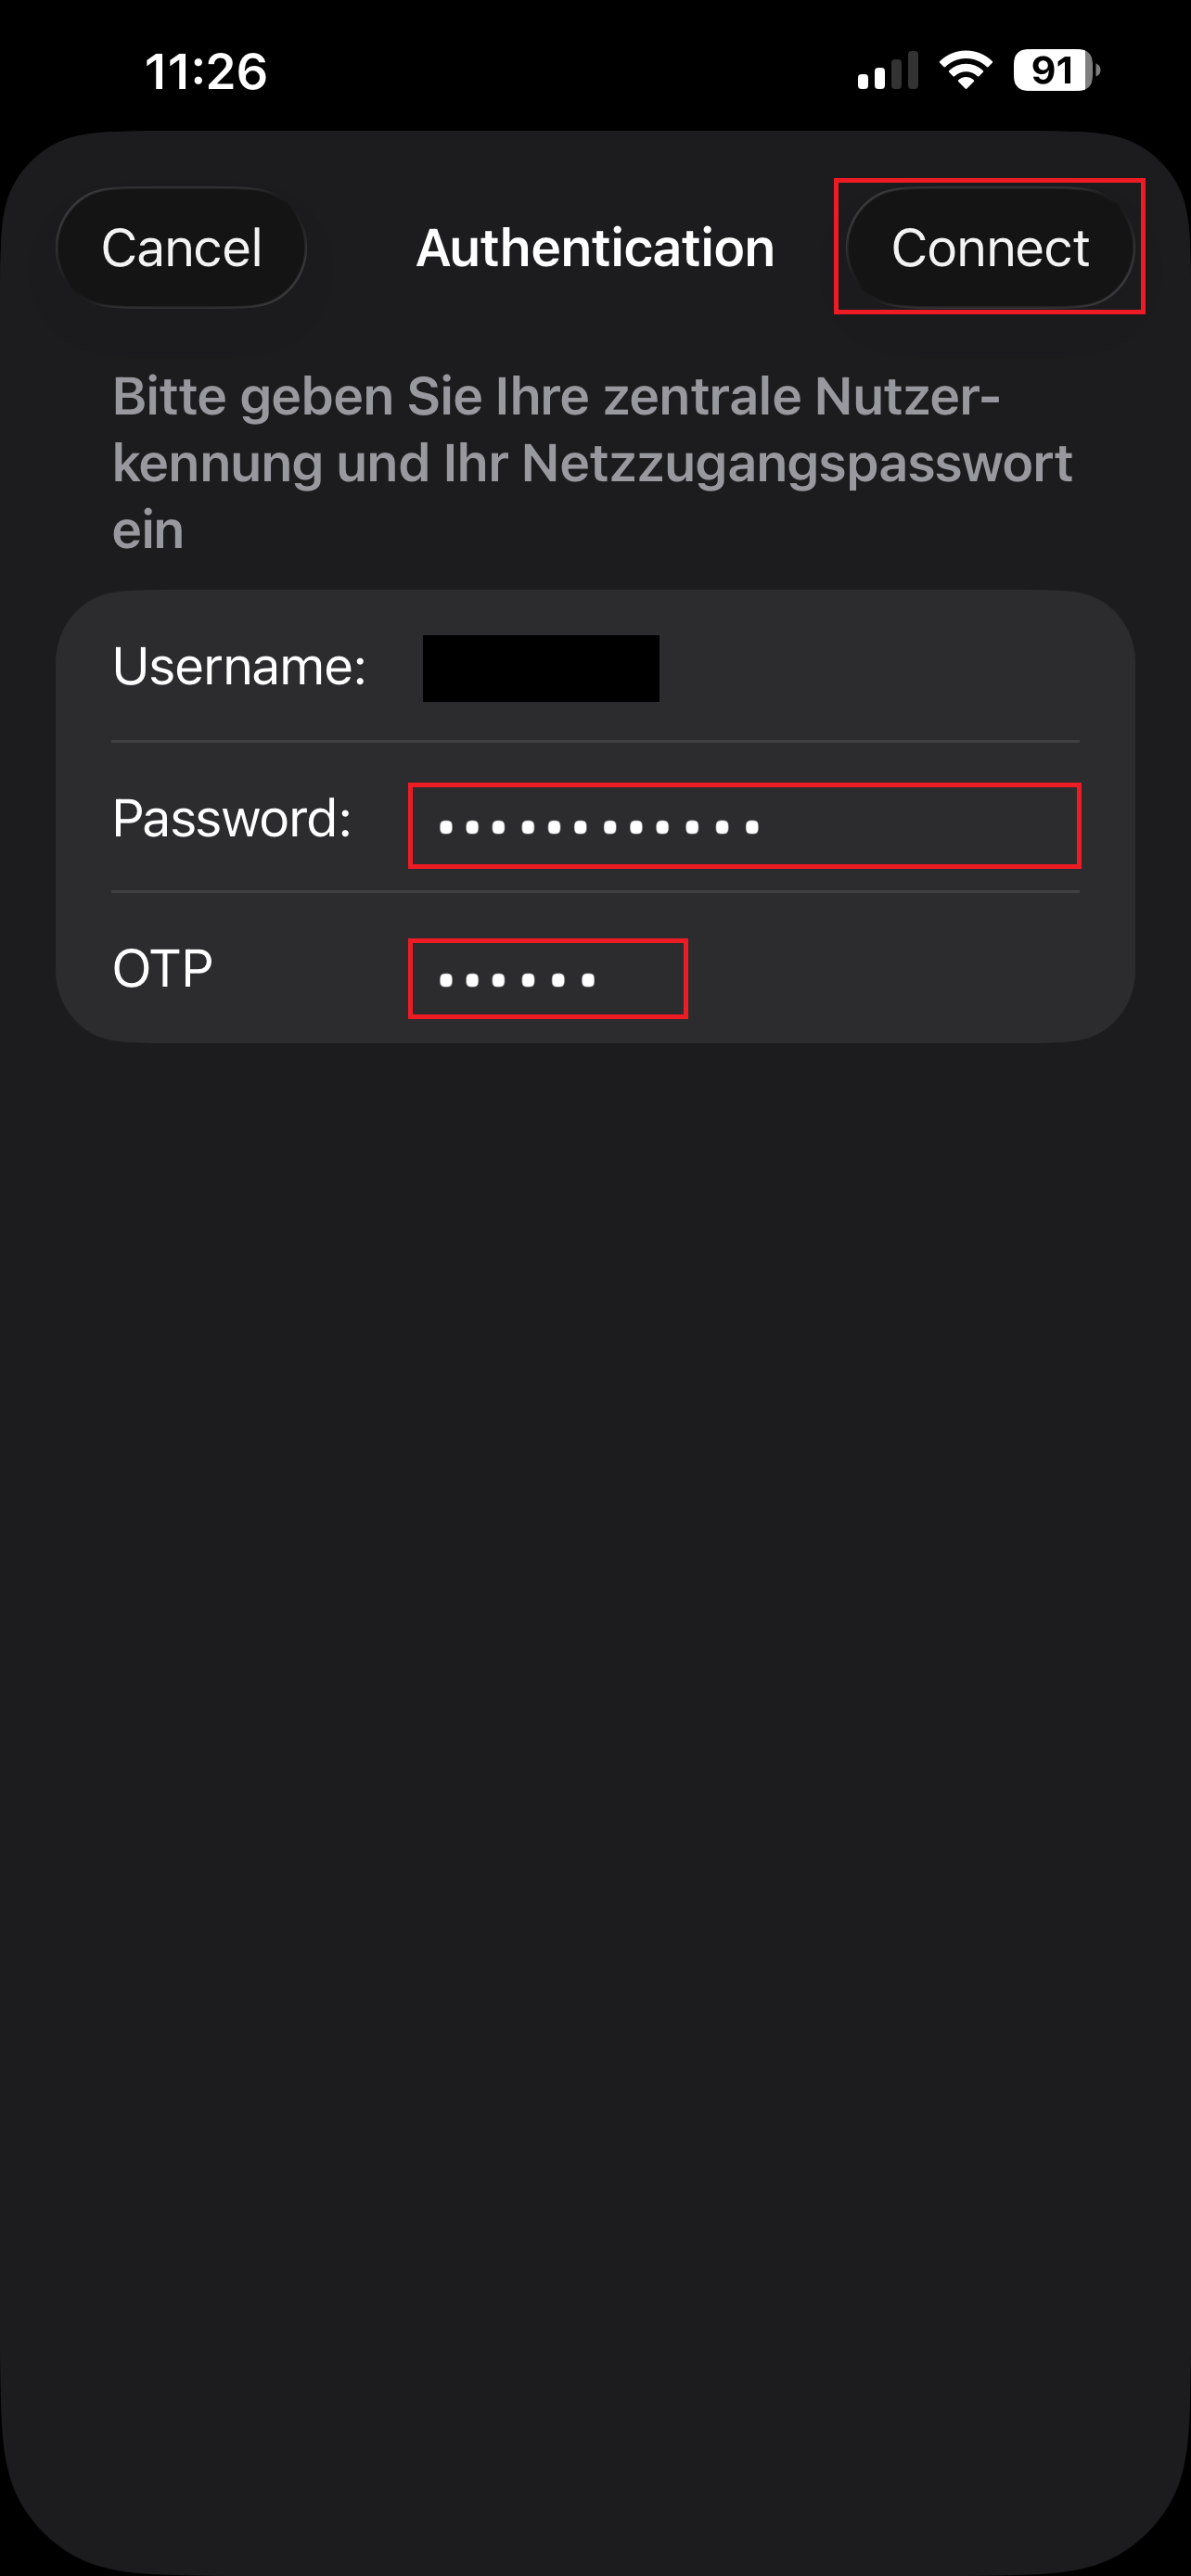
You are now connected. You can use the slider to turn the VPN off again.
© CIT To check if your iOS device is still connected to the VPN, you can open the Control Center by swiping down from the top right corner of your iOS device. There, next to your Wi-Fi or mobile data icon, you will find a VPN icon. As long as you see the icon there, your device remains connected to the university's VPN service.

© CIT