Integrating the University E-Mail Account in iOS Mail
Detailed Instructions
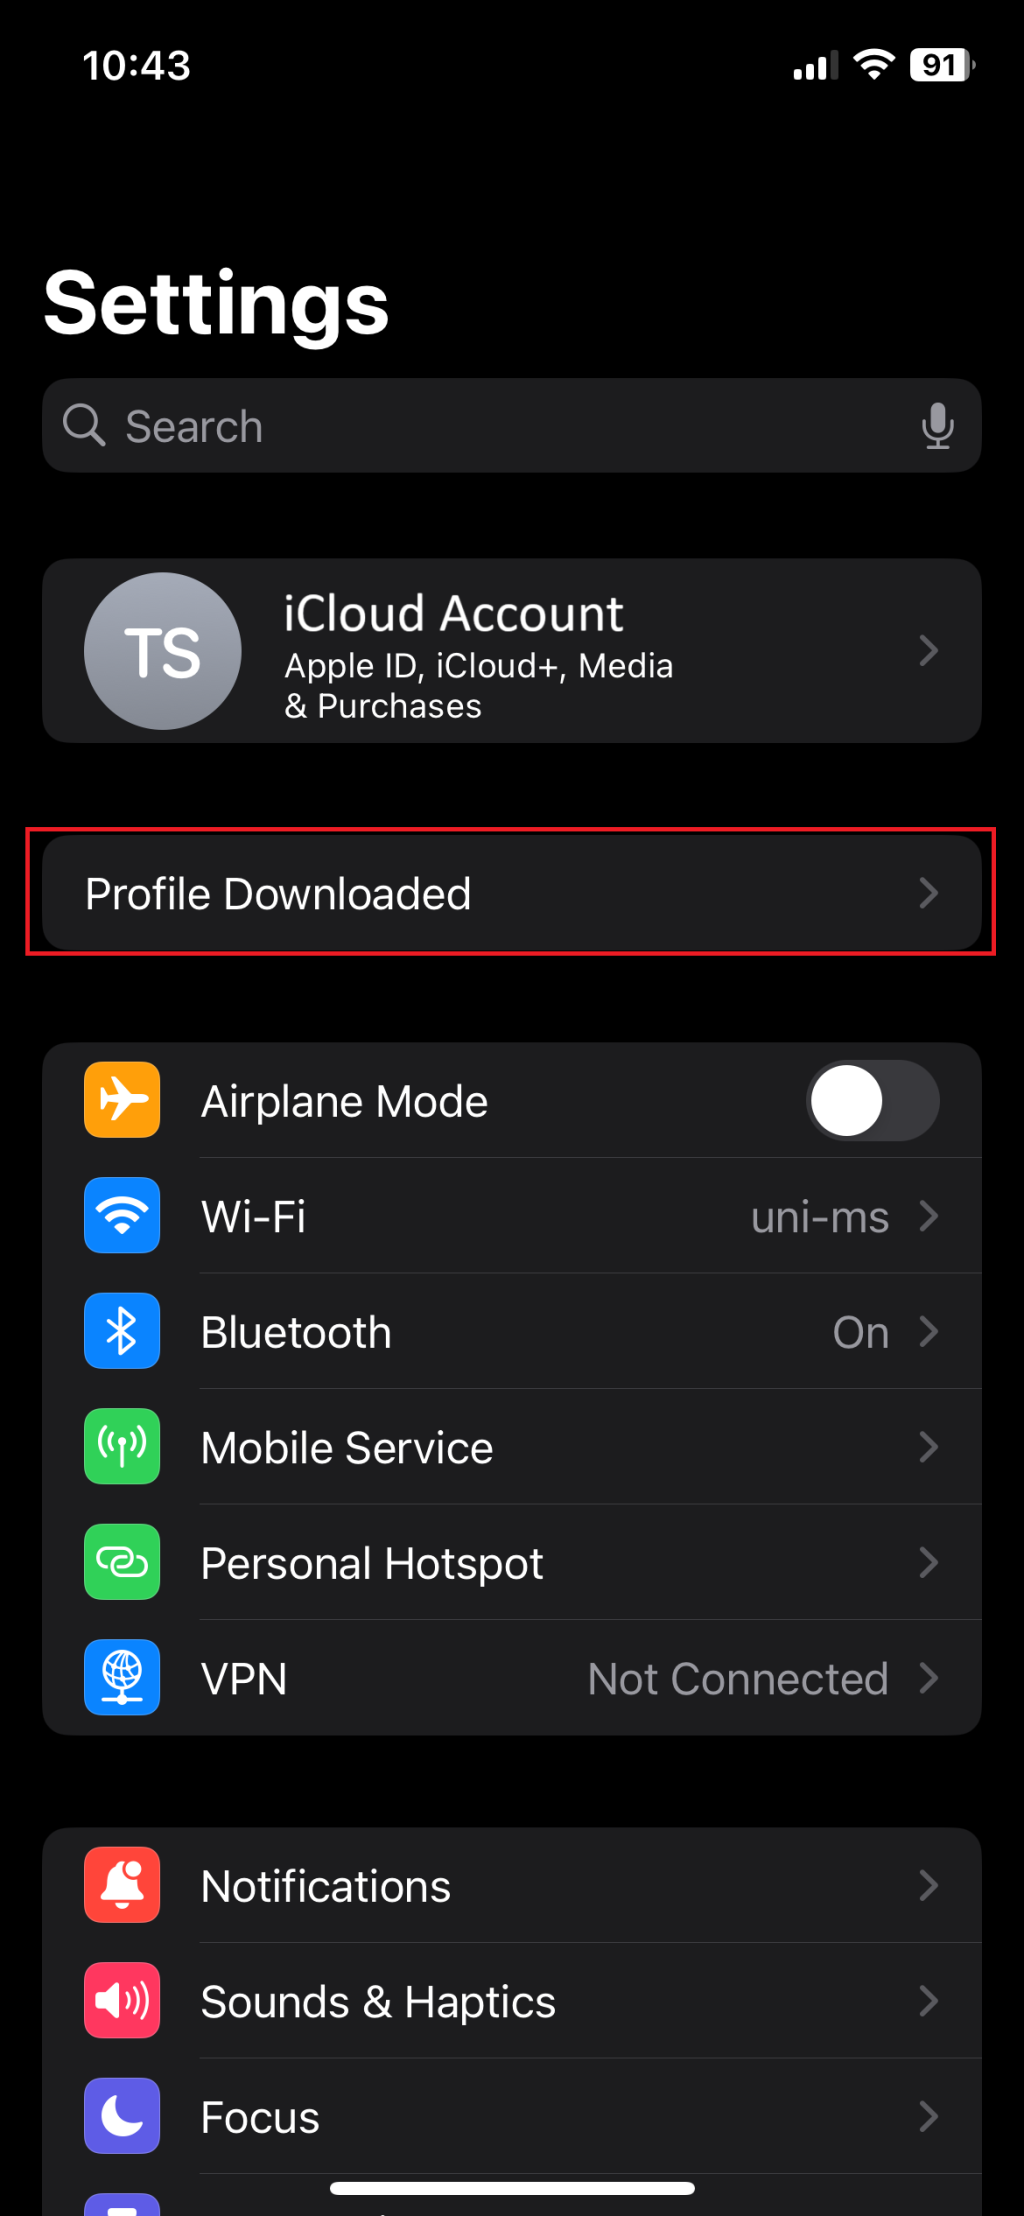
1. Load profile
The easiest way to install the settings is via a pre-made profile in which the most important configurations are already stored. To do this, first download the iOS profile and open it via the settings. (Note: If you are using a browser other than Safari, installation may not be possible).

© CIT 2. Install profile
Install profile.

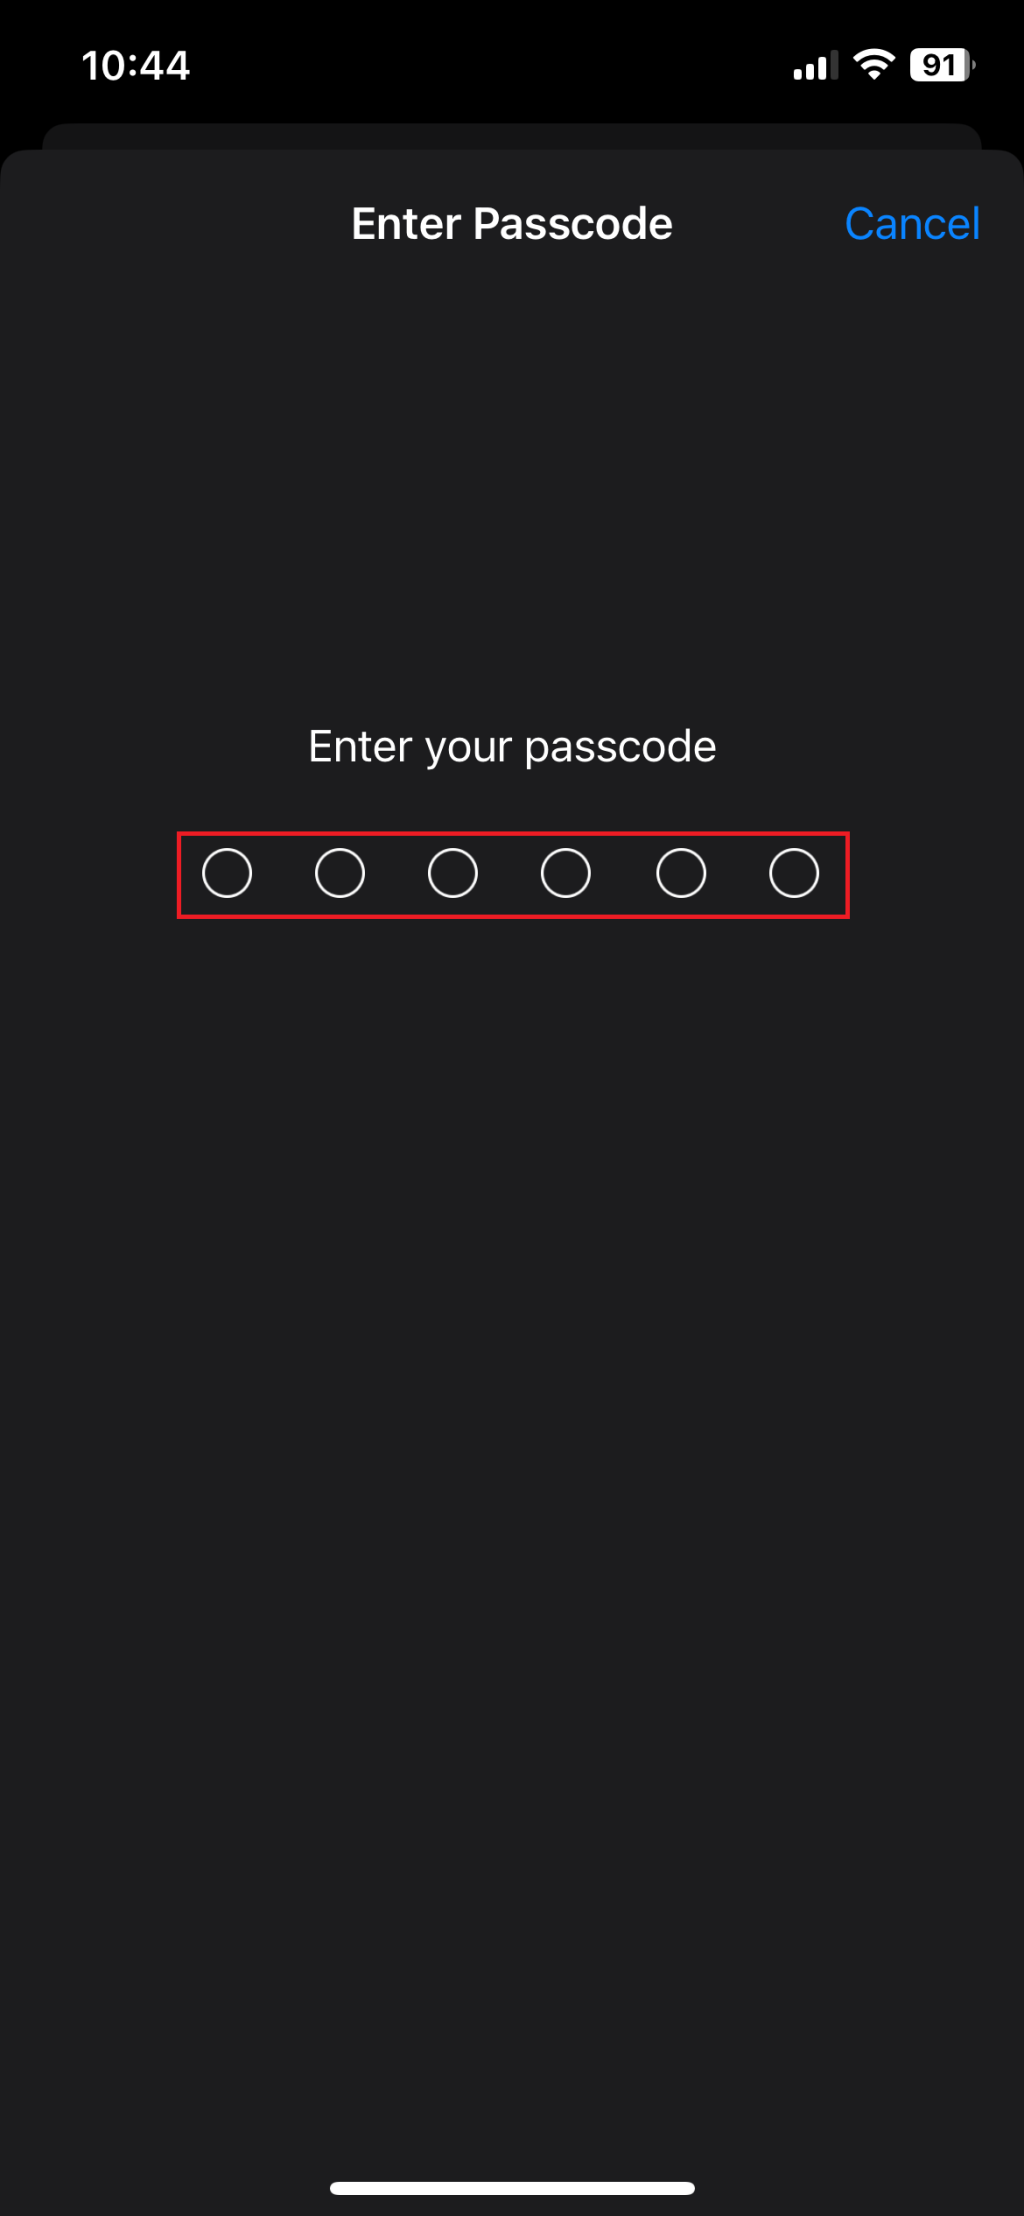
© CIT 3. Type in your code
Enter the security code of your iPhone.

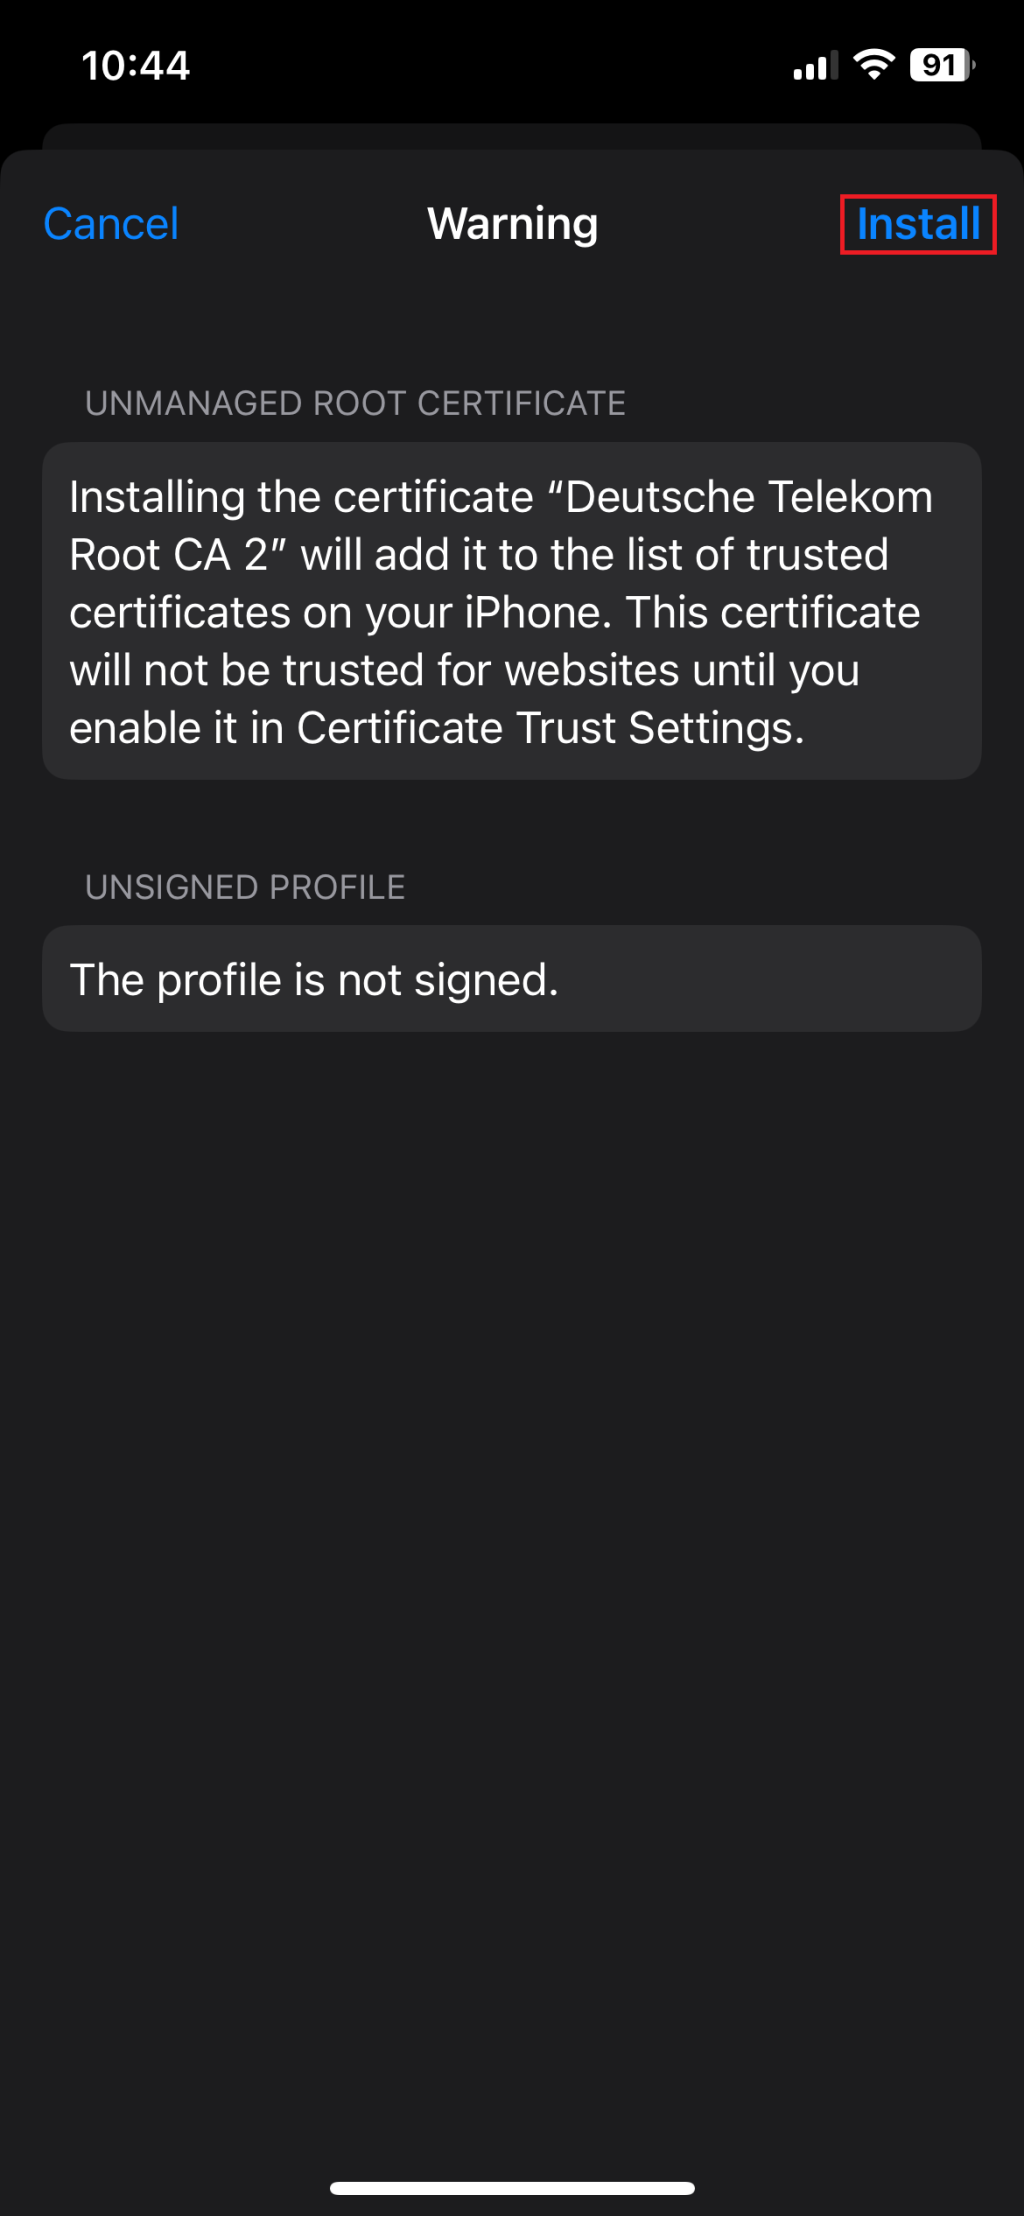
© CIT 4. Install profile
Press Install again.

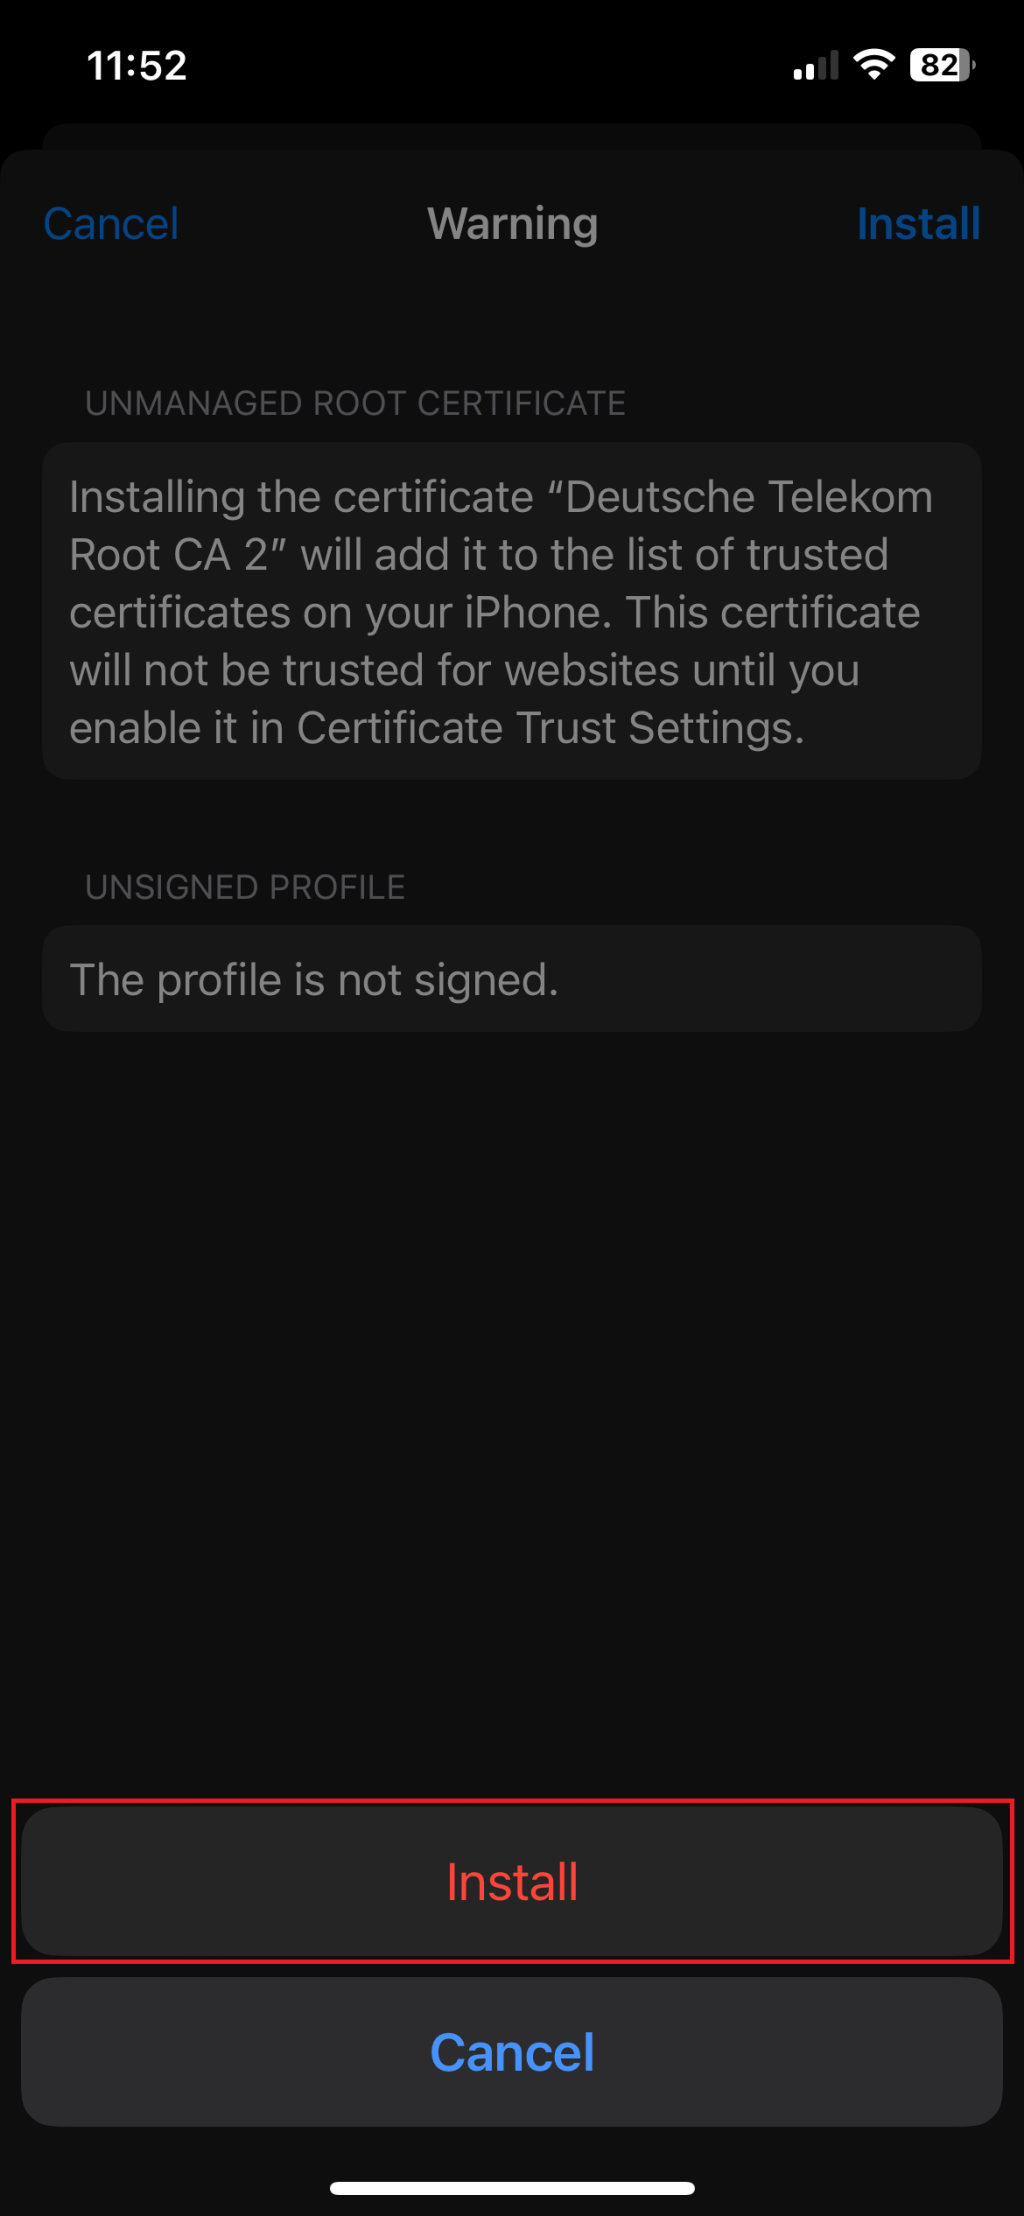
© CIT 5. Install
Press Install again.

© CIT 6. Type in your full name
Now enter your name (sender name of outgoing e-mails): "Name Surname".
Click "Next".
© CIT 7. Type in your university e-mail address
For the email address for your IMAP account enter your university e-mail address (University-ID@uni-muenster.de).
Then click "Next".

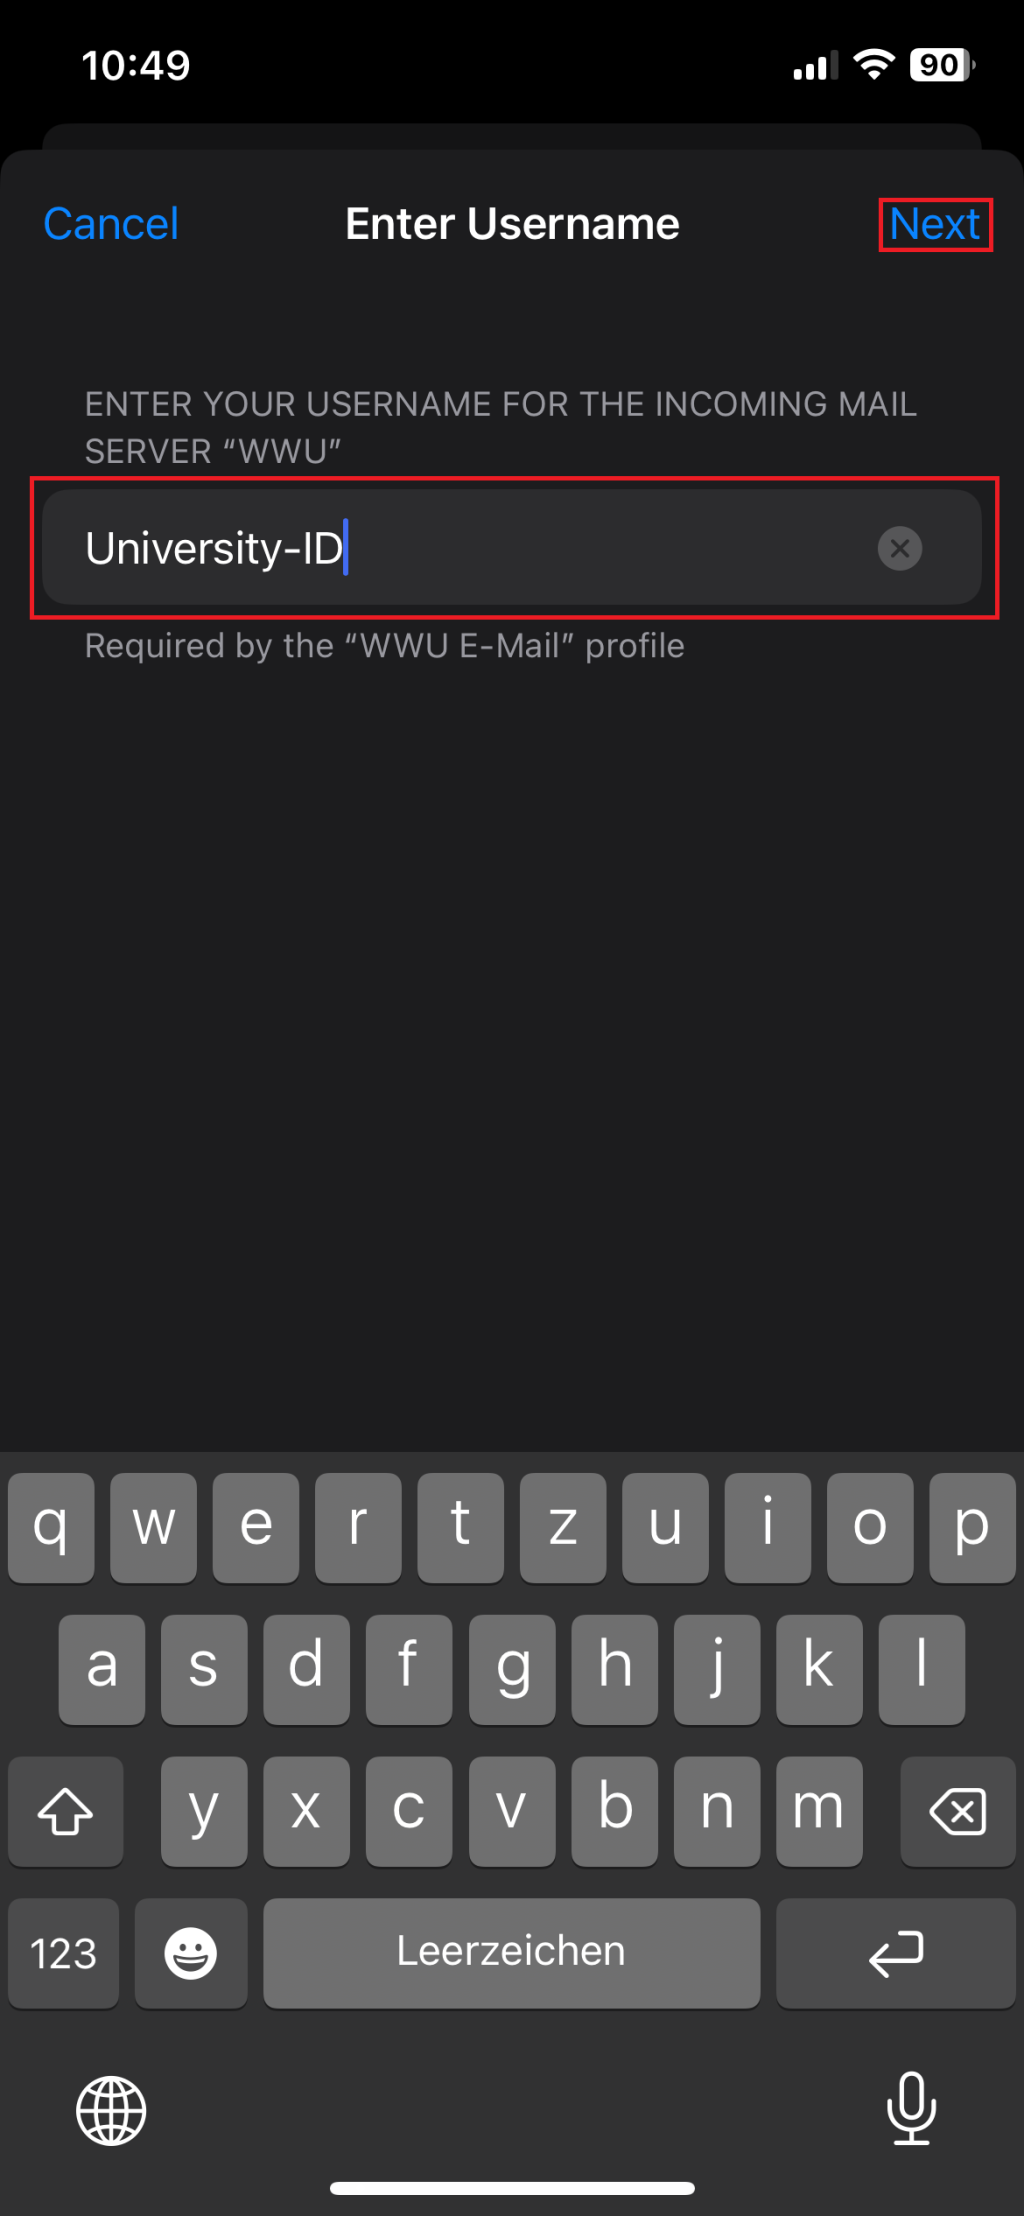
8. Type in your University-ID
Enter your university ID as the user name for the server (incoming mail server).
Make sure that only your University ID is entered there, not the entire e-mail address.
Click "Next".
© CIT 9. Type in your University password
Enter your University password as the password for the server.
Click "Next".
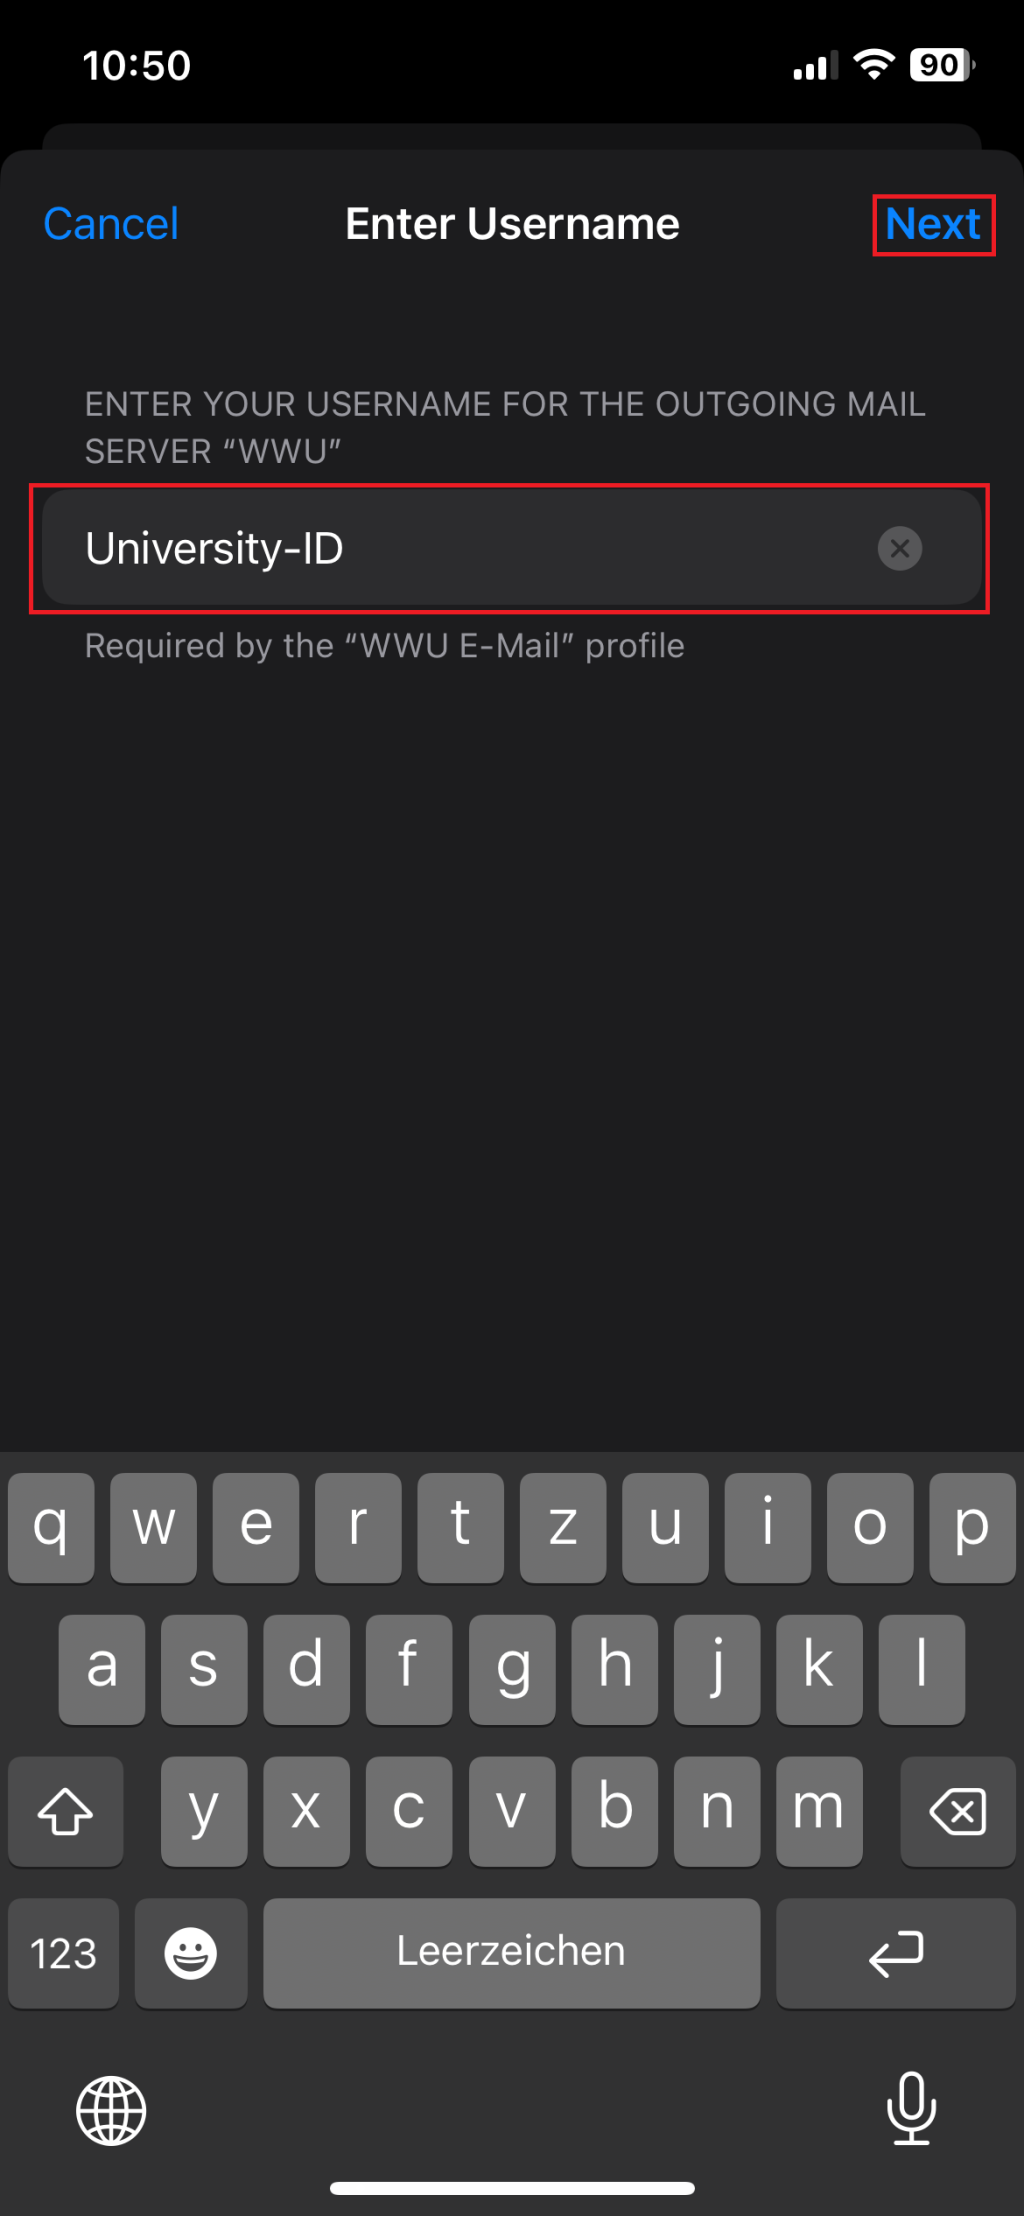
© CIT 10. Type in your University-ID
Enter your University-ID as the user name for the server (outgoing mail server).
Make sure that only your University-ID is entered there, not the entire e-mail address.
Click "Next".
© CIT 11. Finish the installation
Click "Done" in the following window.

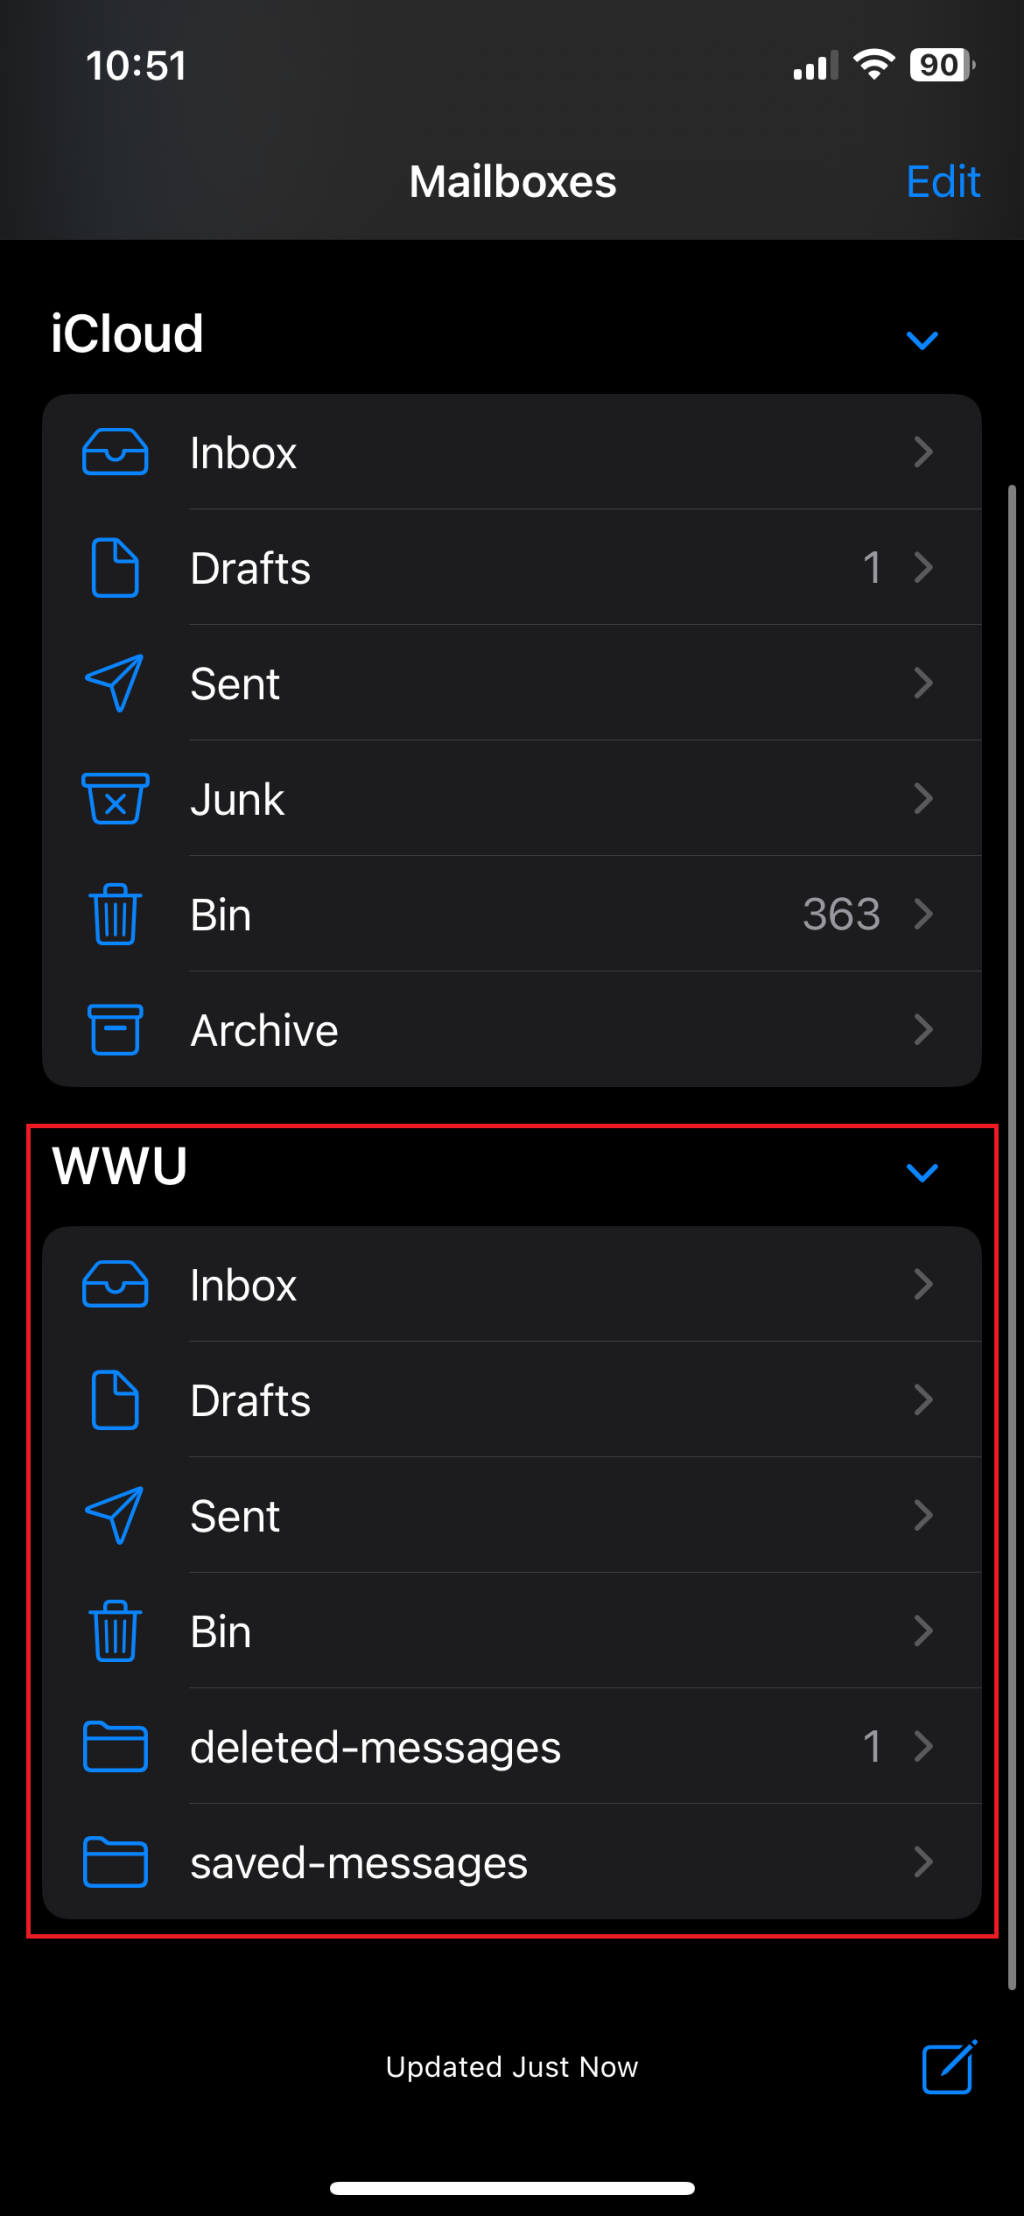
© CIT 12. Retrieve mails
You can then select your Uni Münster mailbox via your mail program.

© CIT