Integrating the University E-Mail Account in Android
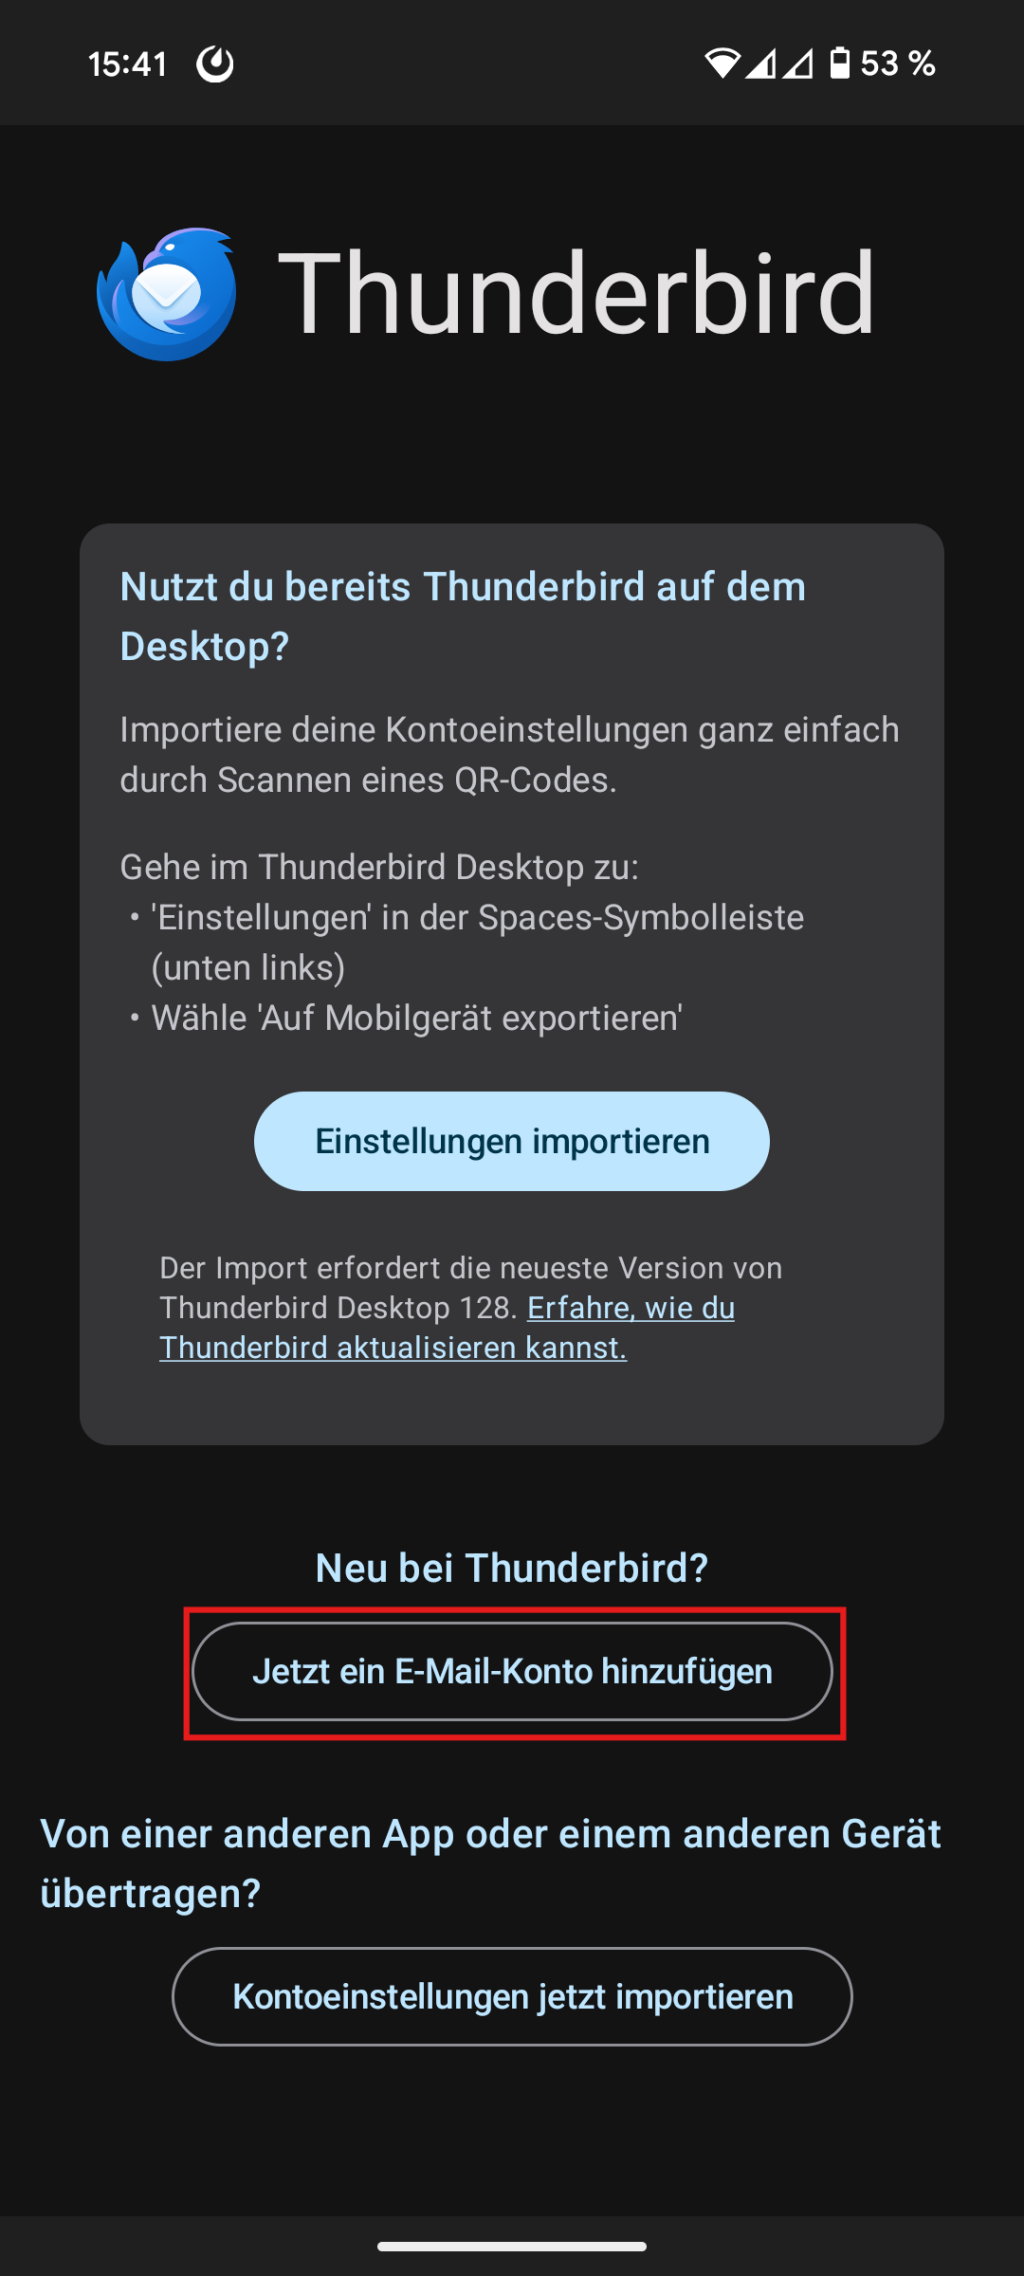
 Mail

  • Detailed Instructions

    1. Adding an E-Mail account

    Open your standard E-mail program via your App and go to add account or use the +-symbol.

    Alternatively, you can also add an account via Settings > Accounts & SynchronisationAdd Accounts.

    The menu architecture and layout might differ slightly depending on your Android version and the device used. Nevertheless, the subsequent relevant parameters are basically the same. Differing settings may be found at the end of this manual.

    1. Adding an E-Mail account

    2. User Credentials

    2. User Credentials

    3. Account options

    3. Account options

    4. Set up E-mail

    4. Set up E-mail

    If the integration does not work properly you can find the standard parameters so that you can set up the E-mail account manually. In this case, please enter the information as stated here.

    Incoming mail server

    User credentials: 
    User name: ZIV user ID; NOT your E-mail address
    Password: Central standard password

    Incoming server: 
    IMAP server: imap.uni-muenster.de
    Security type: SSL
    Port: 993
    IMAP path prefix: Mail

    Alternatively you can use POP3 instead of IMAP (see details below): 
    POP3 Server: pop.uni-muenster.de
    Sicherheitstyp: 993
    Port: 995

    Incoming mail server

    Outgoing mail server

    Outgoing mail server

    Account setup - account types

    Account setup - account types

    Account setup - outgoing mail server

    Account setup - outgoing mail server