Setting Up the Remote Desktop under macOS
Note: Do not save your documents locally on the remote desktop (desktop, drives C: and D:). User profiles and all locally stored data are deleted at the latest 10 days after the last use (or earlier if necessary).
Step-by-Step Instructions
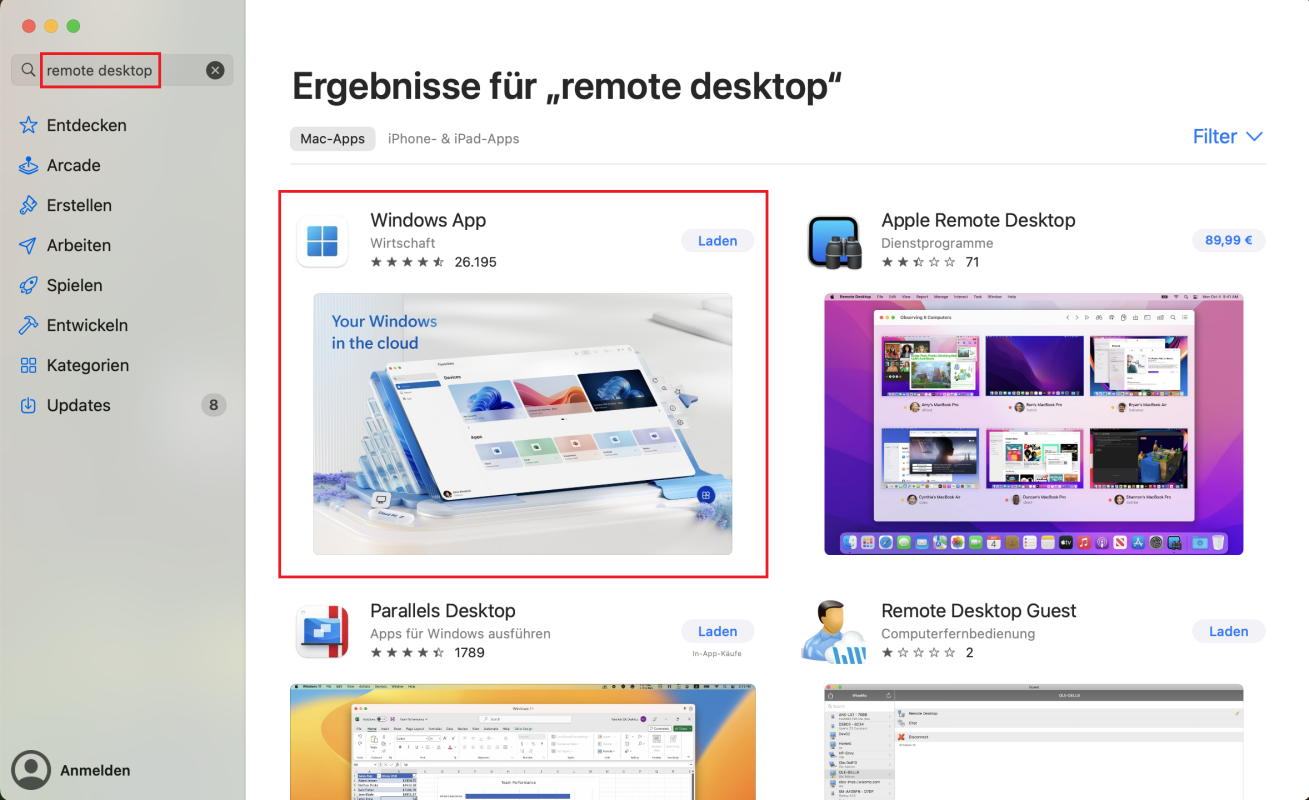
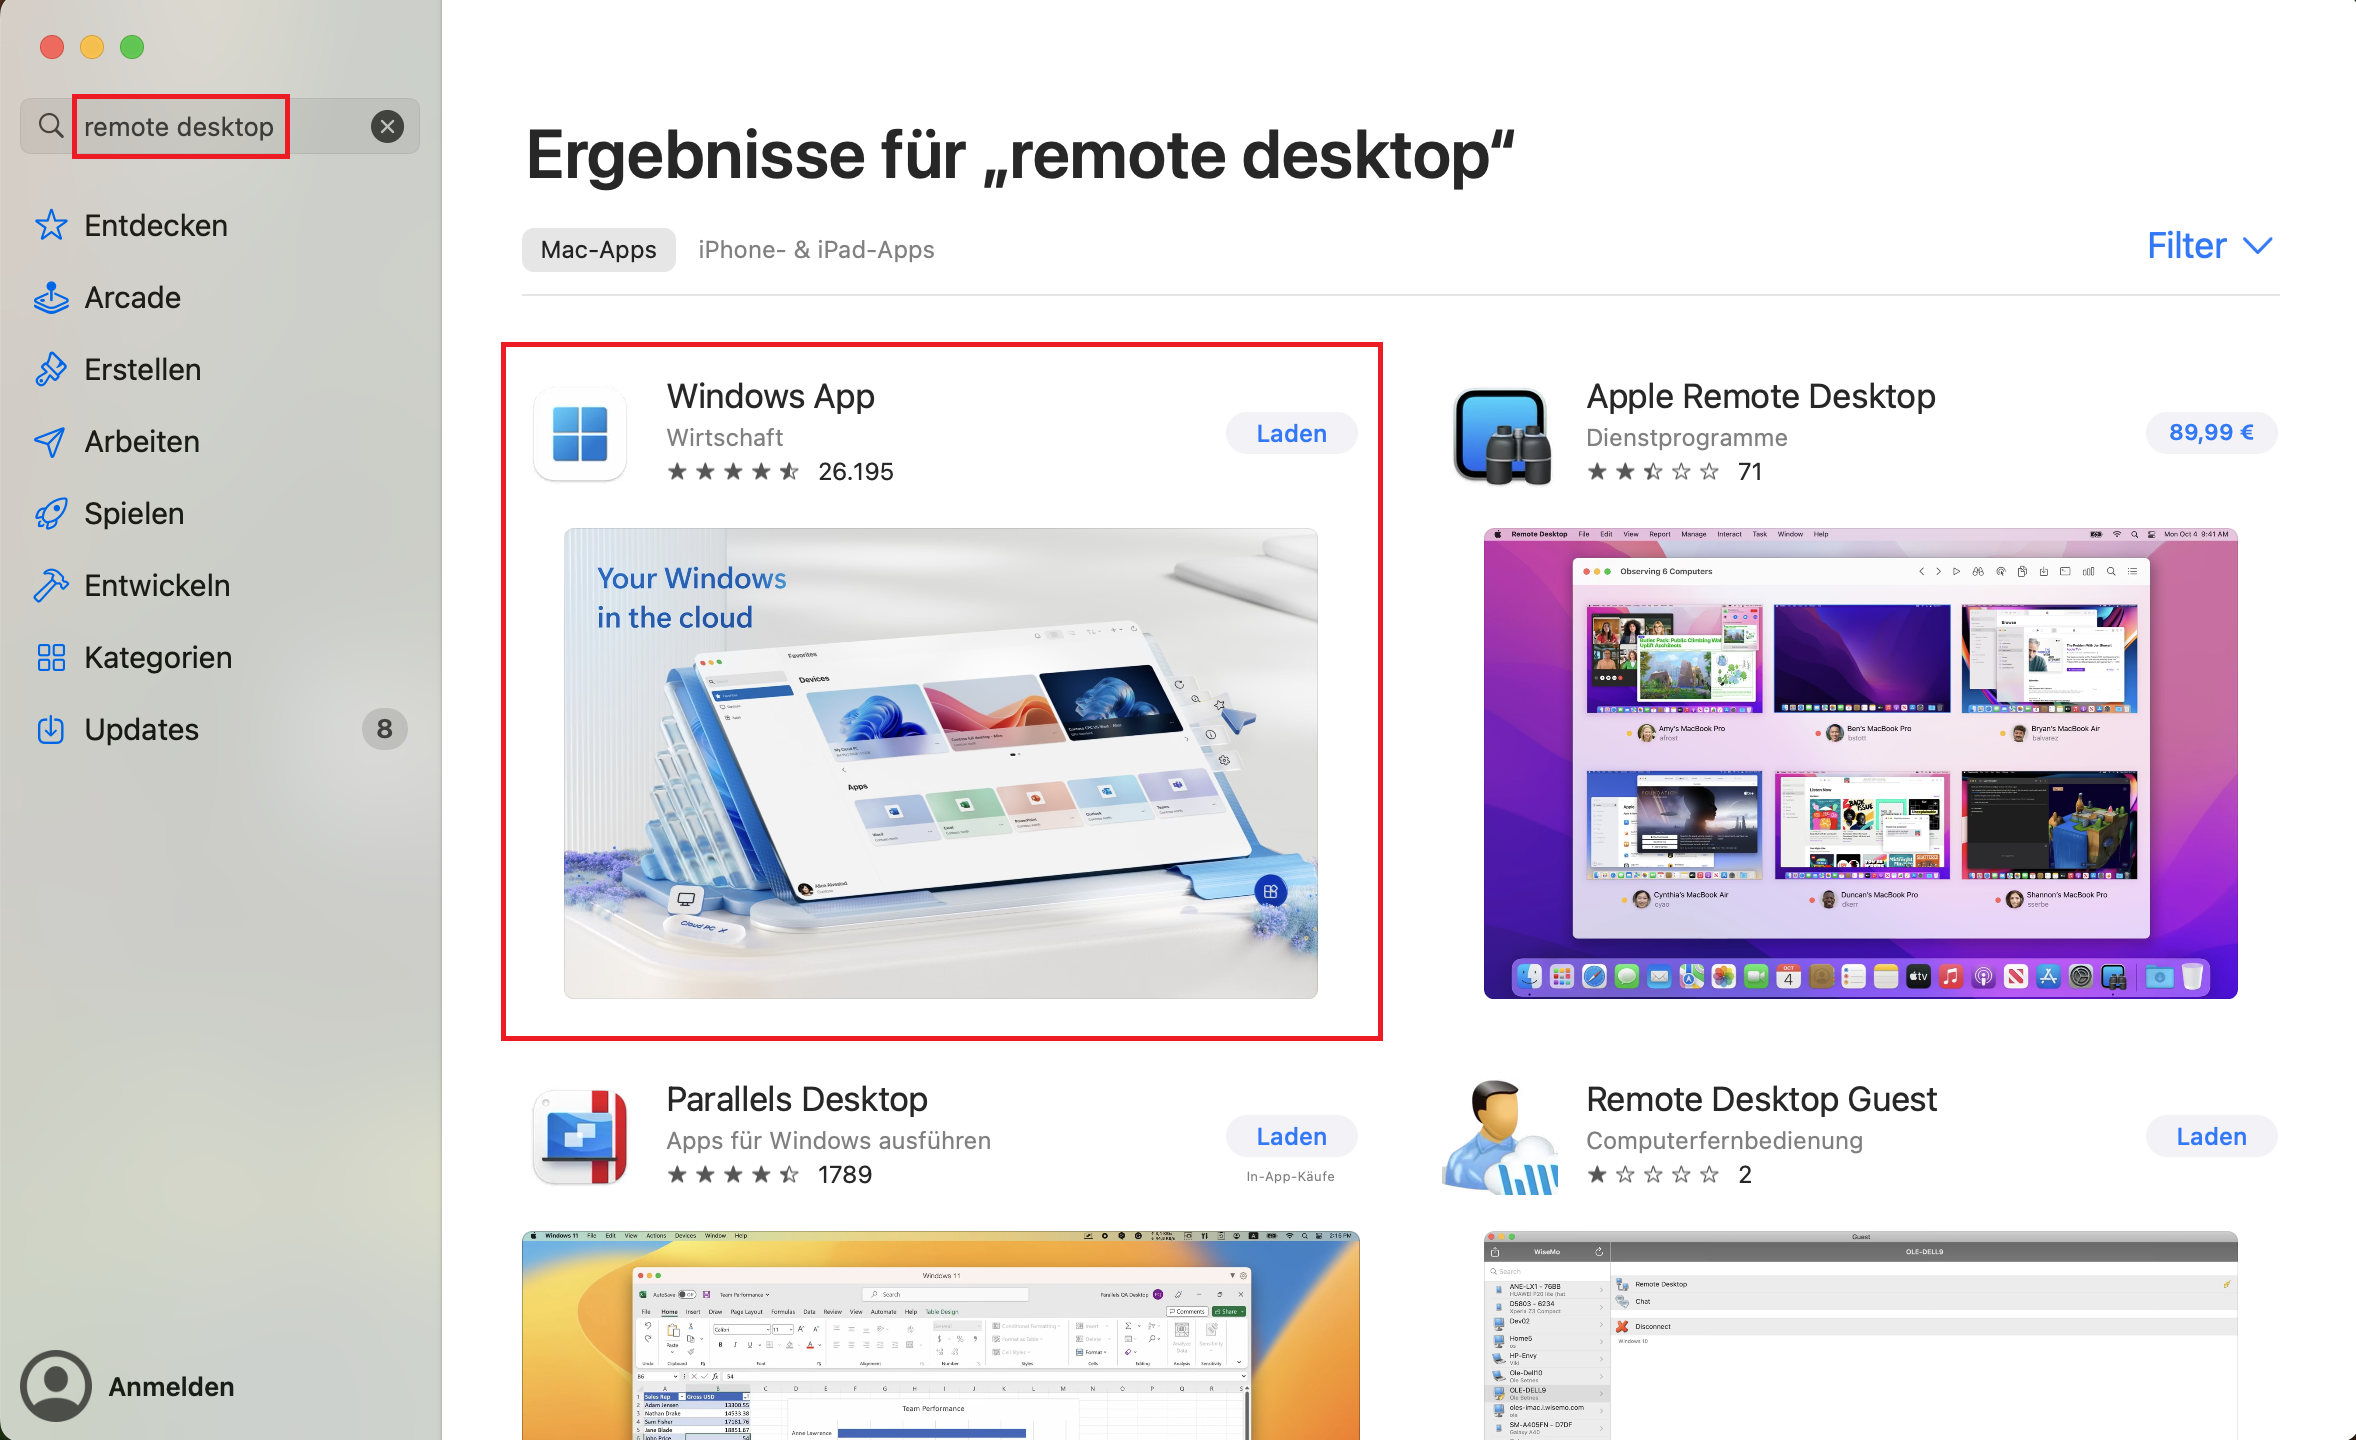
1. Download of the Client
The RDC Client (Remote Desktop Connection Client) for macOS is needed to use the remote desktop. The client can be downloaded free of charge at the App Store. Open the client after the download. The „Windows App“ can be found in your applications folder.
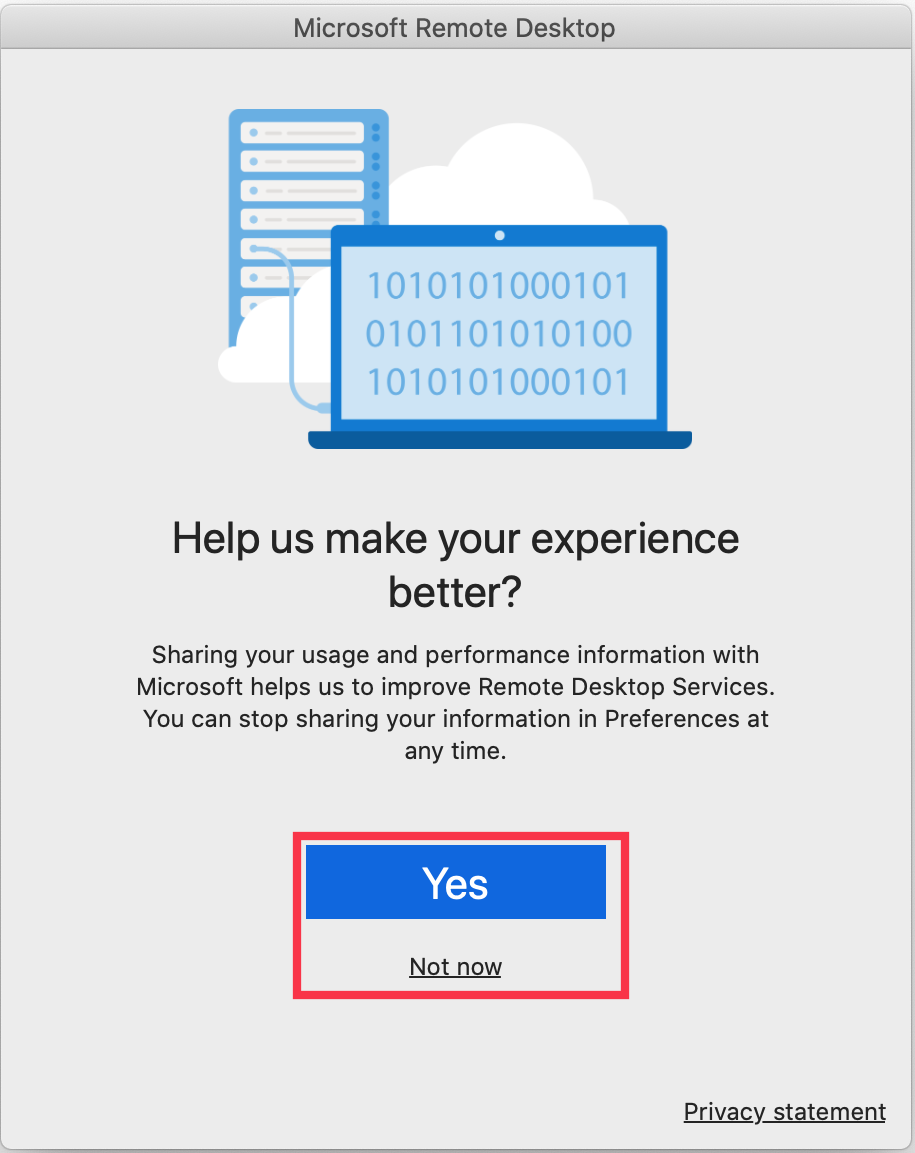
© CIT 2. Privacy Settings
Choose wether you want to share your usage information with microsoft or not. We recommend not to share the information.
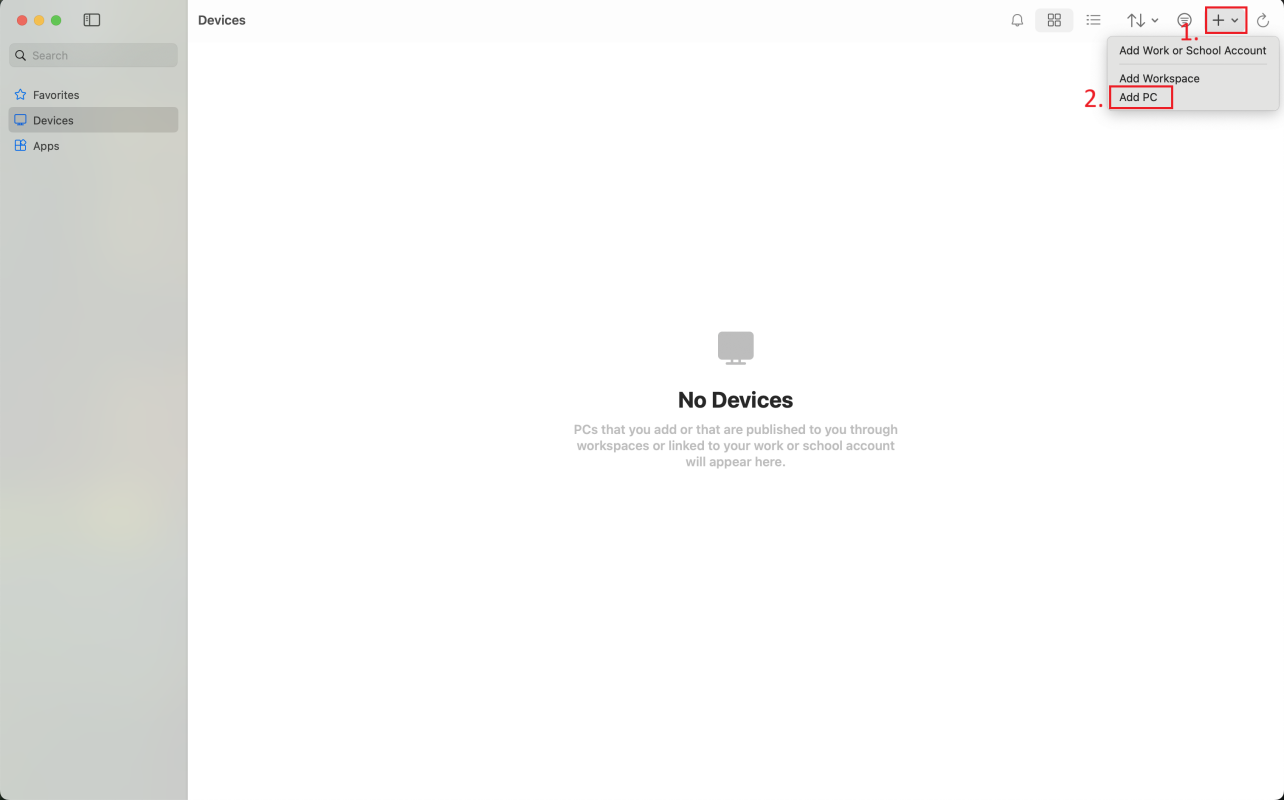
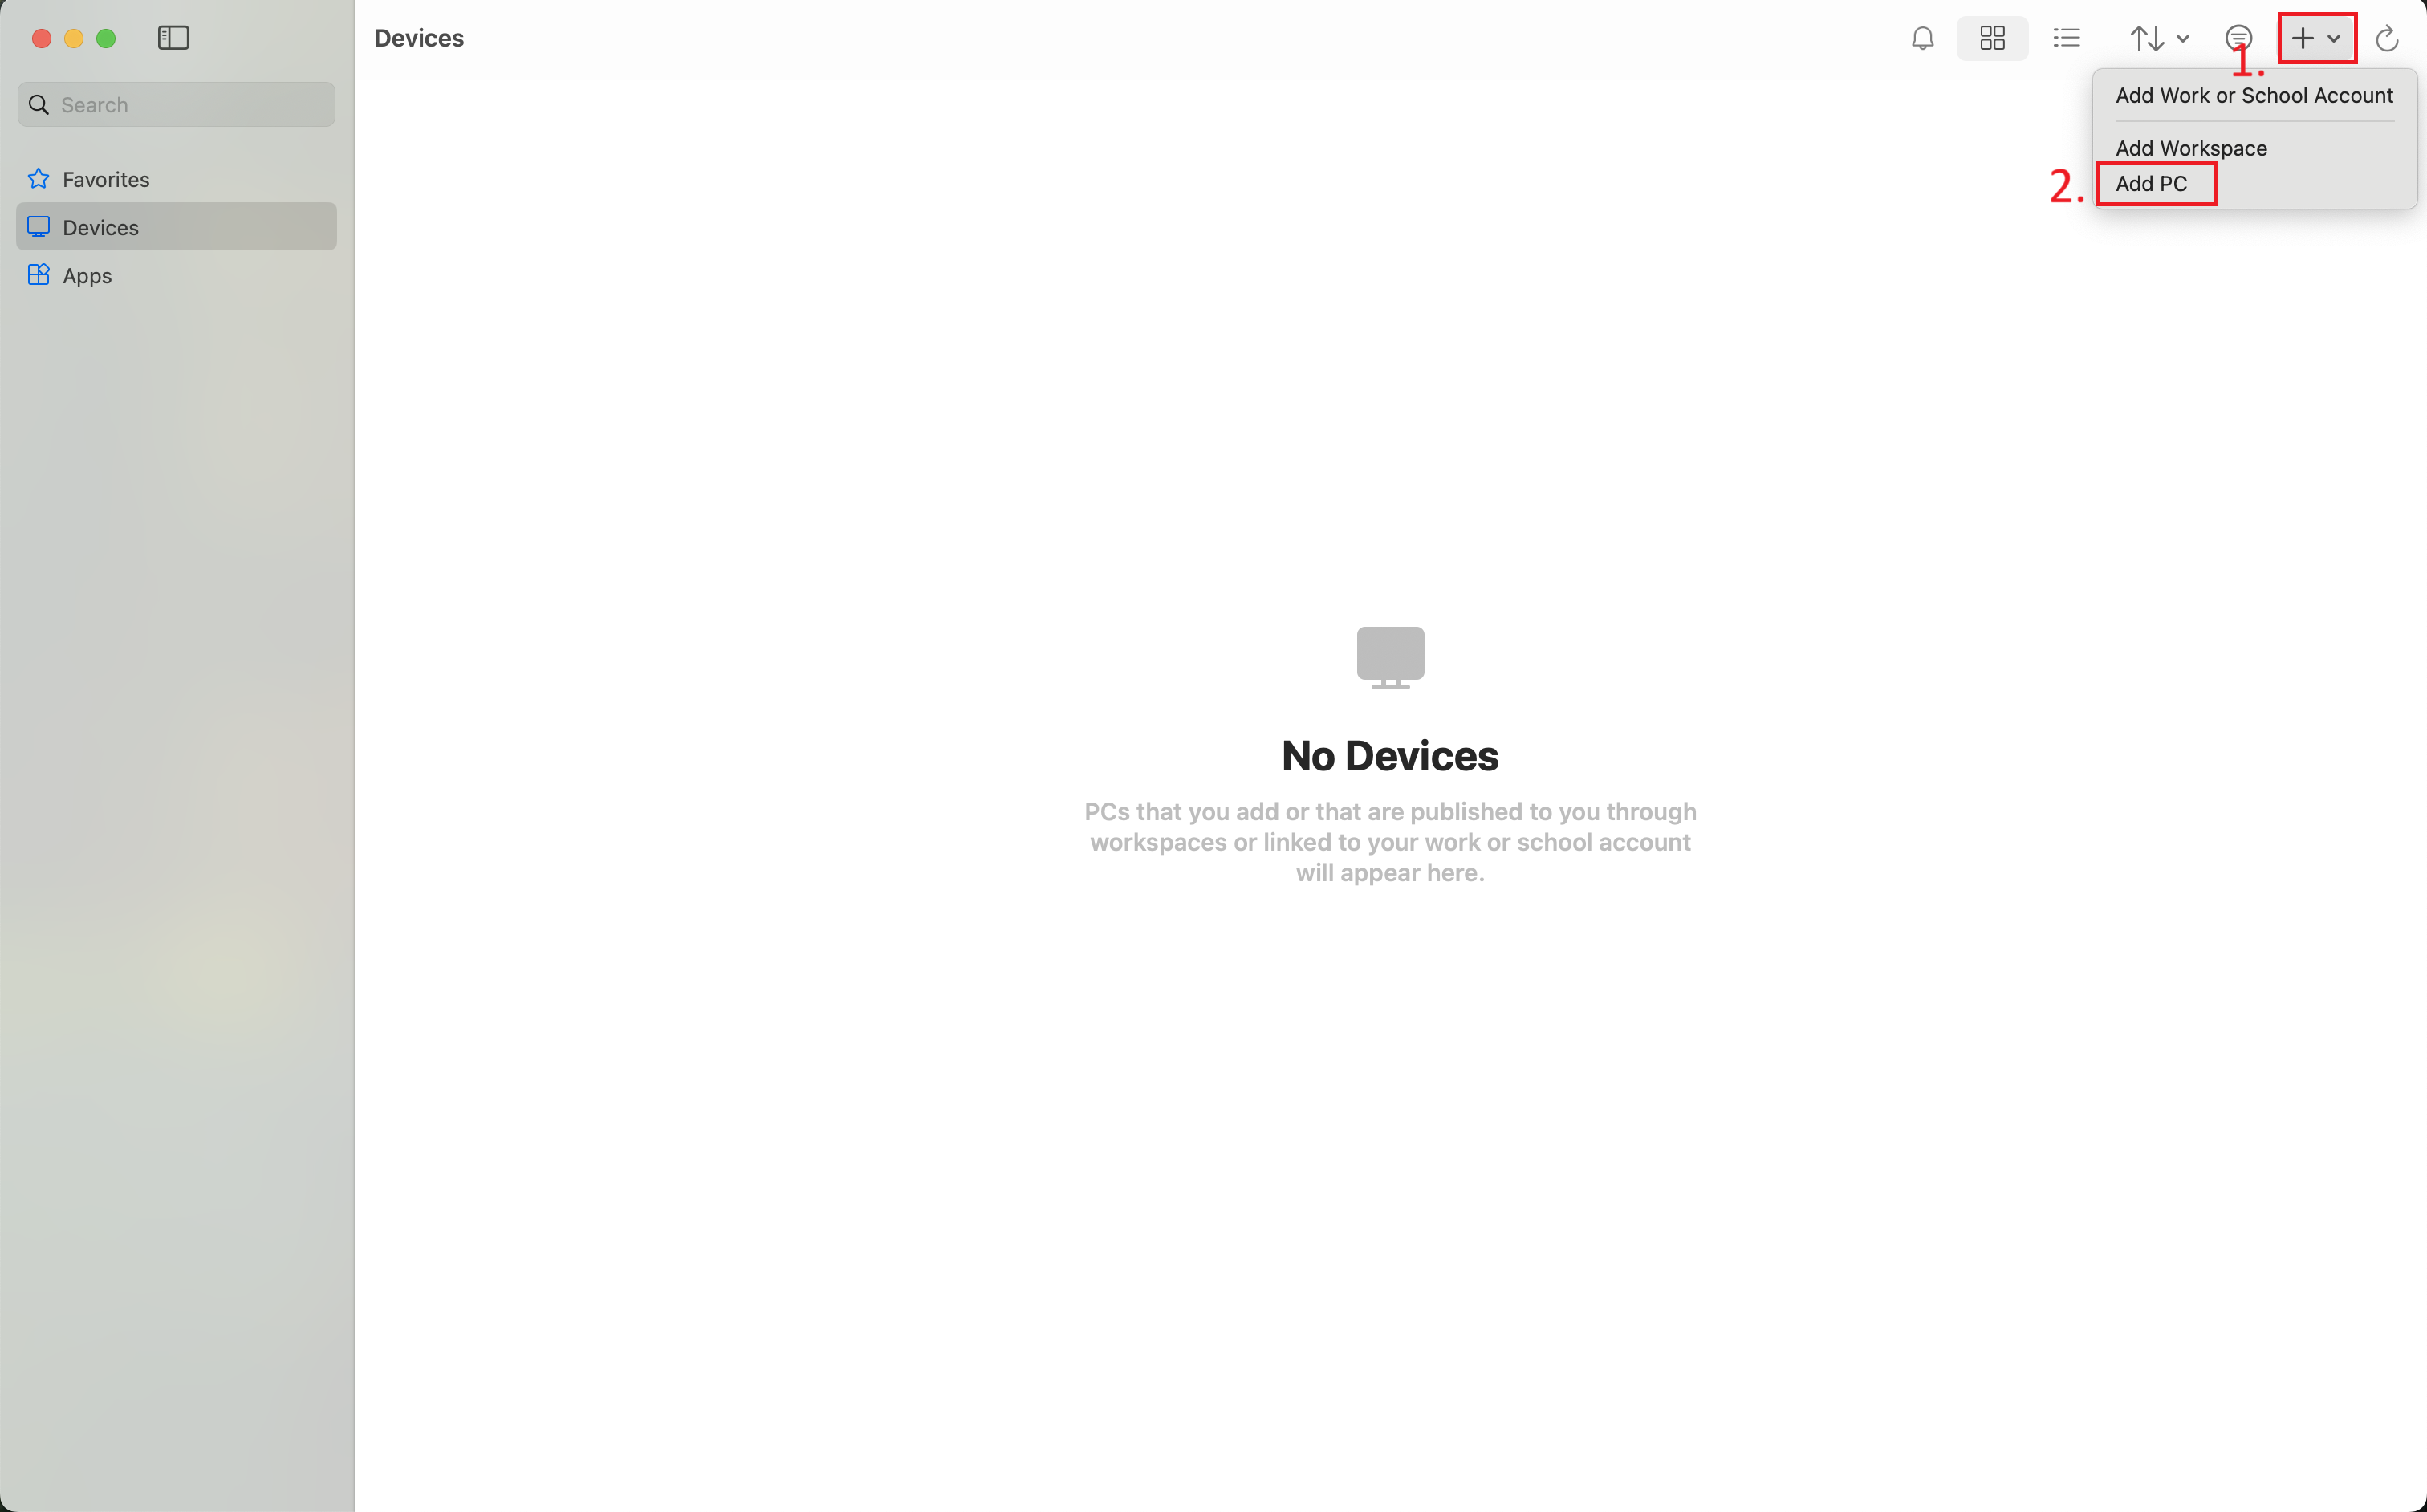
© Uni MS IT 3. Adding a Connection
Add a new connection by clicking the plus sign first and then „Add PC“.
© CIT 4. General Settings
Enter the following information:
- PC name: remotedesktop.wwu.de
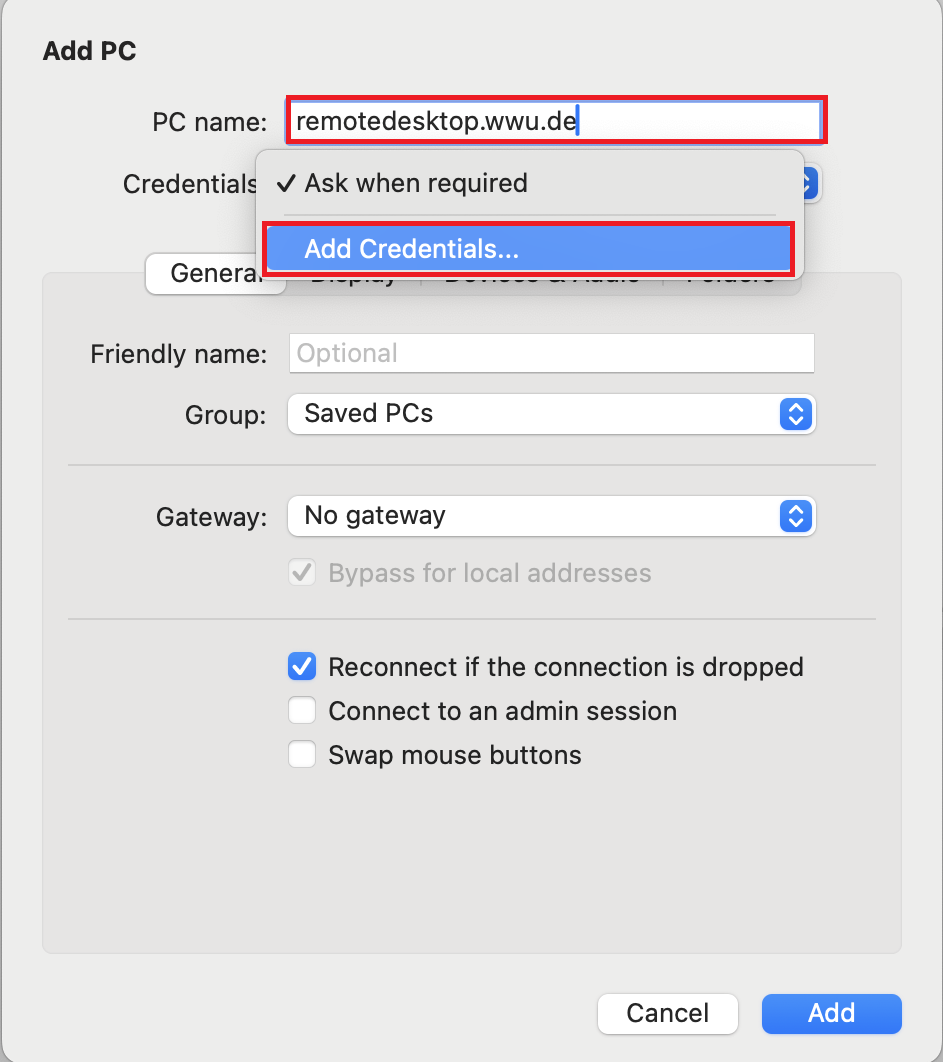
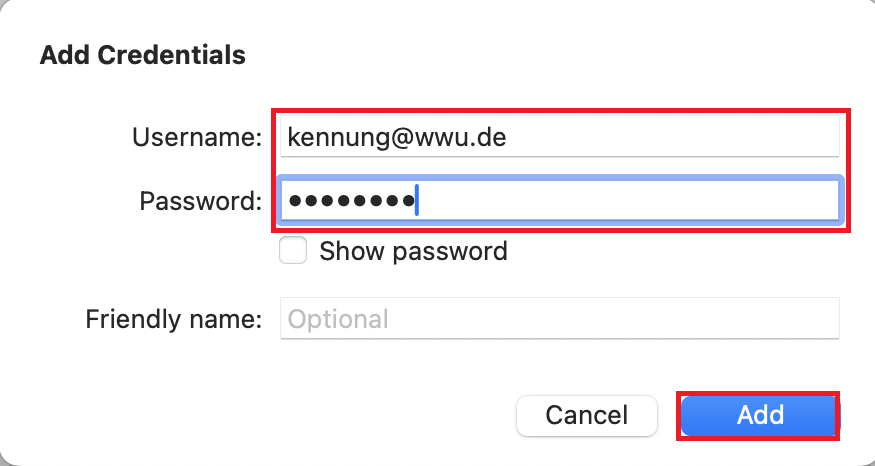
© CIT 5. Add User Account
Enter the following information:
- Username: Your universityID@wwu.de
- Password: Your university password
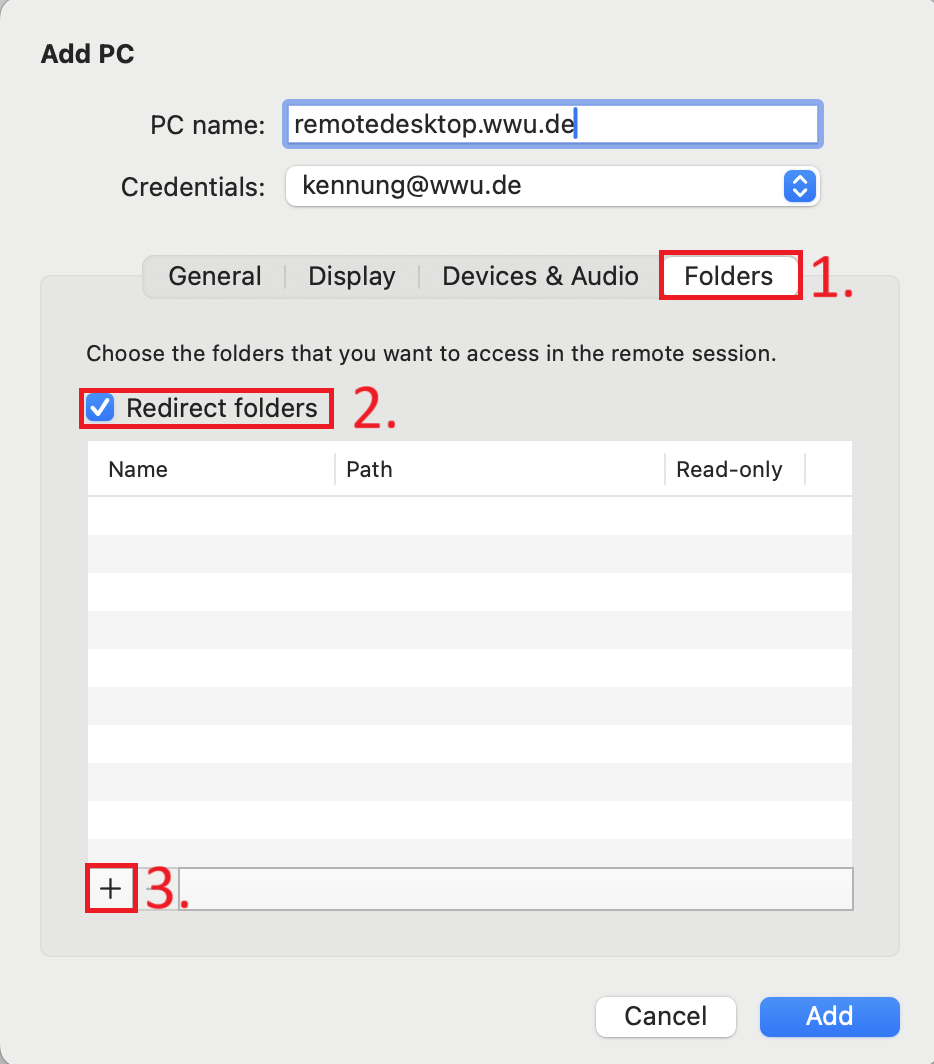
© CIT 6. Access to Local Files
To access one of your local folders on the Remote Desktop, go to the Folders tab and check the Redirect Folders box. Click the plus sign to share a local folder.
© CIT A dialog for selecting the appropriate folder appears. Choose the corresponding path or folder and confirm your selection by pressing “Open”.

© CIT The shared folder appears in the list. You can now add more folders if needed or delete previously added folders. When you have selected all required folder, you can exit the configuration menu by pressing the “Add” button. Your changes will be saved automatically.
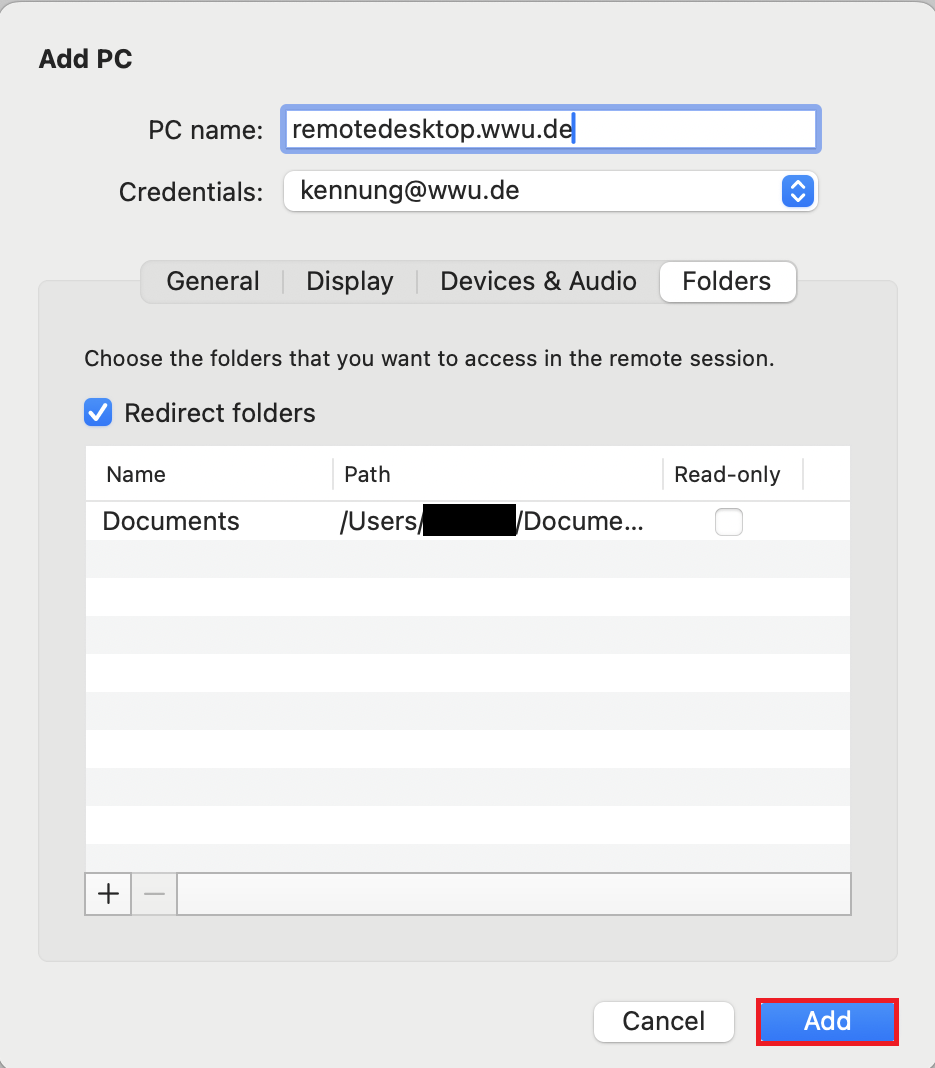
© CIT Additional information:
Before starting the remote desktop it is necessary to establish a VPN connection!7. Starting the Connection
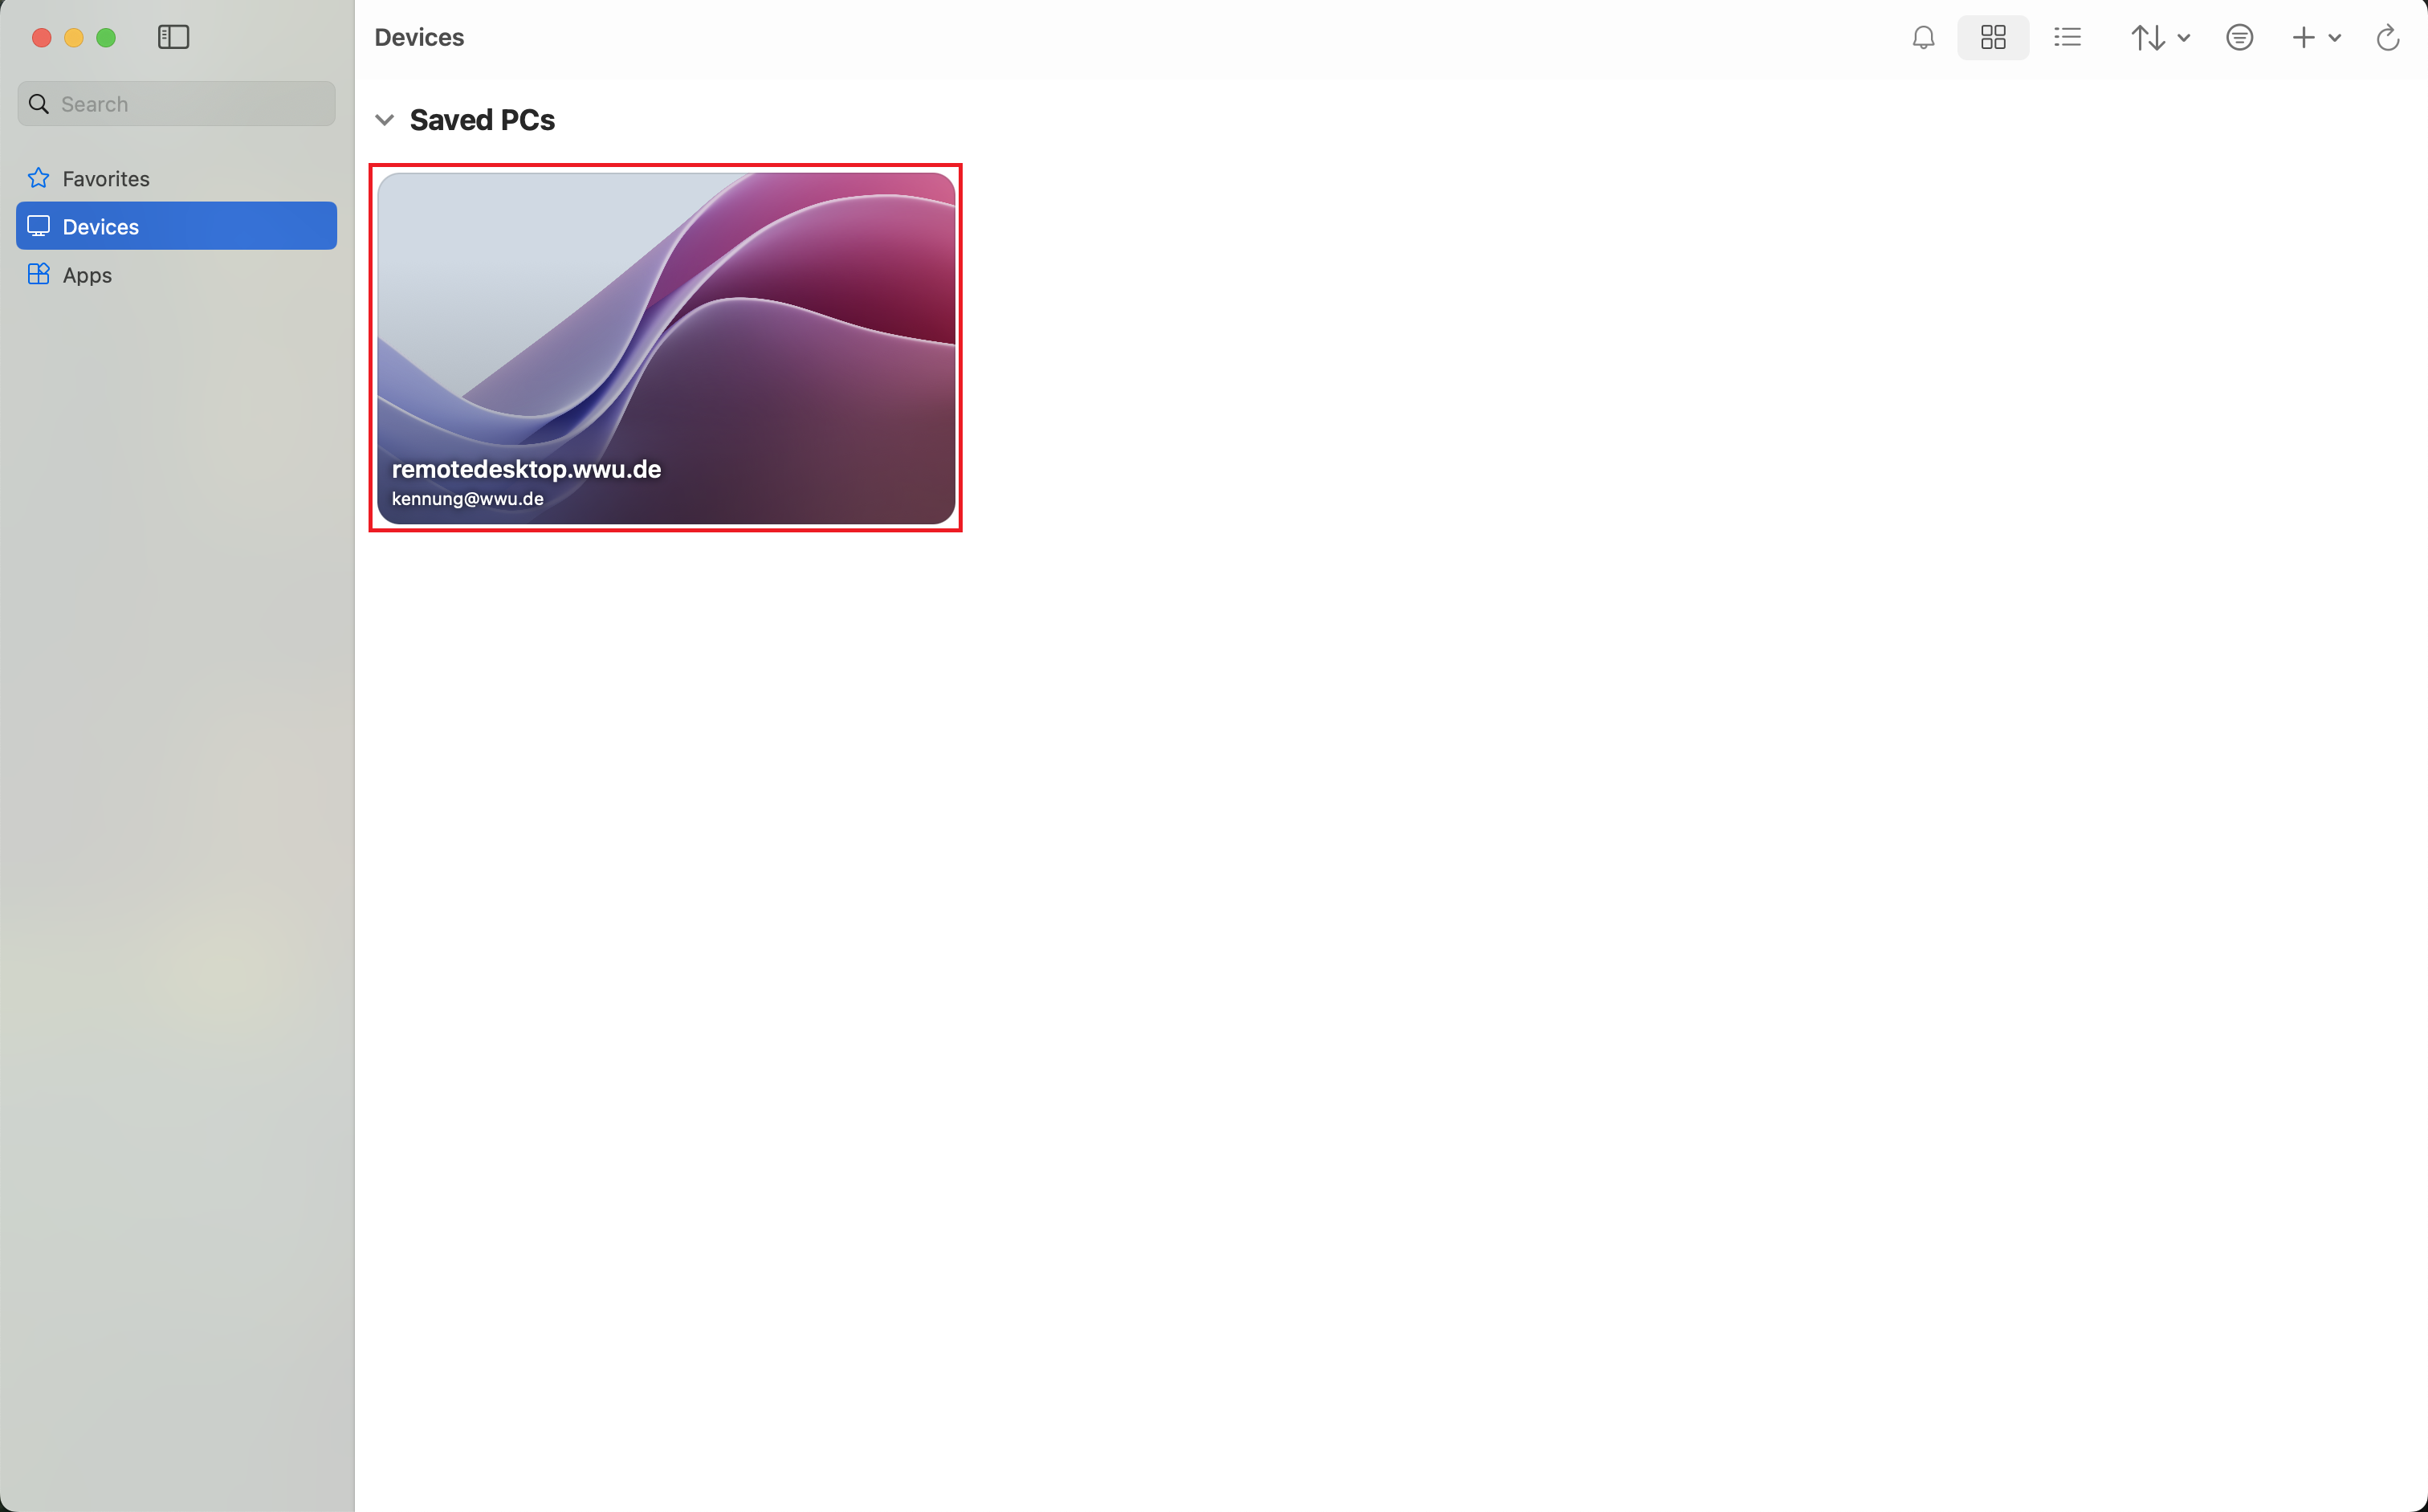
The newly created remote desktop now appears under “PCs”. Start the connection by double-clicking it.
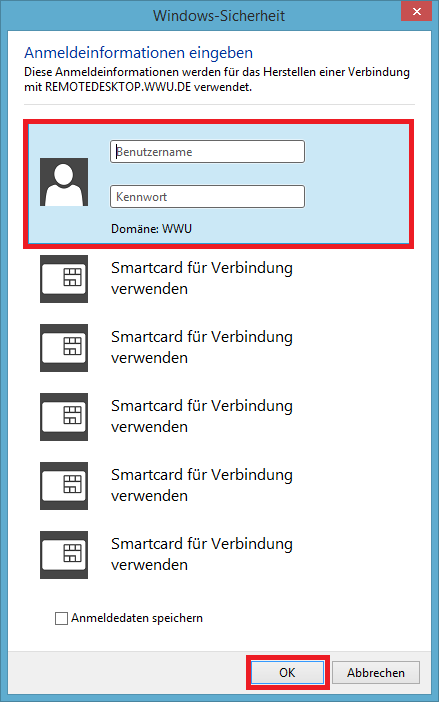
8. User Credentials
You may be asked to fill in your user credentials again. Enter the following information:
- User name: Your university ID
- Password: Your university password
9. Established Connection and Log Off
You are now seccessfully connected to the remote desktop and can use the installed programs.
To end the connection, please press the “Abmelden” (Sign Out) shortcut found on the desktop.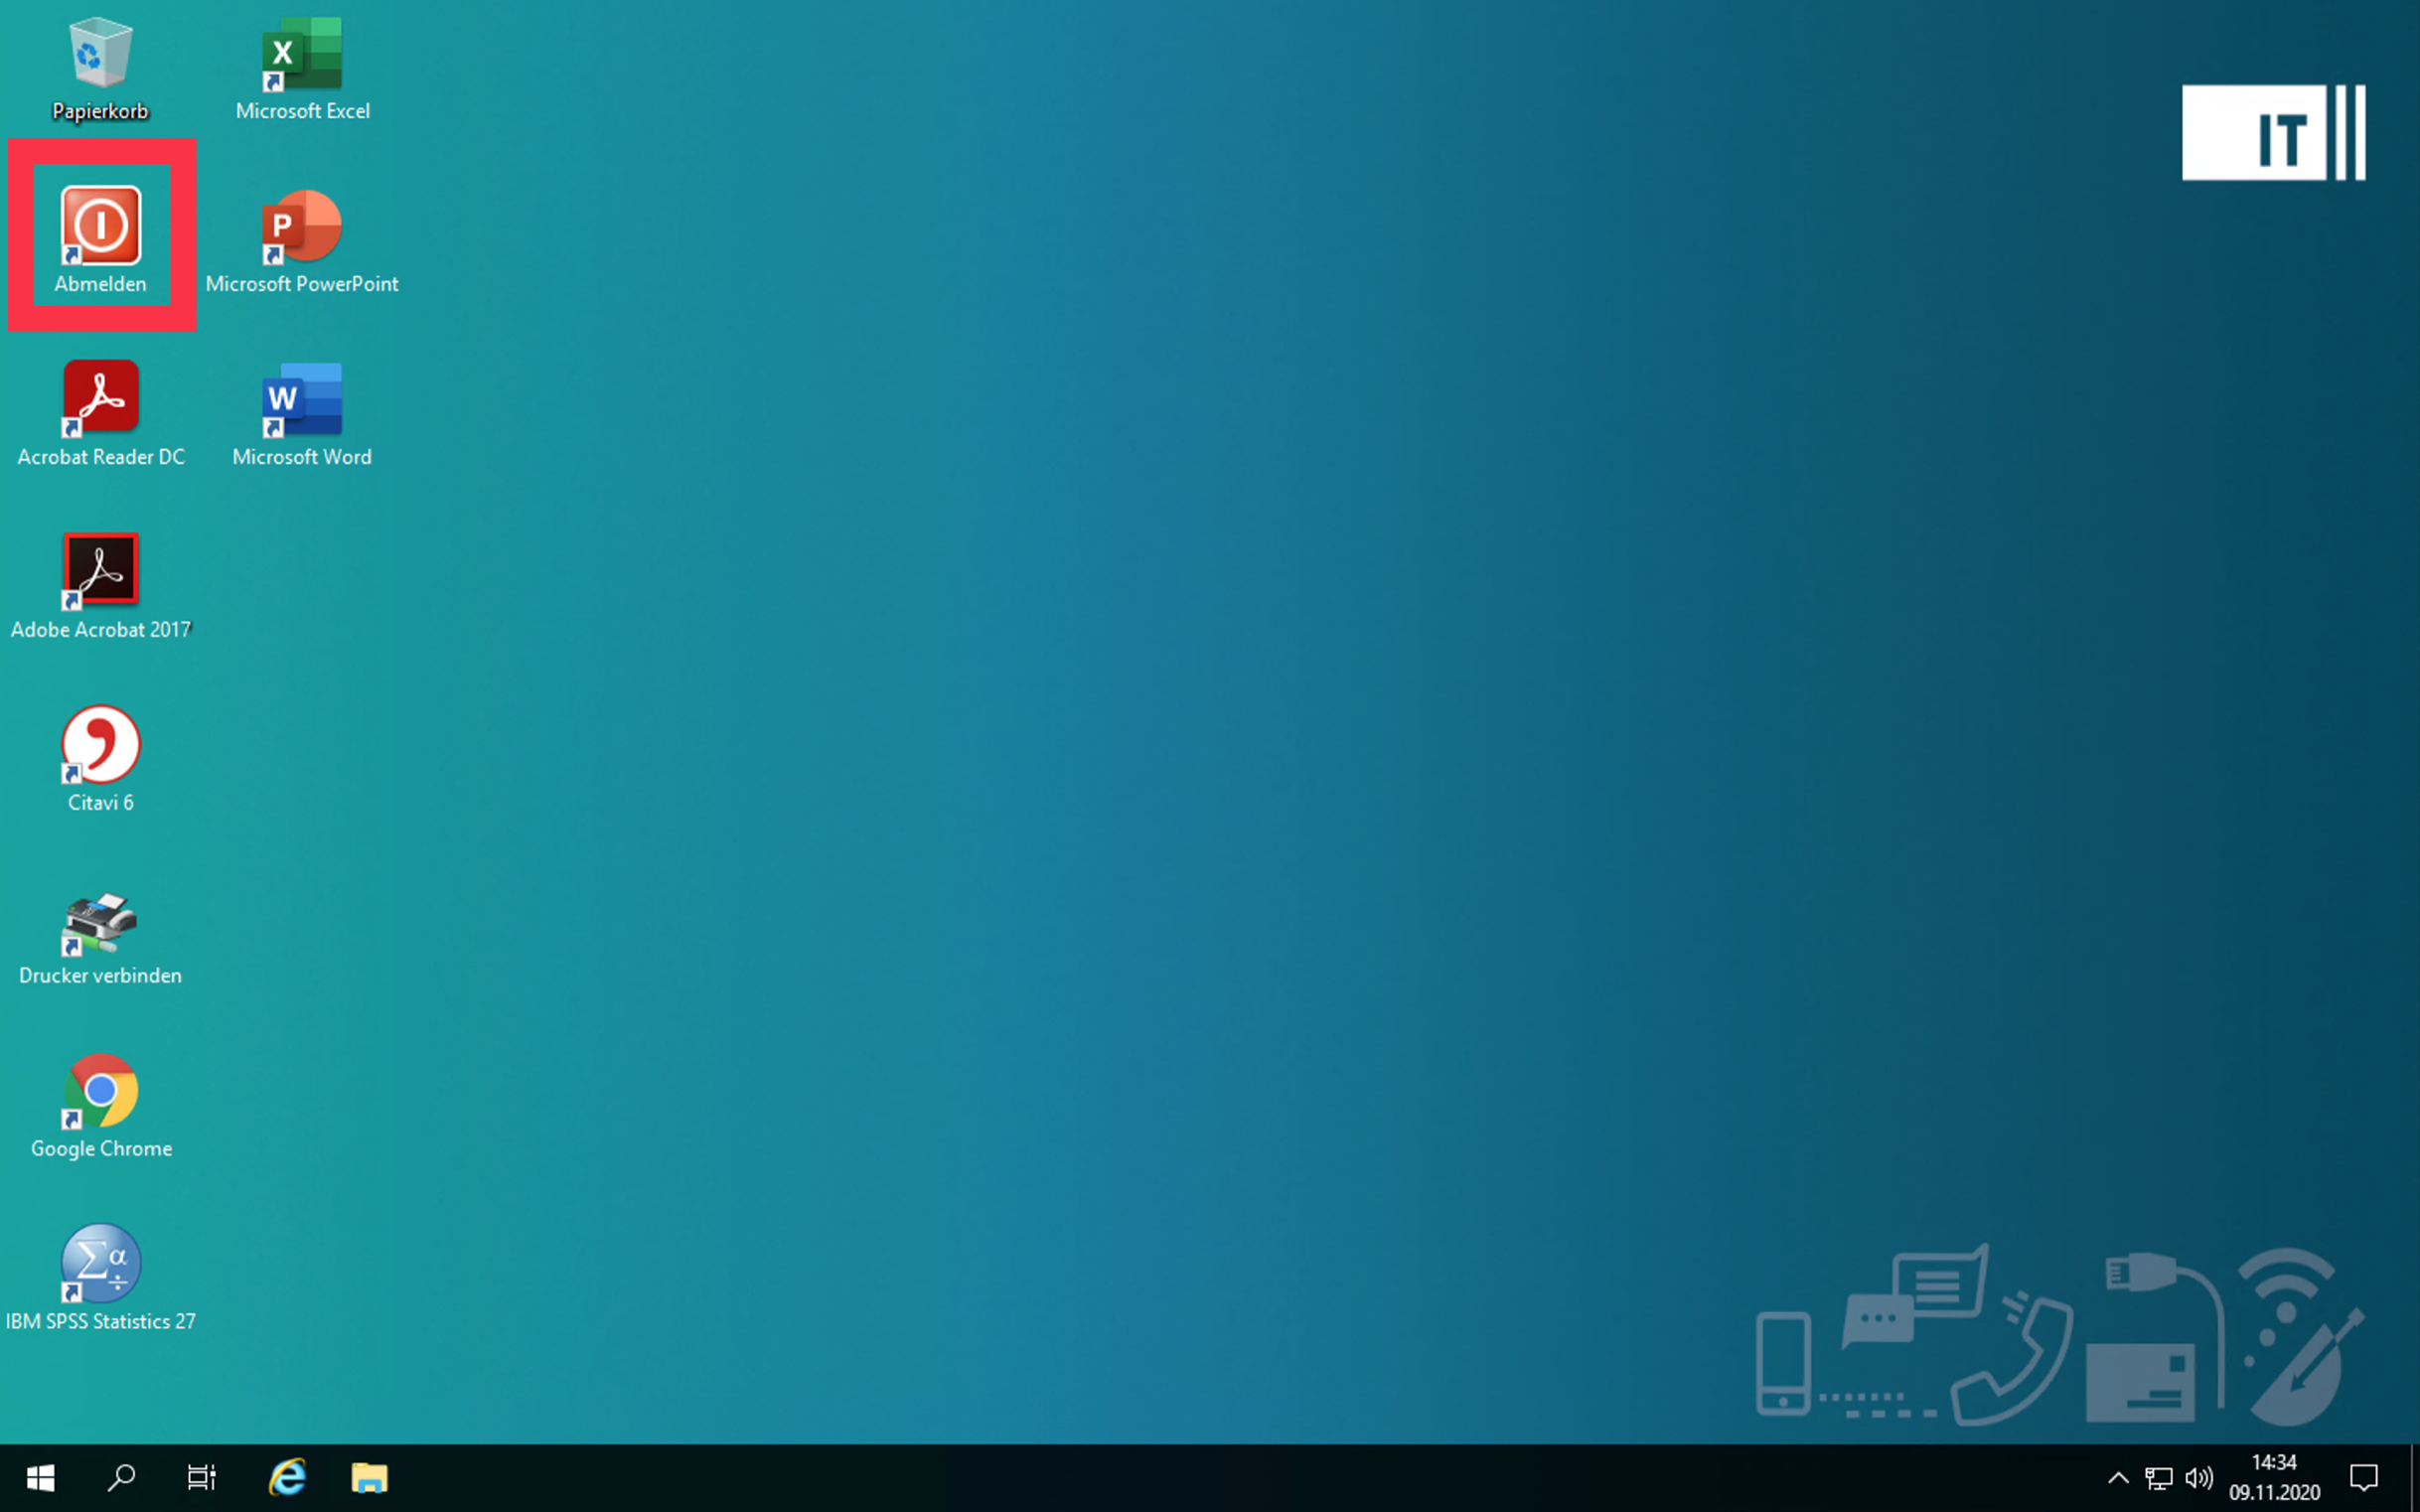
© Uni MS IT