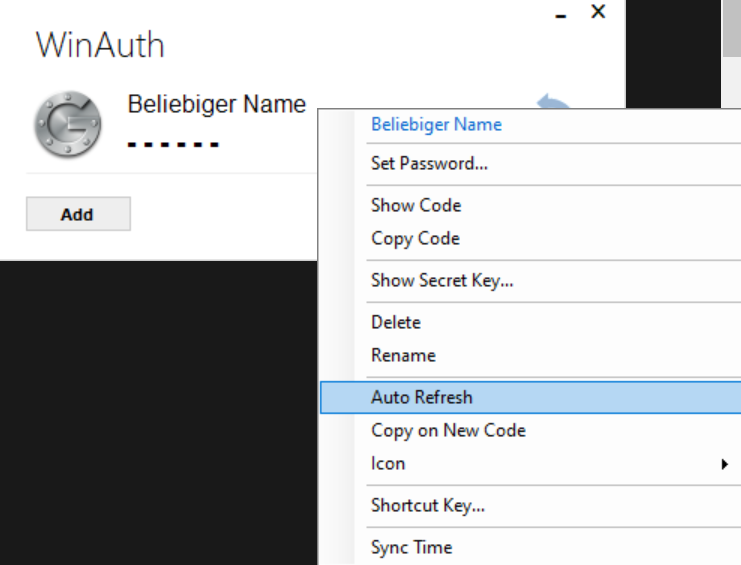
OTP - WIndows

Notes: If you already have an OTP service in use, you can continue to use it, then please just follow the points "Setting up the service" in our instructions.

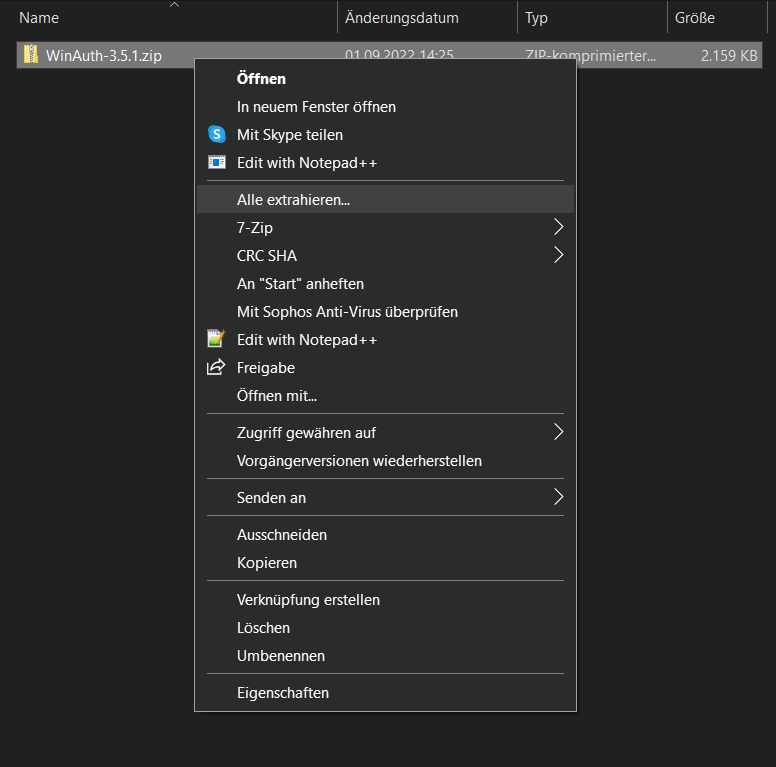
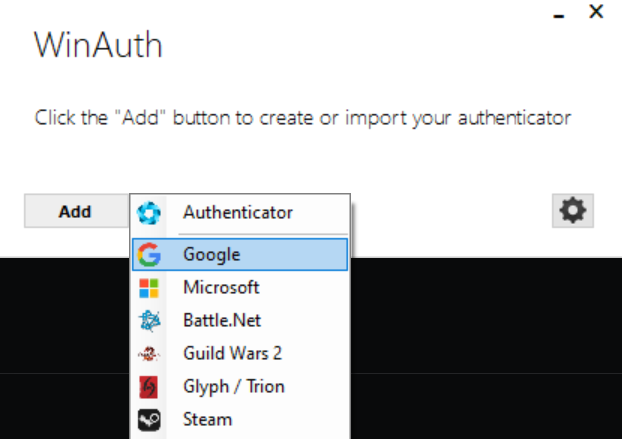
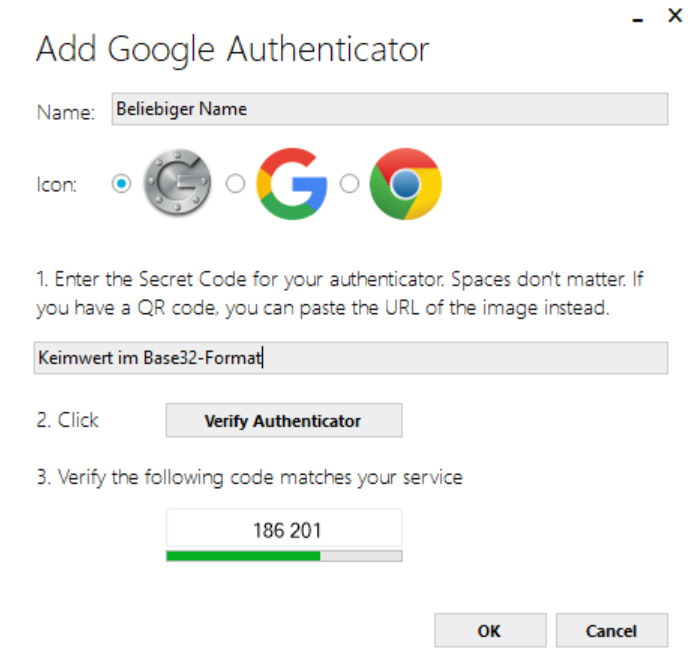
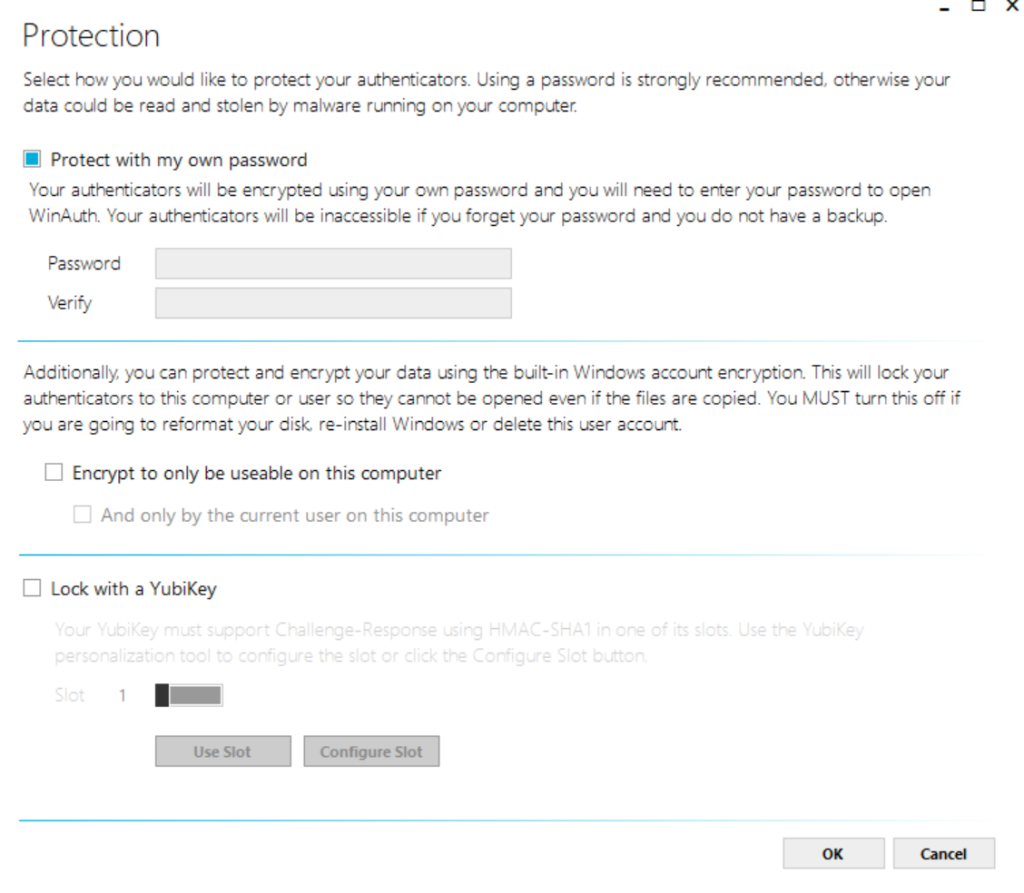
ATTENTION: You need WinAuth regularly to generate an OTP, do not delete the programme just like that. For security, it is best to also register an OTP service with your mobile device: Instructions for Android and iOS

Contact: IT-Support

  • WinAuth

    1. On your terminal device: Download WinAuth

    Click on the download button below to download WinAuth: WinAuth

    2. On your terminal device: Unpacking WinAuth

    After you have downloaded WinAuth, right-click on the WinAuth.zip file and select "Extract All". Afterwards confirm with Enter. Now a new folder with the WinAuth.exe file should have been created. Make a good note of the location of the file. Start the program by double-clicking on the exe file.

    2. On your terminal device: Unpacking WinAuth
    © Uni MS IT

    3. On your terminal device: Select authenticator

    After WinAuth has opened, click on the "Add" icon. There you select "Google".

    3. On your terminal device: Select authenticator
    © Uni MS IT

    4. In the IT portal: Establishment of the service

    Setting up a one-time password generator is possible in the IT portal under the menu item "Passwords and PINs". Please select the item "Manage" on the page under "Two-factor security" under "One-time password generators" or alternatively the sub-item "One-time passwords (OTP)" in the menu bar on the left.

    4. In the IT portal: Establishment of the service
    © Uni MS IT

    5. In the IT portal: Registration of a password generator

    Select your OTP method. We recommend the preset "Time based one-time password generator (TOTP). Afterwards you can choose a description for your password generator. Then click "Register".

    5. In the IT portal: Registration of a password generator
    © Uni MS IT

    6. In the IT portal: Confirmation of change

    After opening this window (see screenshot), you will need to enter your university password in the field. If you have already activated the two-factor authentication, a second password may be expected. Click on "Register".

    6. In the IT portal: Confirmation of change
    © Uni MS IT

    This will open a QR code and a germination value in Base32 format to confirm the generator (see figure). Please do not close the new page, as you will need it again in a later step.

    © Uni MS IT

    7. On your terminal device: Configure WinAuth

    In the Name field, type any name for the authenticator. Then enter the germ value in Base32 format that was created in step 6 into the text field. If you now click on the "Verify Authenticator" button, you should be shown a 6-digit code. Now click on "OK". If a warning should be displayed, you can simply ignore it.

    7. On your terminal device: Configure WinAuth
    © Uni MS IT

    8. On your terminal device: Assign password

    After you have successfully added your germ value, select "Protect with my own password" and assign a password for WinAuth.
    You will need this password every time you start the authenticator, please remember it well.
    After you have assigned a password, confirm the window with "OK".

    8. On your terminal device: Assign password
    © Uni MS IT

    9. On your terminal device: Auto refresh for WinAuth

    In the last step, right-click on your code (one-time password) and enable the "Auto Refresh" option. Your code should now renew itself automatically.


    9. On your terminal device: Auto refresh for WinAuth
    © Uni MS IT

    10. In the IT portal: Checking the one-time password

    After scanning the QR code with the app of your choice, your OTP generator is almost set up for use. To check and confirm the OTP generator, a one-time password that is displayed in WinAuth must be entered in the field. Otherwise the generator will not be accepted.
    When performing an action that requires confirmation via OTP, you type in the multi-digit string of numbers displayed in WinAuth.

    10. In the IT portal: Checking the one-time password
    © Uni MS IT