Instructions: Poster Prints
Important change to poster printing
The poster printing service (business printing of posters for university members) at CIT, Einsteinstr. 60, will be discontinued completely on December 31, 2025.
Posters can still be ordered in the usual way until Friday, December 19, 2025, after which the university will close for Christmas.
In future, posters can be ordered via UniPrint.
ATTENTION: From our new poster printer "Posterjet" are currently NO automatic "finished printed" emails sent. The posters sent to this printer, can usually be picked up after about 1-2 hours (within the opening hours).
With our new poster printer, the posters are billed on the next business day at the earliest.
REQUIREMENTS:
- You are registered for business printing (IT portal - "Print/Scan"). Please note that it may take until the next day after registering before you can connect the poster printer on the remote desktop.
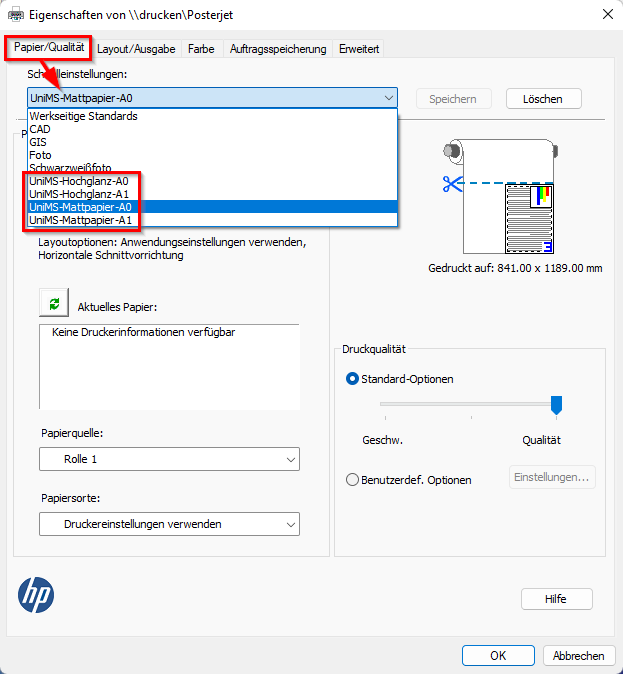
URGENT NOTE: Please refrain from printing matte posters with large dark backgrounds (black, dark green, dark blue etc.). The dark colour may smear and rub off on lighter areas and objects. If it is not possible to change the colour, please print these posters on glossy paper.
Important notes
- Multiple copies of a poster / Multiple posters (pages) in one job: Always send your posters individually (!), never multiple copies per job or multiple pages in one job. There are always problems with the poster printer (additional pages can sometimes not be processed), with the printouts (incorrect scaling of the printouts) or the management of the printer queues. Resulting misprints can be expensive for you and cannot be cancelled by us.
- Utilise paper size: Our poster rolls always have a width of approx. 36 inches. For example, 4 A2 posters fit on an A0 poster, or 2 A2 posters on an A1 poster. This way you save money and there is no unnecessary waste. (Note that this does not work with the print option "Multiple pages per sheet", but the print file must be created to fit beforehand).
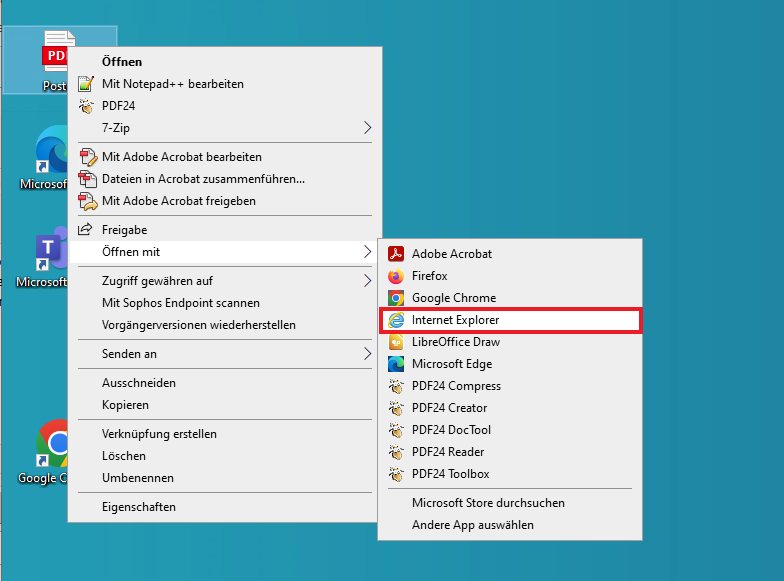
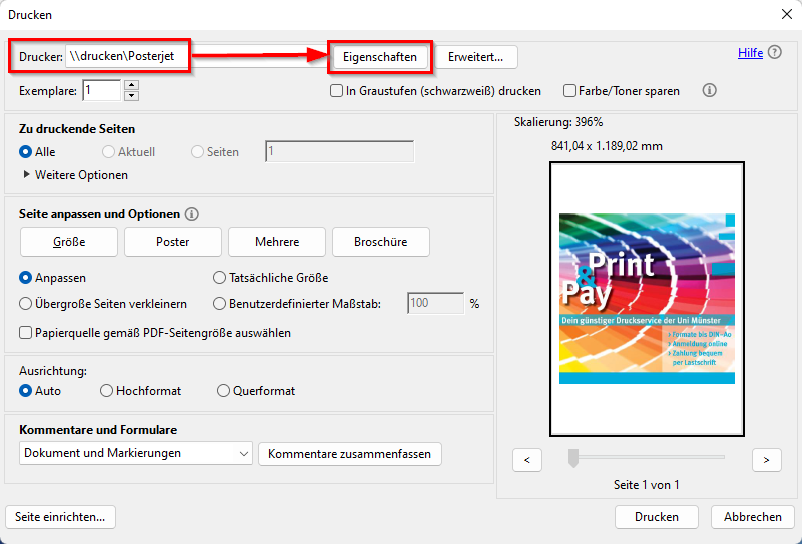
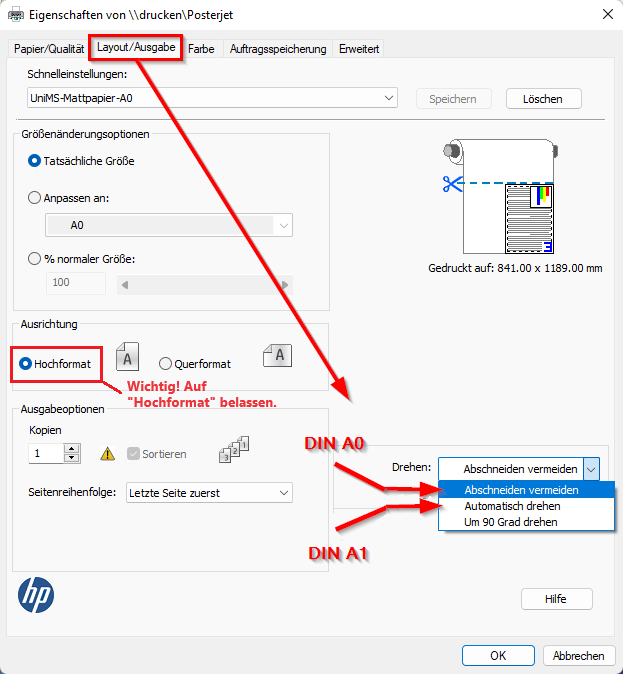
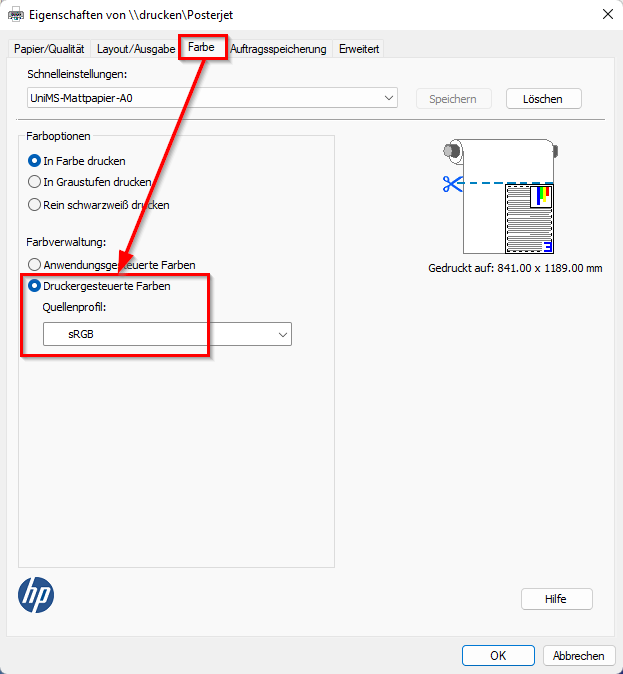
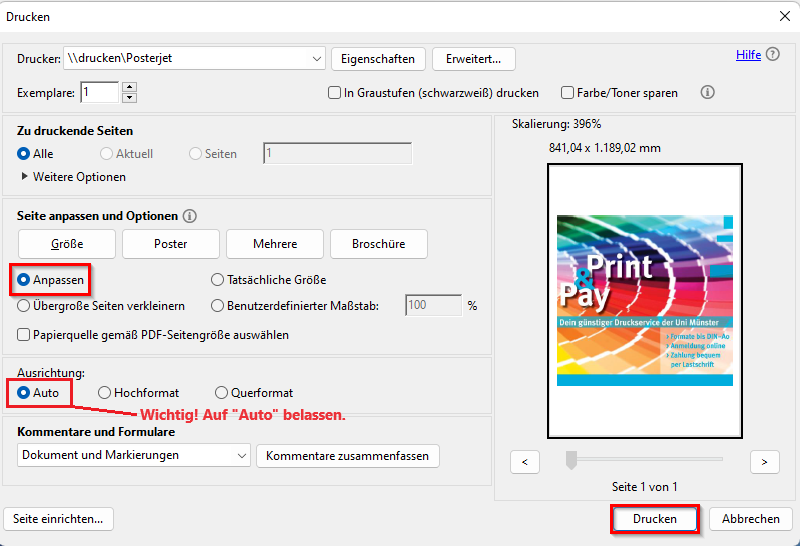
- Print format (file types): We recommend poster printing via PDF format and the programme "Adobe Acrobat DC" or "Adobe Acrobat Reader DC". For posters that you have created with Adobe products (InDesign, Illustrator etc.), select "Print as image" in the PDF print dialogue of Acrobat under "Advanced".
- Shelf life of the posters: approx. 3 months
- Misprints: You can report misprints for which you are not responsible to the service desk or our hotline within 3 days of printing. Bring the misprint to the service desk for inspection.