

Personal Storage Space under Windows
The connection to the network drive is only possible with an existing VPN connection!
Network Directory Setup
1. Open the Network Menu
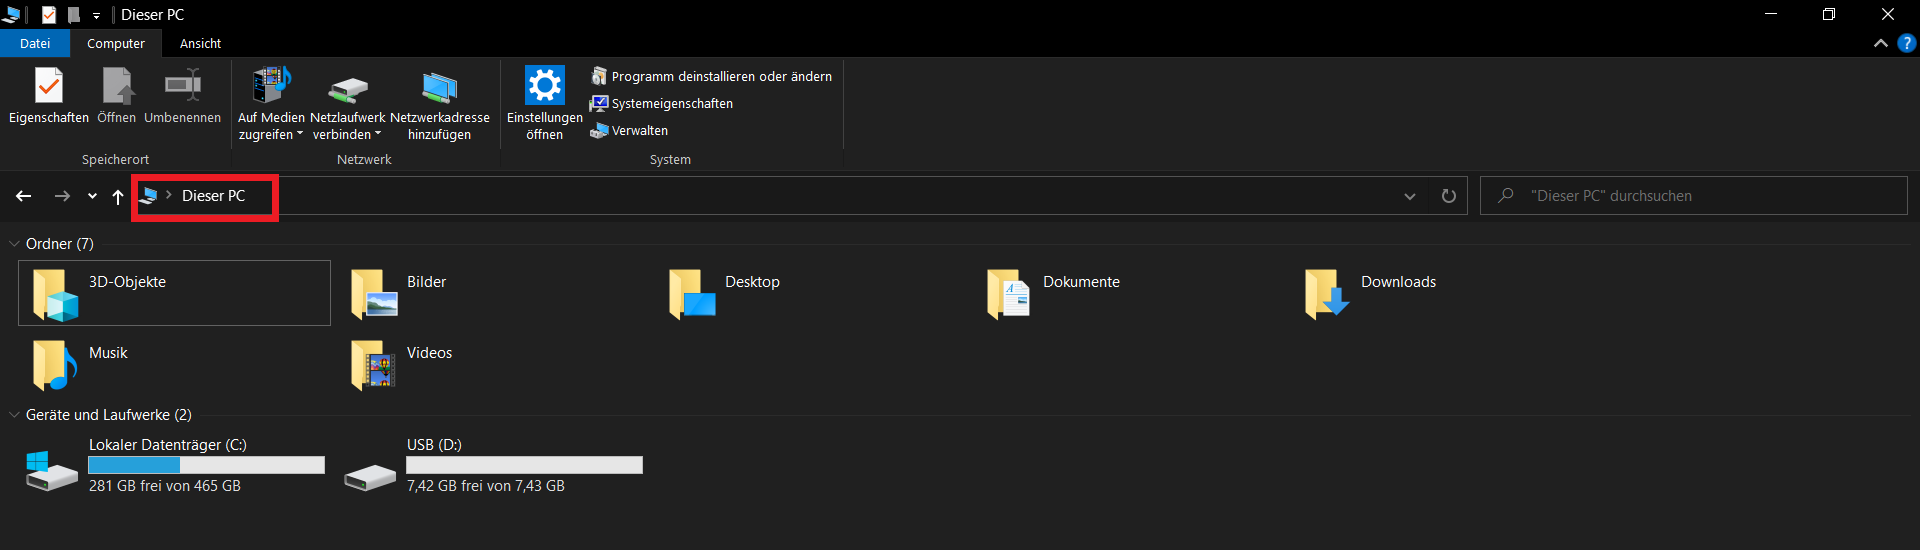
Open the Windows Explorer and click "This PC" afterwards.
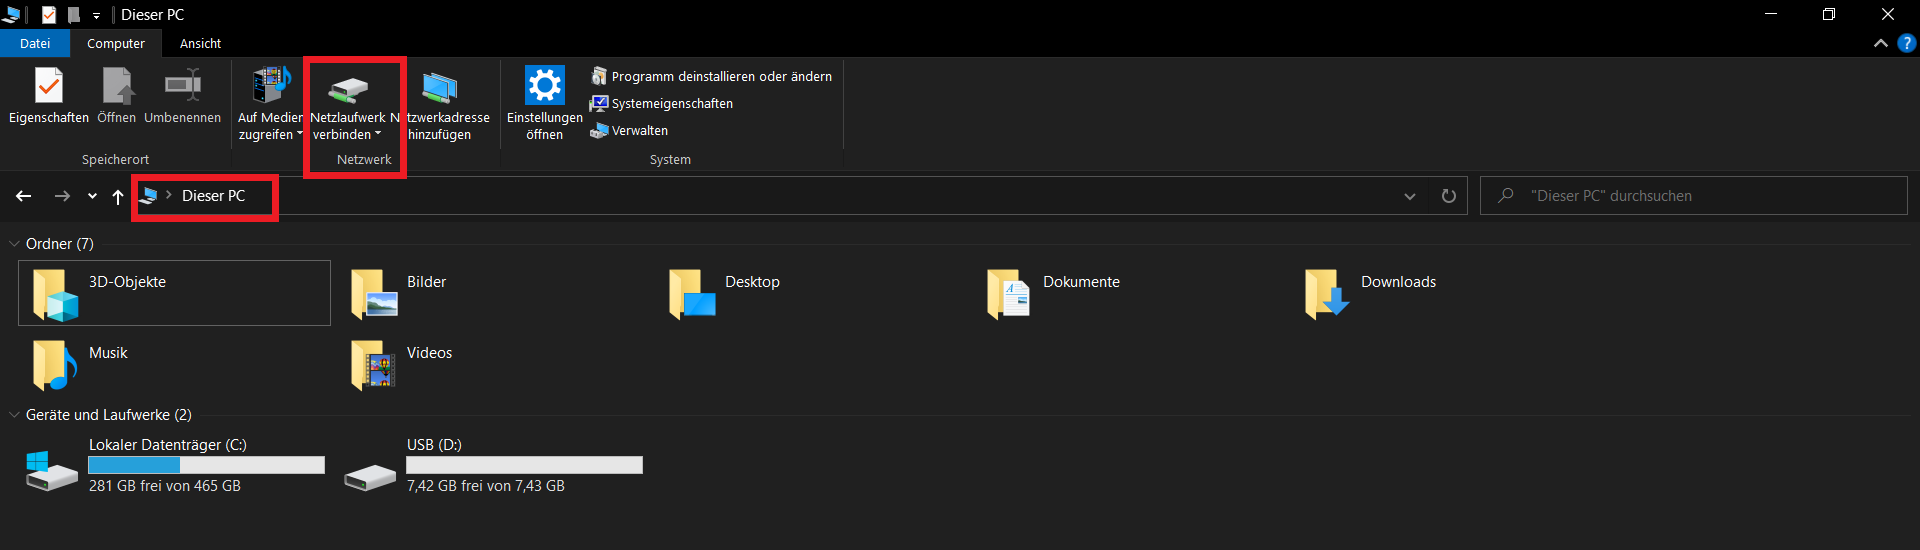
© Uni MS IT Click "Map network drive". This tab is located at the top of the window. If necessary, the item is hidden in the upper menu behind the three dots.
© Uni MS IT 2. Choosing the Network Drive
Choose a drive (e.g. drive "P:") and enter the following path in the "Folder" column:
\\wwu.de\ddfs\pp\YourUniversity-ID
Enter your university ID at the end of the path. Tick "Reconnect at logon" if you want the connection to be established automatically when you log on to your PC. Afterwards, click "Finish".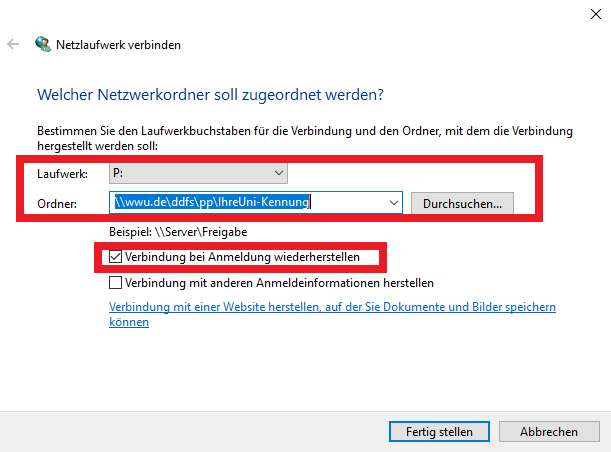
© CIT 3. User Credentials
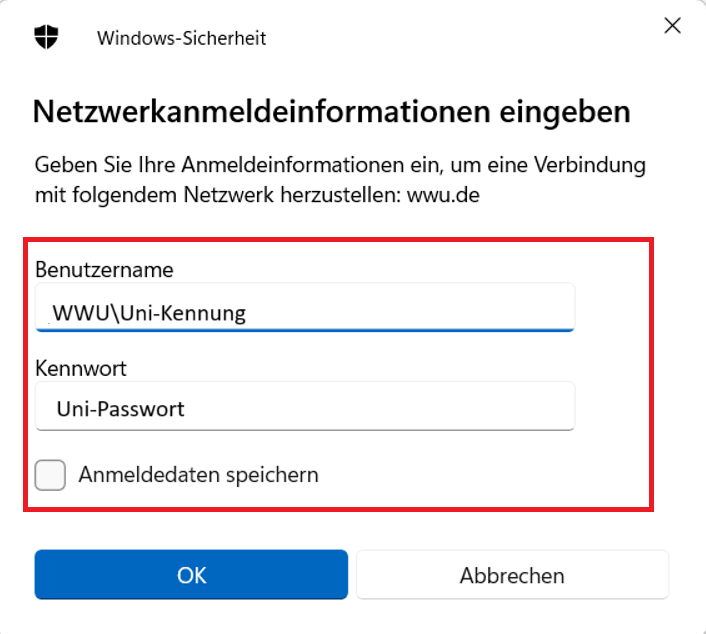
Enter WWU\your university ID and your university password. Confirm your entries with "OK".
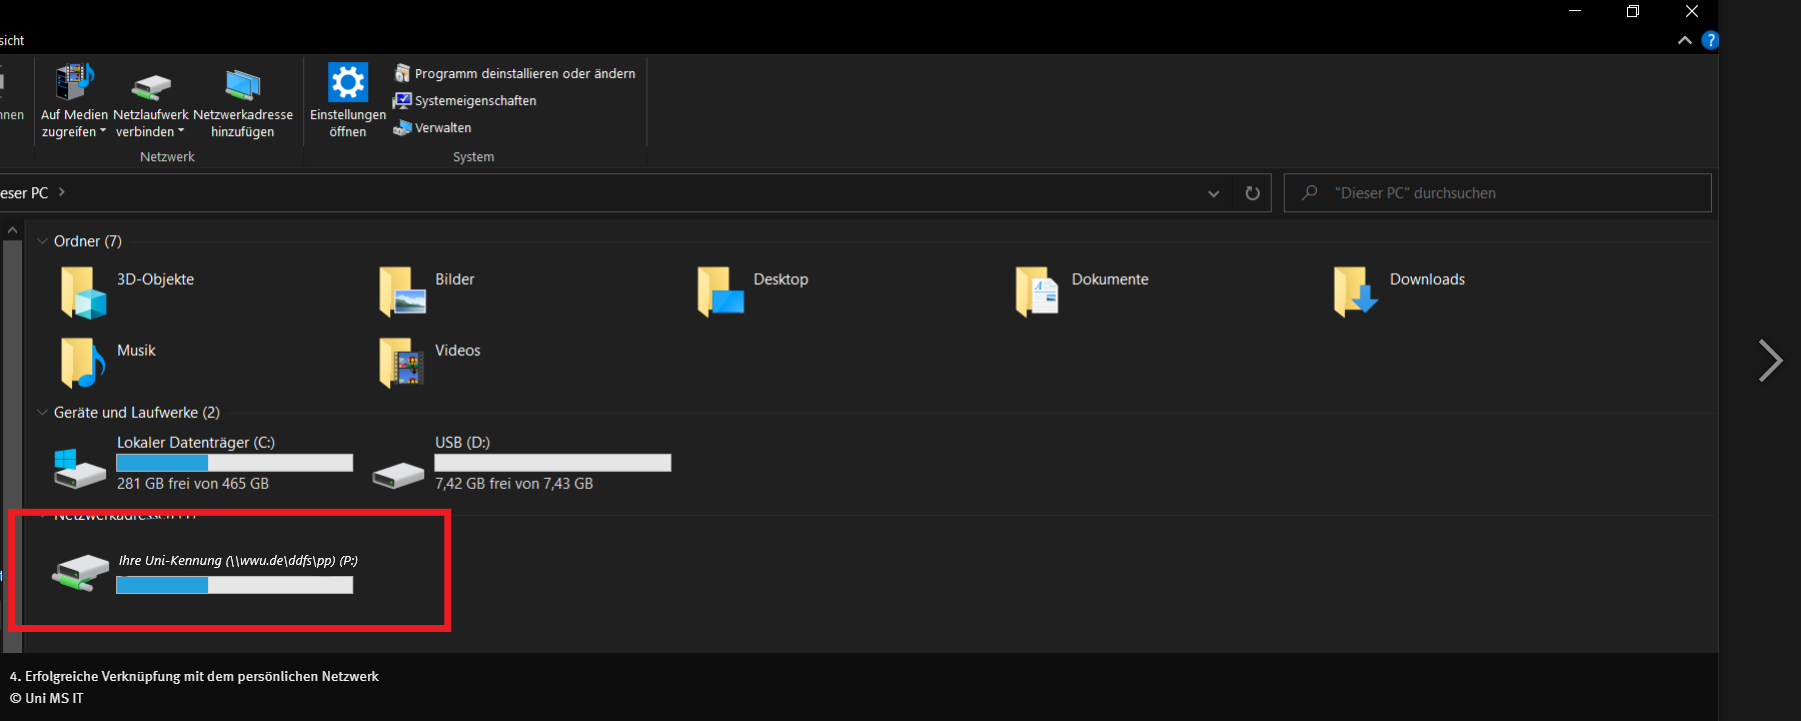
© CIT 4. Successful Network Linkage
You are linked to your personal network drive now. You can access it via Start > Computer > Network Location at any time by clicking on the network.
© CIT Accessing Stored Data via the Internet Browser
You have access to your stored data via your Internet browser as well. If you want to open stored files, insert the following address into the address field:
\\wwu.de\ddfs\pp\Your university ID
Enter your university ID at the end of the path. Enter your university password when you are asked to do so.
Alternatively, you can also use https://dav.uni-muenster.de/pp/Your university ID.
© CIT