

Setting Up the Remote Desktop under Windows 10/11
Note: Do not save your documents locally on the remote desktop (desktop, drives C: and D:). User profiles and all locally stored data are deleted at the latest 10 days after the last use (or earlier if necessary).
A. Preset Connection
1. Downloading Preset Connection
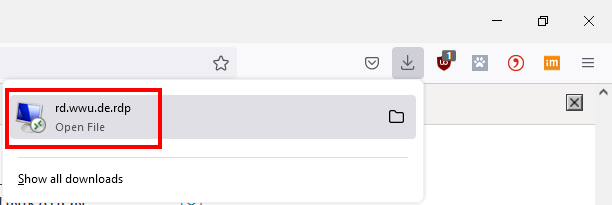
Download the preset connection (.rdp) (by right-clicking on the link and then "Save link as").
Double-click on the downloaded file and open it (if necessary, via "Open with: Remote Desktop Connection").
© Uni MS IT Additional information:
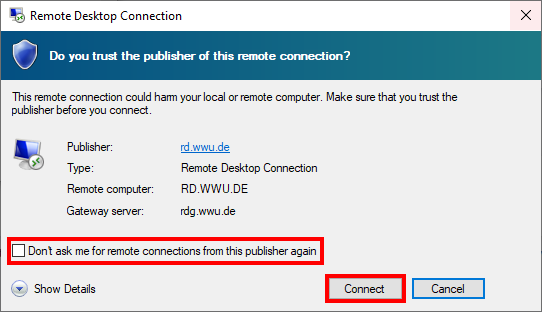
Before starting the remote desktop it is necessary to establish a VPN connection!2. Trusting the connection
A warning stating that a remote connection shall only be established if you trust the publisher appears. If needed you can check the box so that this warning won't appear on future connections. Click "Connect".
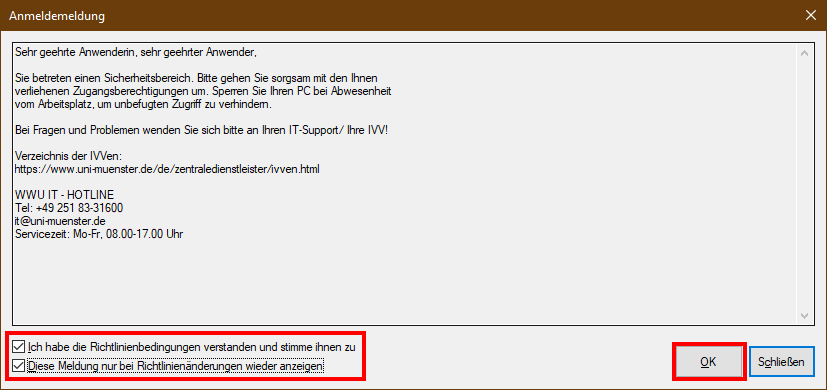
© Uni MS IT If you try to establish a remote connection from outside of the university's network you will be prompted with a message stating that you are entering a digital security area and shall act accordingly. Check the first box saying that you took notice of the message and check the second box if it should only appear when the message has been changed. Click "OK".
© Uni MS IT A warning that the publisher of the remote connection cannot be identified appears. If needed you can check the box again so that this warning won't appear on future connections. Click "Yes".

© Uni MS IT 3. Insert User Credentials
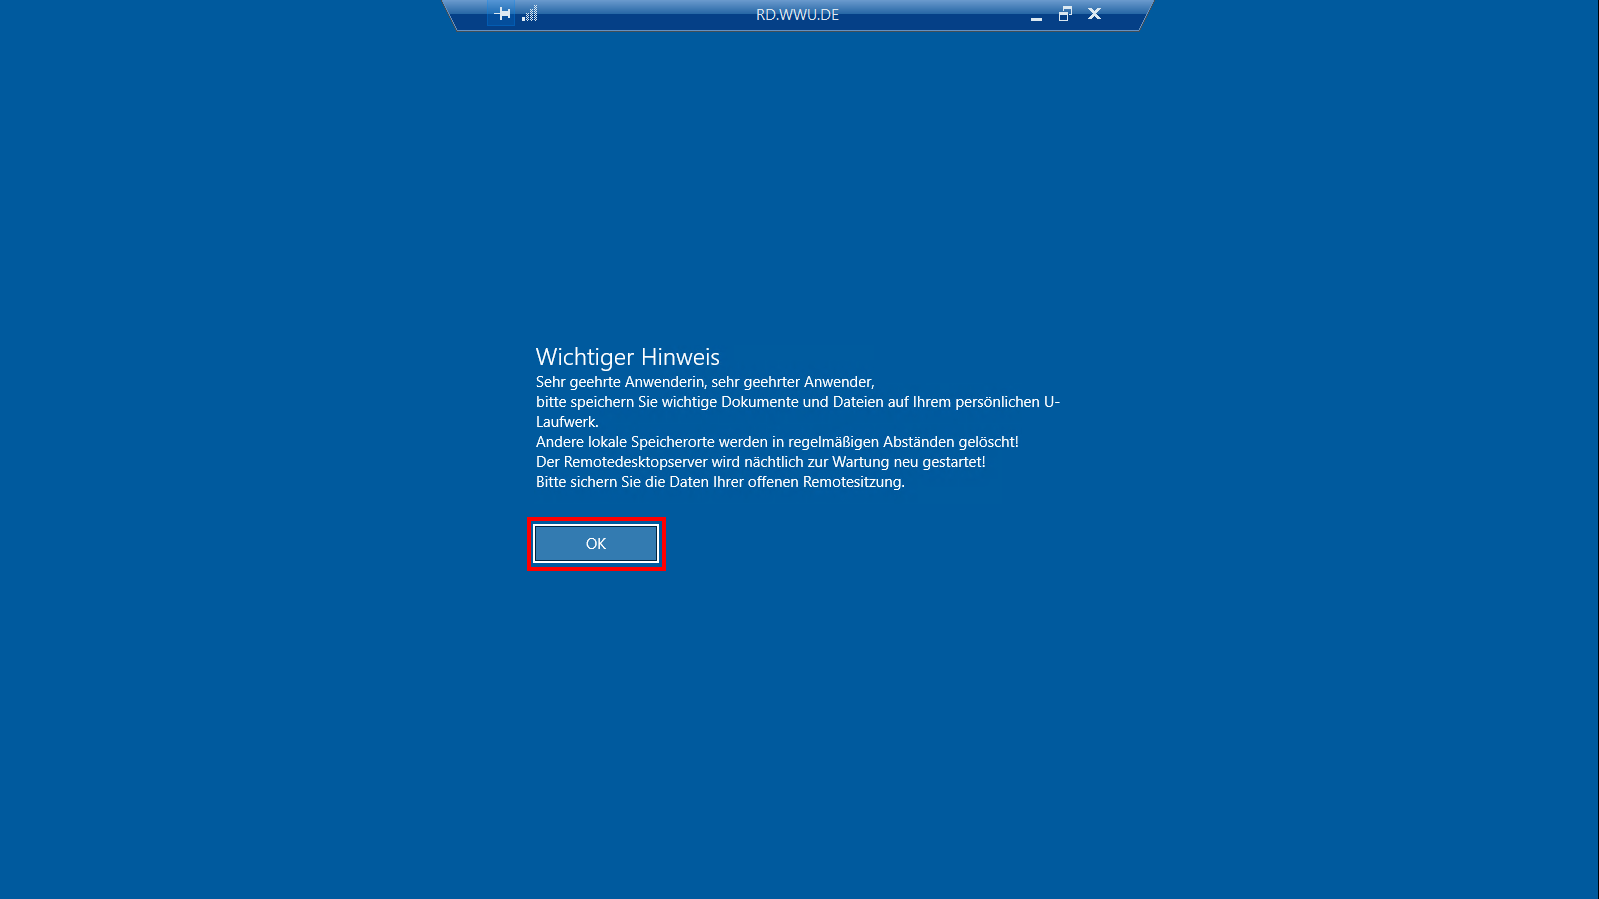
A message that personal files on the remote desktop if not saved elswhere will be deleted regularly appears. Click "OK".
© Uni MS IT Enter the required username Your universityID@wwu.de and your university password. Confirm the information by either clicking on the arrow to the right or by pressing enter.
In case this does not work, please try to enter there (without quotes) "wwu\universityID" (e.g. wwu\mmust_01).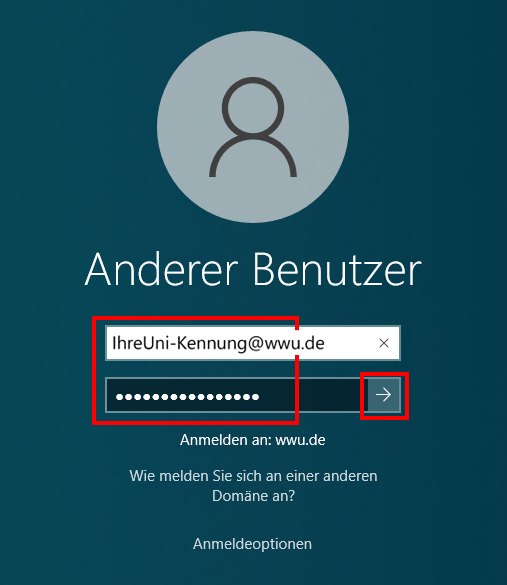
© CIT 4. Connection to Remote Desktop
The connection to the remote desktop has been successfully established and you can use the programs installed there.
© Uni MS IT 5. Terminating the Connection
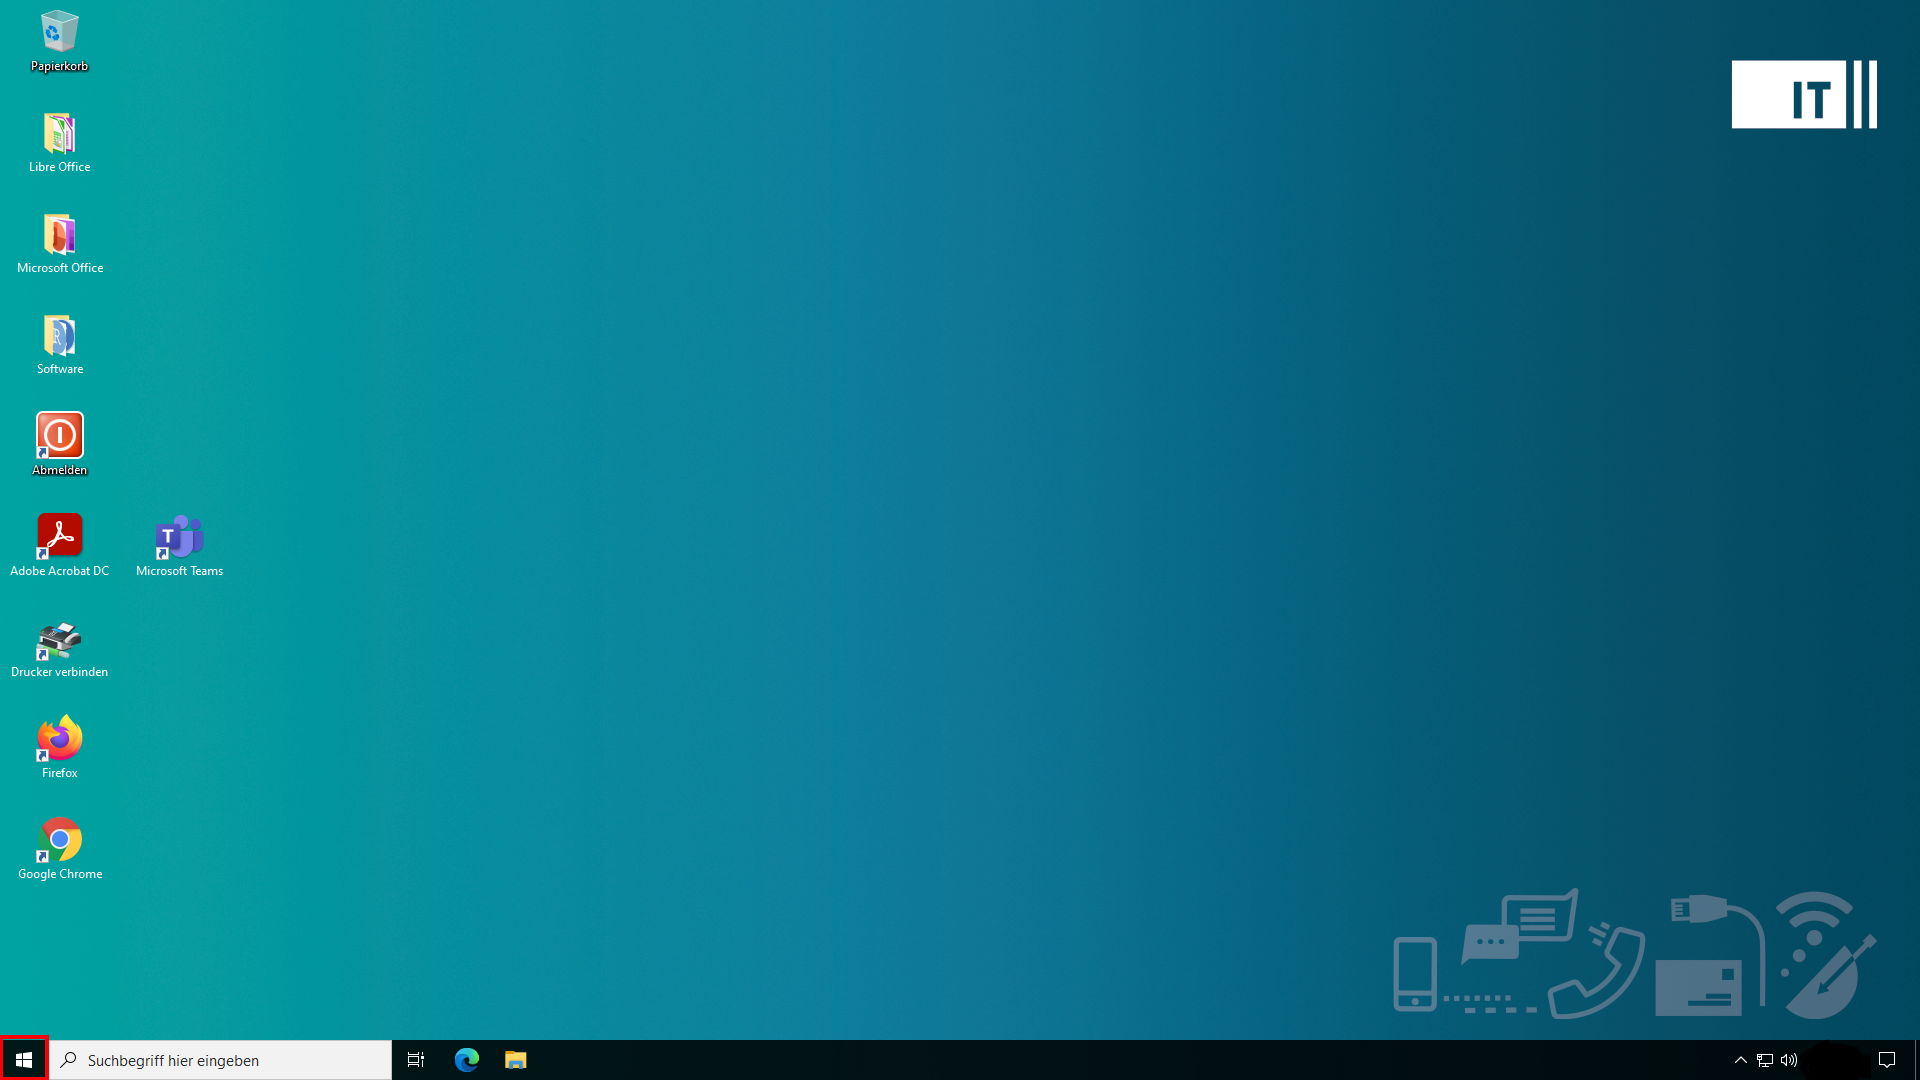
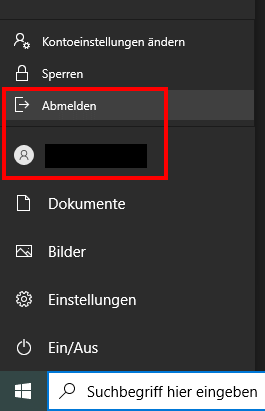
Click on the Windows logo in the bottom left of the remote desktop taskbar, then click your name and select "Log off".
© Uni MS IT B. Setting up the Connection Manually
1. Starting the Remote Desktop App
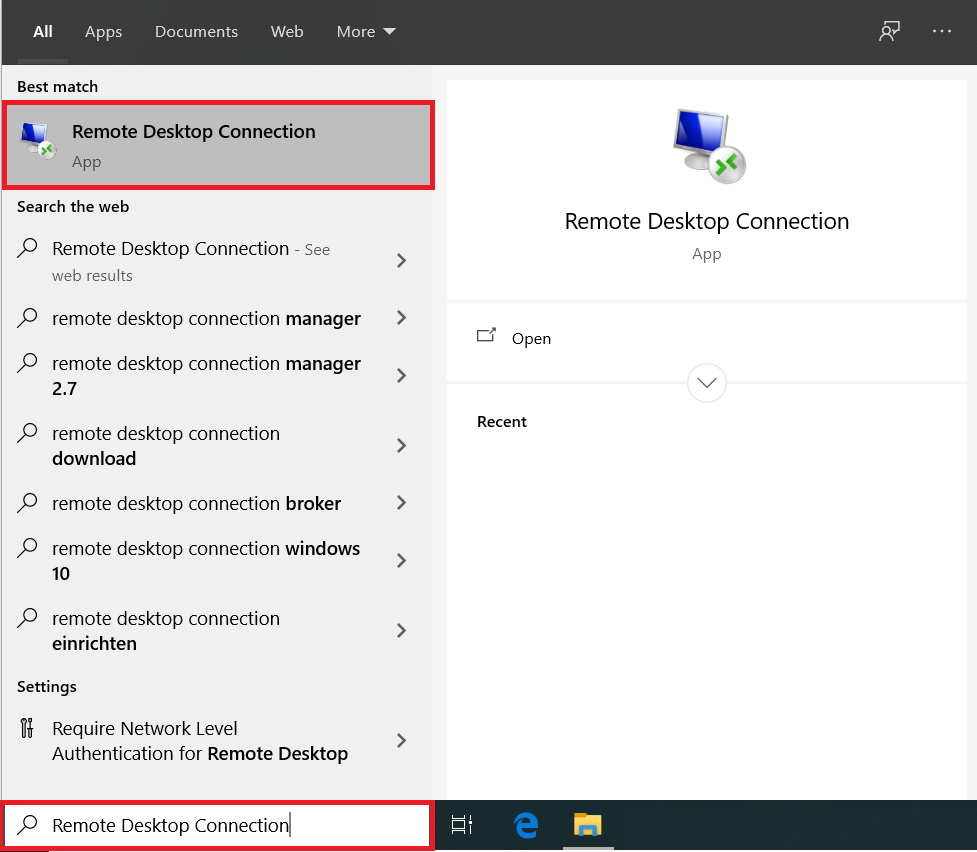
Type "remote desktop" into the search box and open the remote desktop app.
© Uni MS IT 2. Options Menu
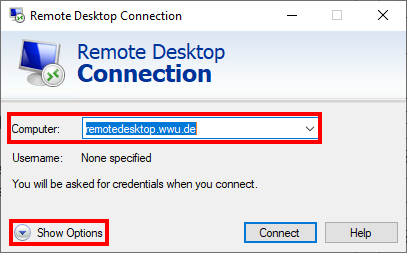
The window Remote Desktop Connection appears. Click on "Show Options" down below.
© Uni MS IT 3. Settings: Local Resources
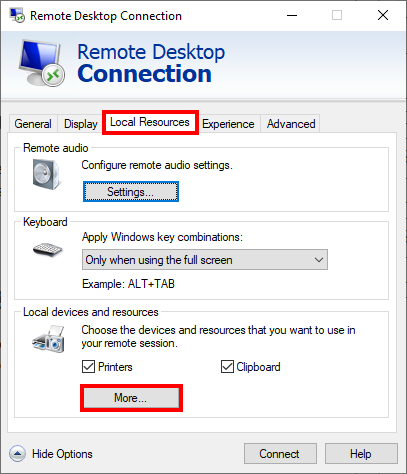
Afterwards, click on the tab "Local Resources" and select "More" at the "Local devices and resources" section.
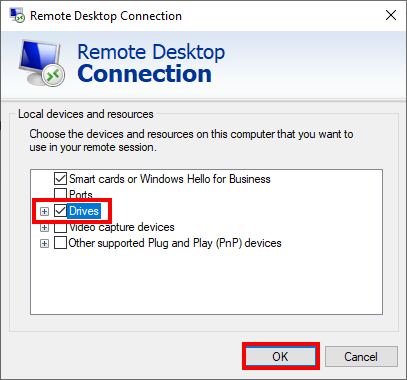
© Uni MS IT Tick "Drives" and confirm with "OK" to get access to your local files via the virtual desktop.
© Uni MS IT 4. General Settings
In the "General" tab, enter the following information:
- Computer: rd.wwu.de or remotedesktop.wwu.de
- Username: Your universityID@wwu.de

© CIT Additional information:
Before starting the remote desktop it is necessary to establish a VPN connection!5. Trusting the Connection
A warning stating that a remote connection shall only be established if you trust the publisher appears. If needed you can check the box so that this warning won't appear on future connections. Click "Connect".
© Uni MS IT If you try to establish a remote connection from outside of the university's network you will be prompted with a message stating that you are entering a digital security area and shall act accordingly. Check the first box saying that you took notice of the message and check the second box if it should only appear when the message has been changed. Click "OK".
© Uni MS IT A warning that the publisher of the remote connection cannot be identified appears. If needed you can check the box again so that this warning won't appear on future connections. Click "Yes".
© Uni MS IT 6. Logon to the Remote Desktop
Login to the remote desktop with Your universityID@wwu.de and your university password.
© CIT You are now successfully connected to the remote desktop and can use the installed programs.
© Uni MS IT 7. Ending the Connection
To end the connection, click on the Windows symbol in the remote desktop taskbar, then on your name and on "Log out".
© Uni MS IT

