Maple Installation Manual
You have the option to install and activate Maple using a network license from University Münster. Please make sure you have enough free space on your hard drive.


You have the option to install and activate Maple using a network license from University Münster. Please make sure you have enough free space on your hard drive.
Important: If you are outside the university network, you will need an established VPN connection to University Münster while installing and using Maple.
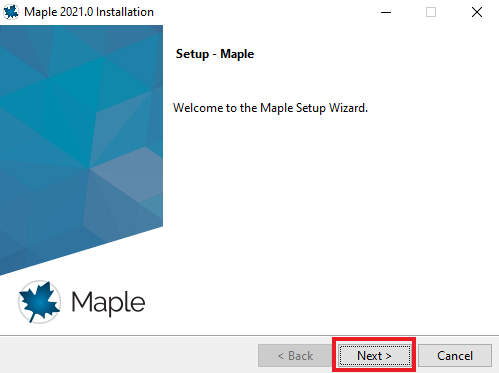
Launch the downloaded installation file and continue by clicking the "Next" button.
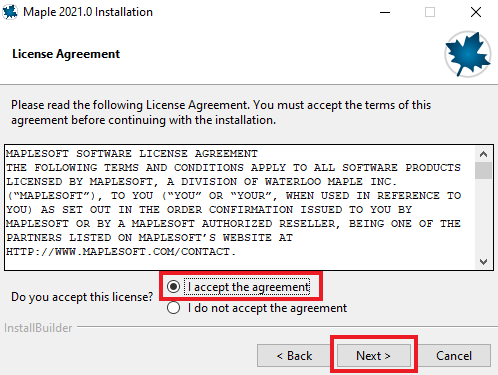
Here, confirm the terms of use with "I accept the agreement" and click "Next".
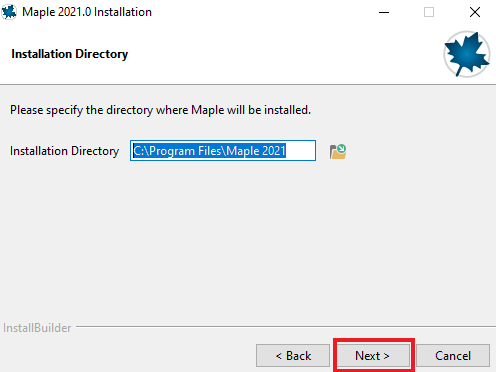
The selection of the installation path follows. You can simply confirm this with "Next".
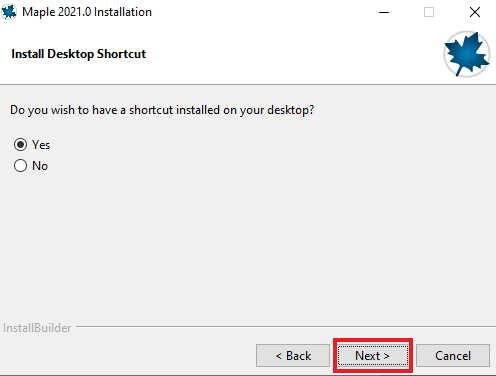
You will then be asked if you want to create a shortcut on the desktop. Here, too, a confirmation via "Next" takes place.
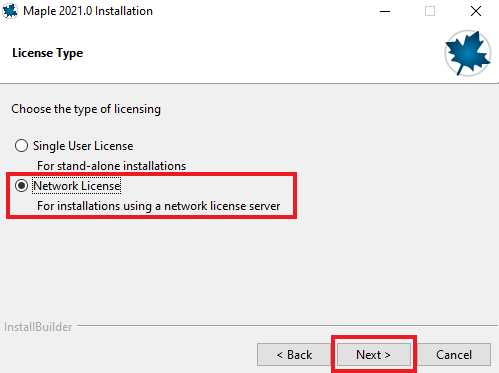
The next window asks you to select the license type. Select "Network License" here and confirm again with "Next".
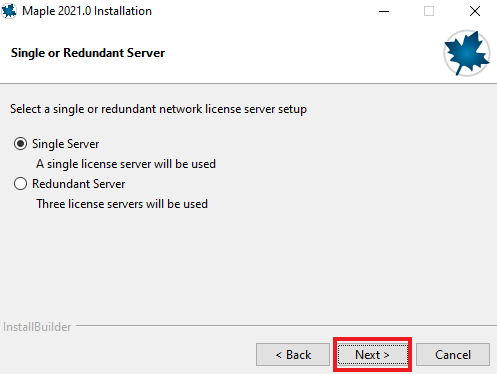
Now select the server type "Single Server" and confirm with the "Next" button.
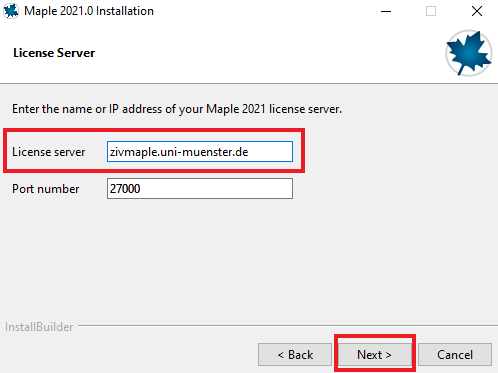
Now the program queries the information about the license server. Enter the following data according to the graphic:
license server: zivmaple.uni-muenster.de
Port number: 27000
Confirm the input with a click on "Next".
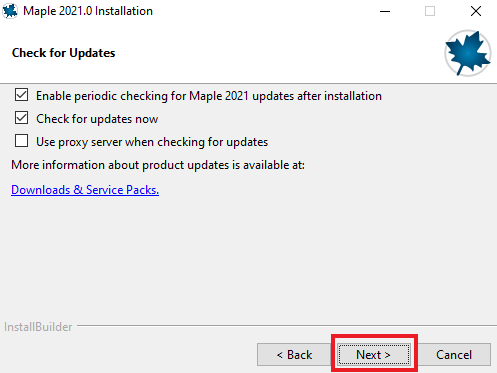
Now you can make settings for updates of Maple. These are confirmed with the "Next" button.
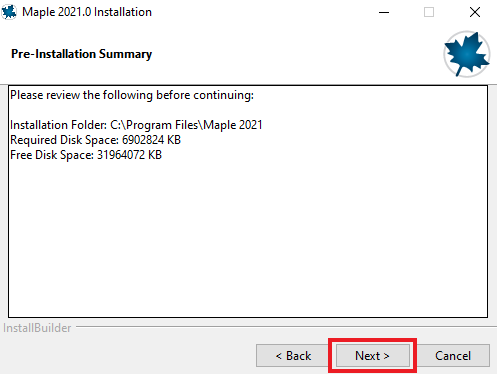
In the last step you will see a summary just before the installation. Now start the installation with a final click on "Next". Maple is now installed with the selected settings and license information and can then be used with an existing Internet connection.