Backup using Commvault with Windows

The CIT offers a new backup service for servers. The old service with TSM (Spectrum Protect) will soon be switched off.

The Commvault software is now used for data backup. The entire administration is carried out via a web interface. The client installed on the computers to be backed up no longer contains a GUI or command interface. To obtain a Commvault account, please send an e-mail to backup@uni-muenster.de.

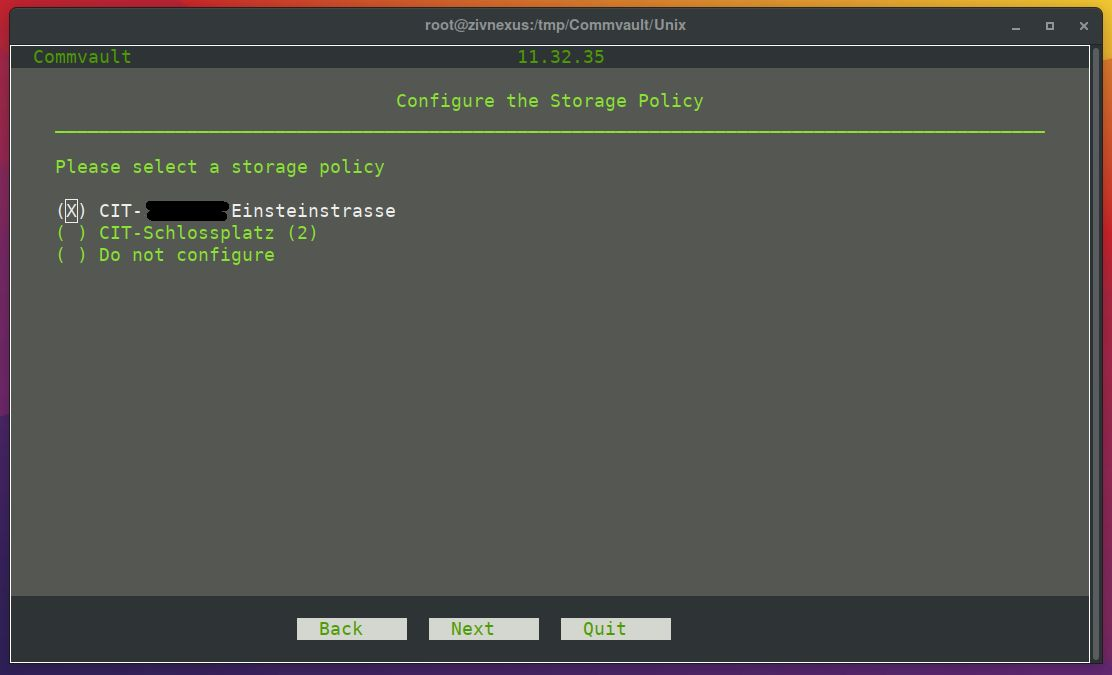
There are two plans available that determine how long data is stored (100 days in each case) and where the data is stored (Einsteinstr. or Schlossplatz). The plan is selected during the installation of the Commvault client.

The Commvault web interface can be accessed via the following URL: Commvault Webinterface

The Commvault web interface cannot be accessed from the WLAN or VPN network.

When logging in for the first time, a QR code is displayed, which can be scanned with a suitable app (Google Authenticator, MS Authenticator, ...). Commvault requires a 2FA. With the Commvault web interface, you have access to your Commvault environment and can manage your clients.

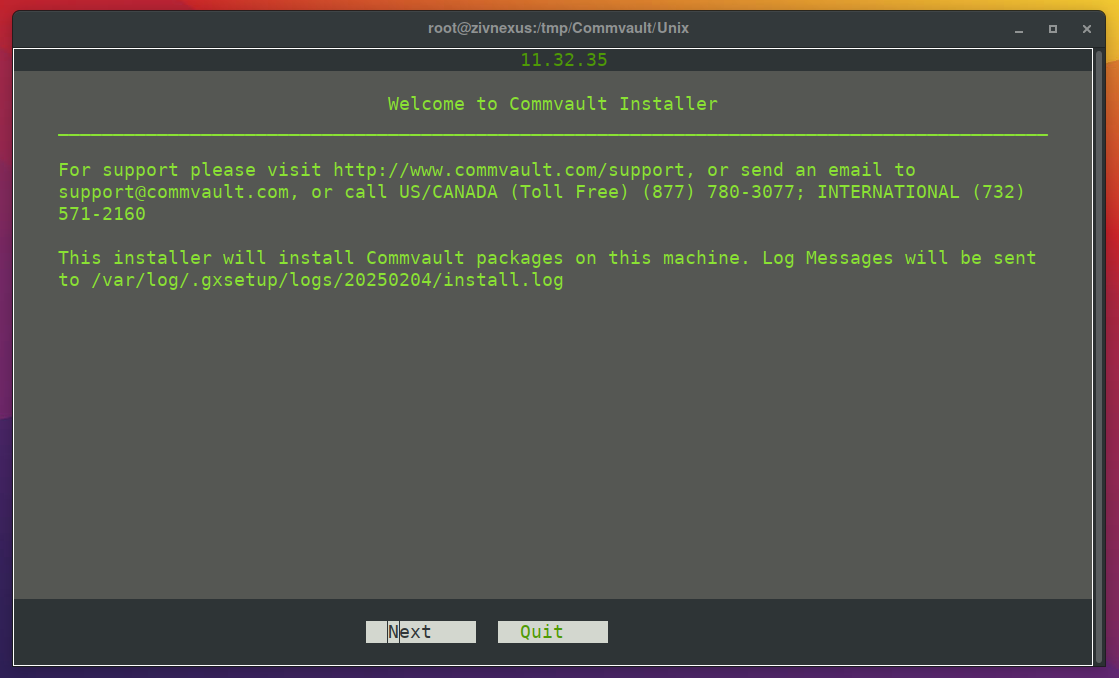
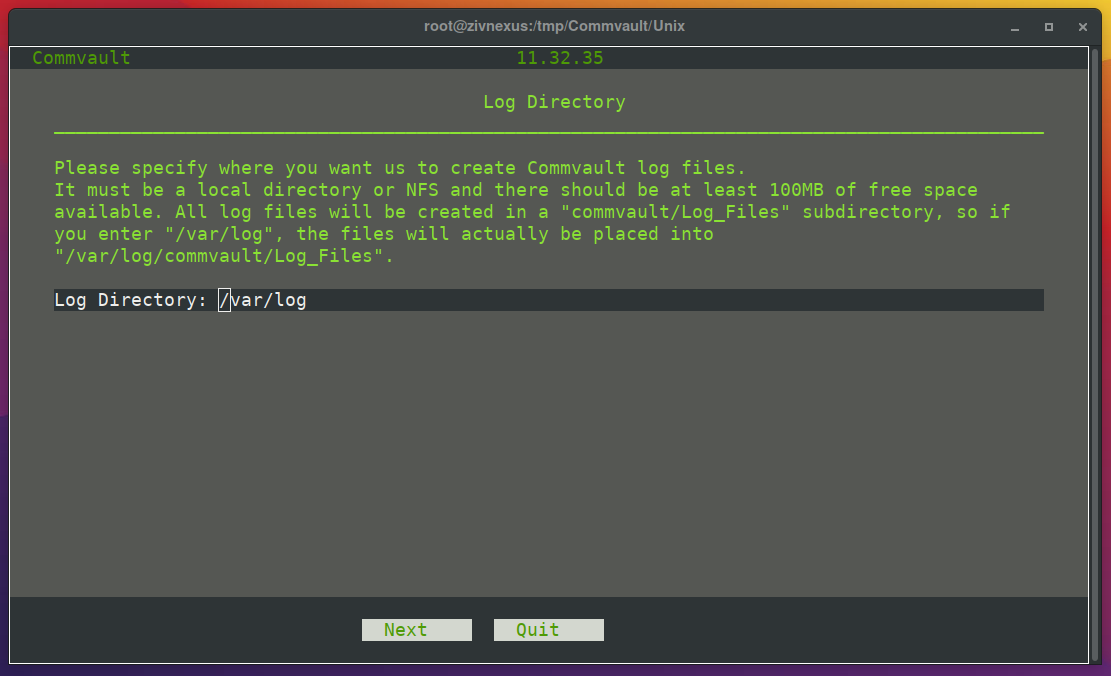
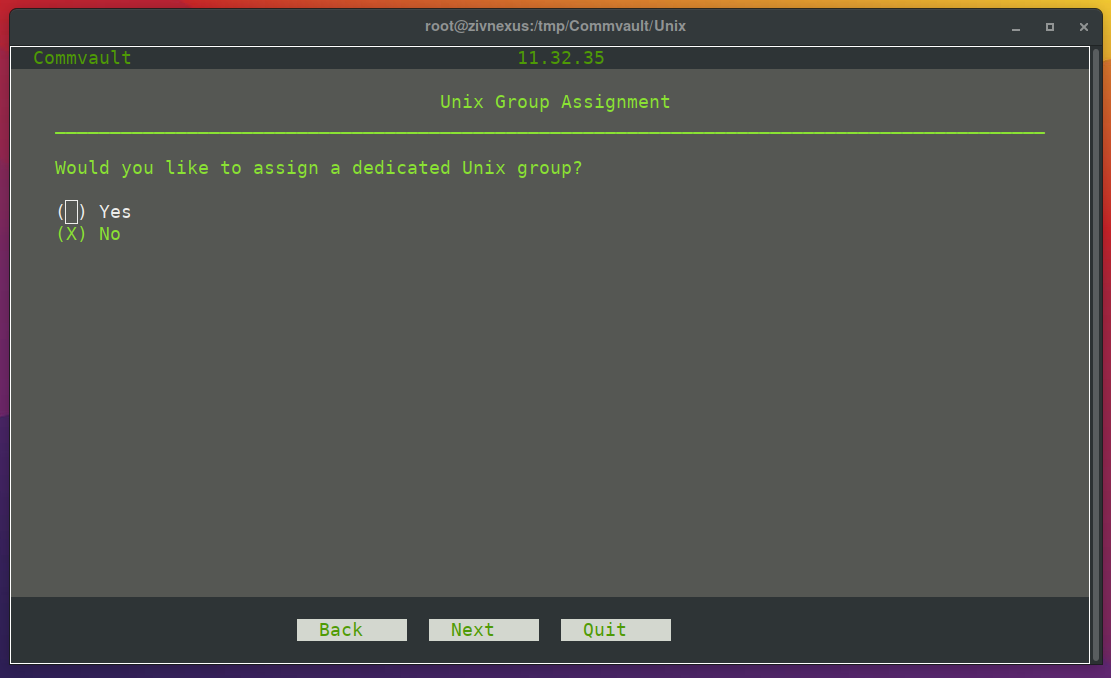
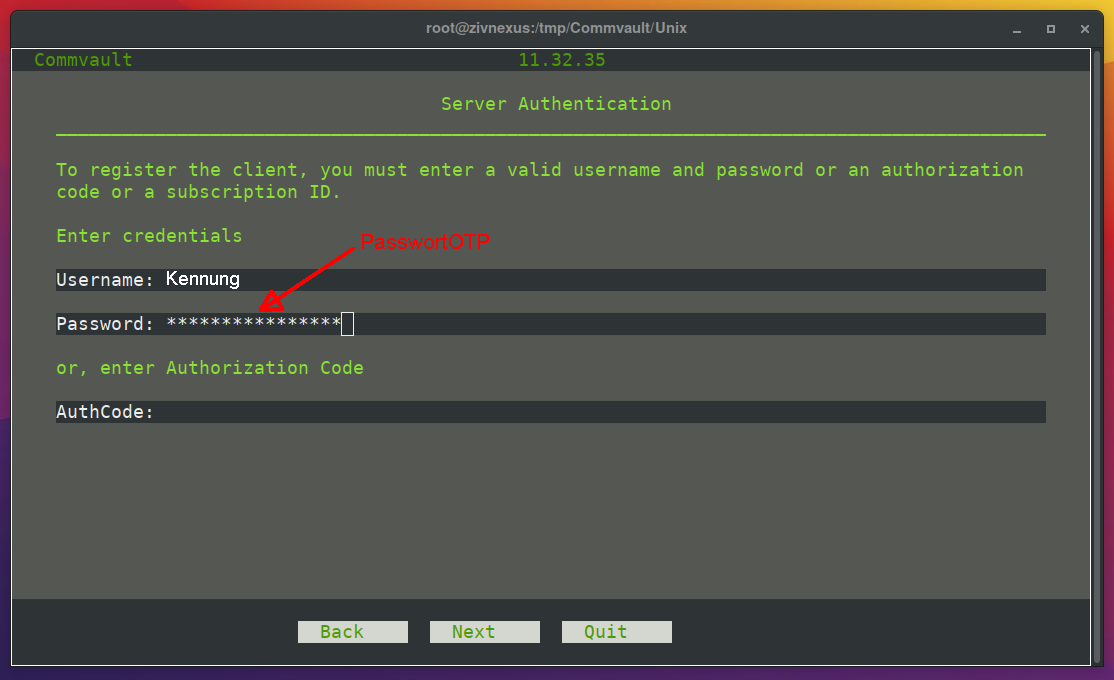
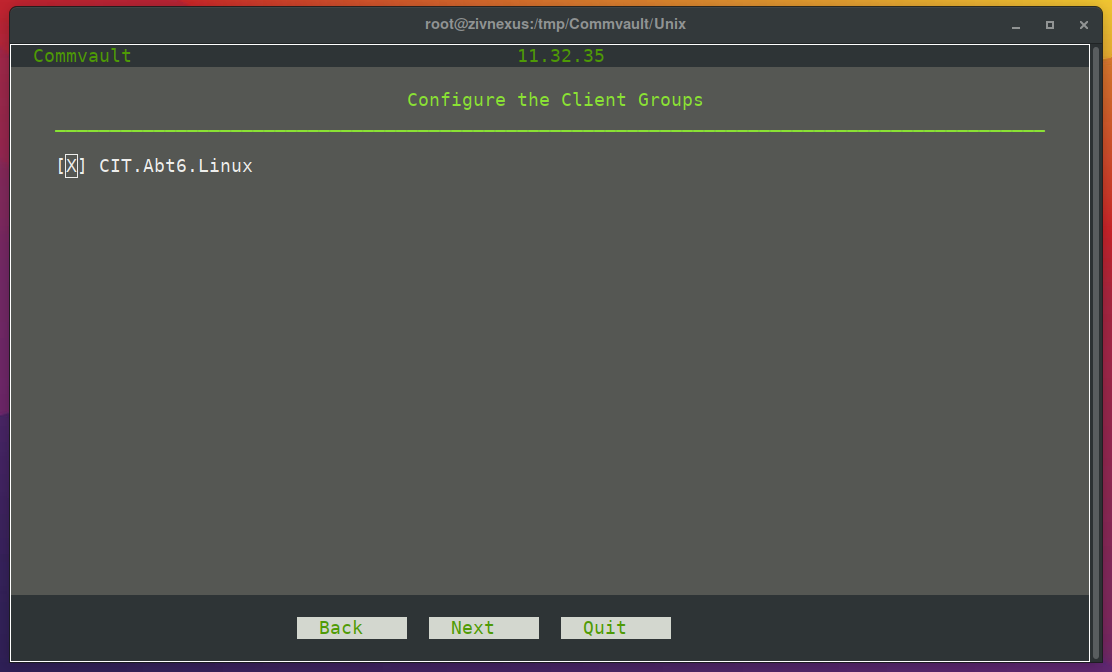
To add a client to your Commvault environment, the Commvault agent must be installed. The required software can be found at: \\wwu\ddfs\Software\Commvault

  • Installation for Linux

    1. Unpacking the tar-Archive

    After unpacking the tar-archives, the cvgadd file can be executed as root.
     

    1. Unpacking the tar-Archive
    © CIT

    2. Welcoming message

    A welcoming message is shown.

    2. Welcoming message
    © CIT

    3. Select location for package installation

    Select "Install packages on this machine".

    3. Select location for package installation
    © CIT

    4. Selection install option

    Select "Join an existing CommCell".

    4. Selection install option
    © CIT

    5. Select roles

    Select the role "File server".

    5. Select roles
    © CIT

    6. Agents for restory only

    Select "No", as the installation of agents for restore only is not needed.

    6.  Agents for restory only
    © CIT

    7. Select installation directory

    Generally "/opt" is the correct installation directory.

    7. Select installation directory
    © CIT

    8. Select log directory

    Generally "/var/log" is the correct log directory.

    8. Select log directory
    © CIT

    9. Select unix group

    Select "No", as generally no dedicated UNIX group is needed

    9. Select unix group
    © CIT

    10. State client host information

    Here the FQDN has to be stated. In this example it is: zivnexus.uni-muenster.de.

    10. State client host information

    11. State client name

    Here the client name is stated. In this example it is zivnexus.

    11. State client name
    © CIT

    12. Show summary

    This is what the summary should look like.

    12. Show summary
    © CIT

    13. Install packages

    Installation of the packages.

    13. Install packages
    © CIT

    14. State CommServe name

    The CommServe name has to be stated: cvcs1.uni-muenster.de

    14. State CommServe name
    © CIT

    15. Configure HTTP proxy

    Select "No", as no HTTP proxy is used.

    15. Configure HTTP proxy
    © CIT

    16. Server Authentication

     Log in to the server. Use your Commvault ID and the corresponding passwords. Important! The password consists of the actual password and the OTP directly attached to it. For Example: G5W$Qk56vP123456

    16. Server Authentication
    © CIT

    17. Configure client groups

    Select the server group for the client.

    17. Configure client groups
    © CIT

    18. Select storage policy

    Now you can select the plan that determines where the backup data is located. For servers in Einsteinstr. it makes sense to select the CIT-Schlossplatz plan. This means that the backup data is located at the Schlossplatz.

    18. Select storage policy
    © CIT

    19. Finish installation

    The installation is completed.

    19. Finish installation
    © CIT