Printer Setup
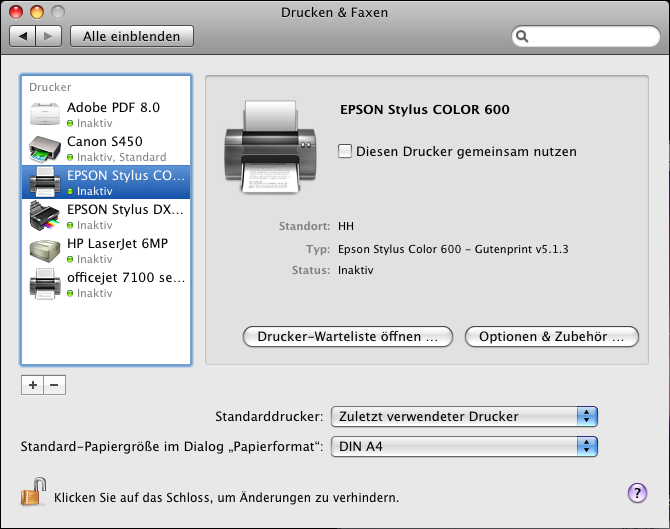
Open the systemsettings (e.g. via the Apple-Menu) and choose the section "Printing&Faxing":
Click the "+"-Symbol below the list of printers to add a new printer. The following window comes up:
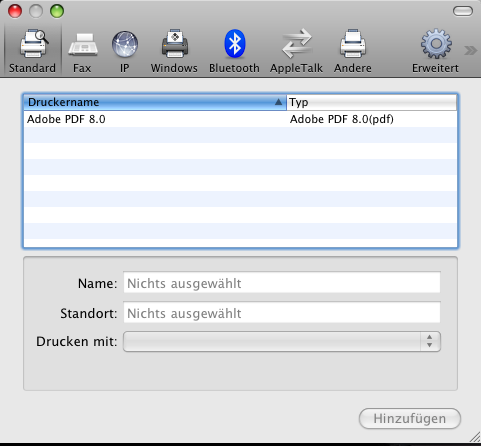
In the toolbar choose the symbol "Extended". If you cannot see this symbol, click in the toolbar pressing the Ctrl key (or use rightclick), choose "Customize Toolbar" and move the missing symbol to the toolbar.
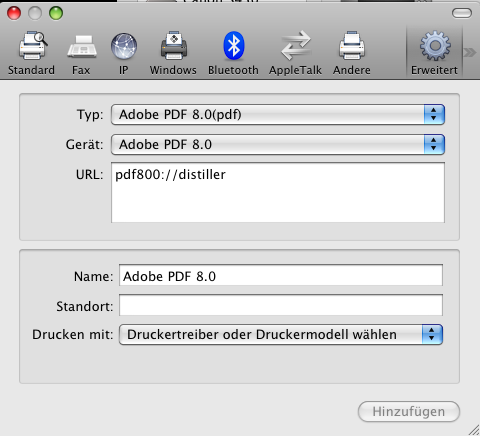
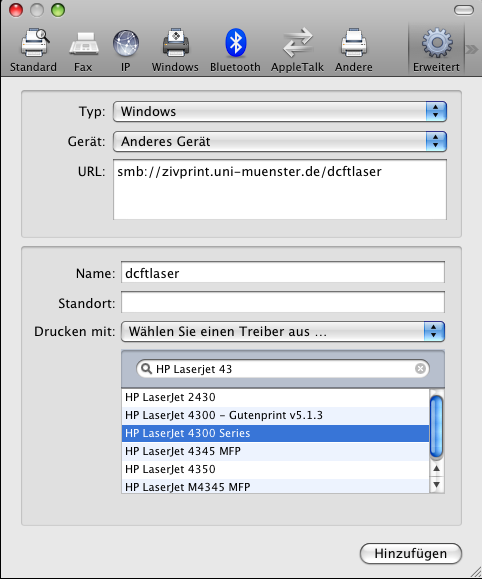
Now you go under "Type" and choose "Windows", where you enter the following URL:
smb://servername/druckername
Printer- and servernames are figured out best on a Windows computer (if necessary ComputerLab) by adding the printer there and viewing the list of installed printers. There you can look for the information in question, e.g. "dcftlaser an zivprint.uni-muenster.de".
You can enter any name in the box "Name". The printer will show up with this name later in the printing dialogue.
Finally, click in the menu "Printing with" on "Choose a driver" and choose the corresponding printer on the list.
Confirm your information by clicking "Add".
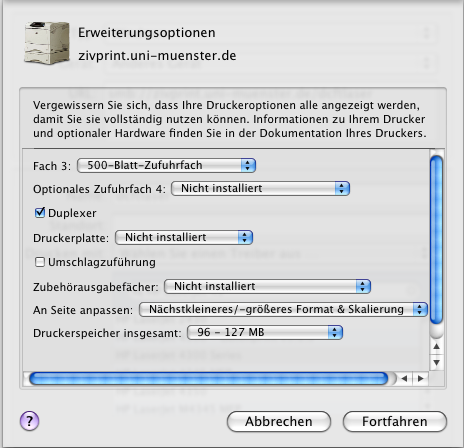
Depending on the model of the printer you will now be asked for installed extension options. If you are not sure, simply keep the default settings. You are able to change these settings later in the system settings. Click on "Continue".
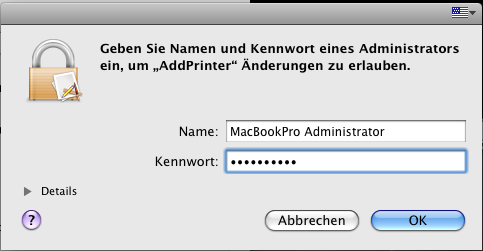
To confirm the installation of the printer, you will maybe be asked for the administrator password.
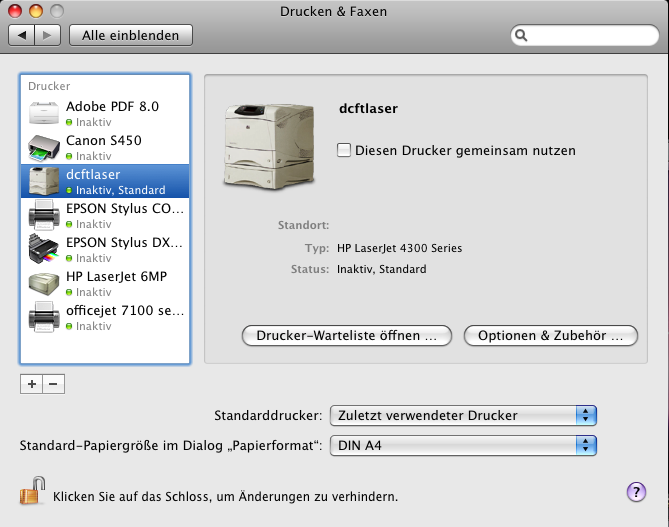
The installation of the printer is now complete. The printer should now show up on the list of printers in the system settings:
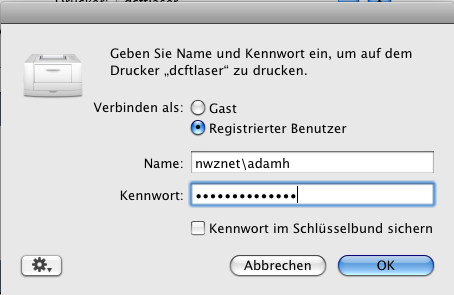
If you place a print order, you will be asked for username and password. Enter your NWZ account. (In the picture, you still see the old NWZnet, please enter nwz instead of nwznet).