A VPN connection is required if you want to access your computer outside the university or if you cannot access certain services in the WLAN. This establishes a secure connection to the university network, enabling you to access the required services. On this page you will also find instructions on how to set up a VPN connection before logging on to your work laptop. Take a look at the instructions for Start before LogOn (SBL).
To use VPN access, a one-time password (OTP) is required in addition to the network access password.
Note: On computers provided by IVV1, Cisco is either already installed or can be installed via the Software Center. This guide is intended for installing Cisco on devices that have not been set up by IVV1. If you already have Cisco installed, please proceed to the section "Starting the VPN connection."
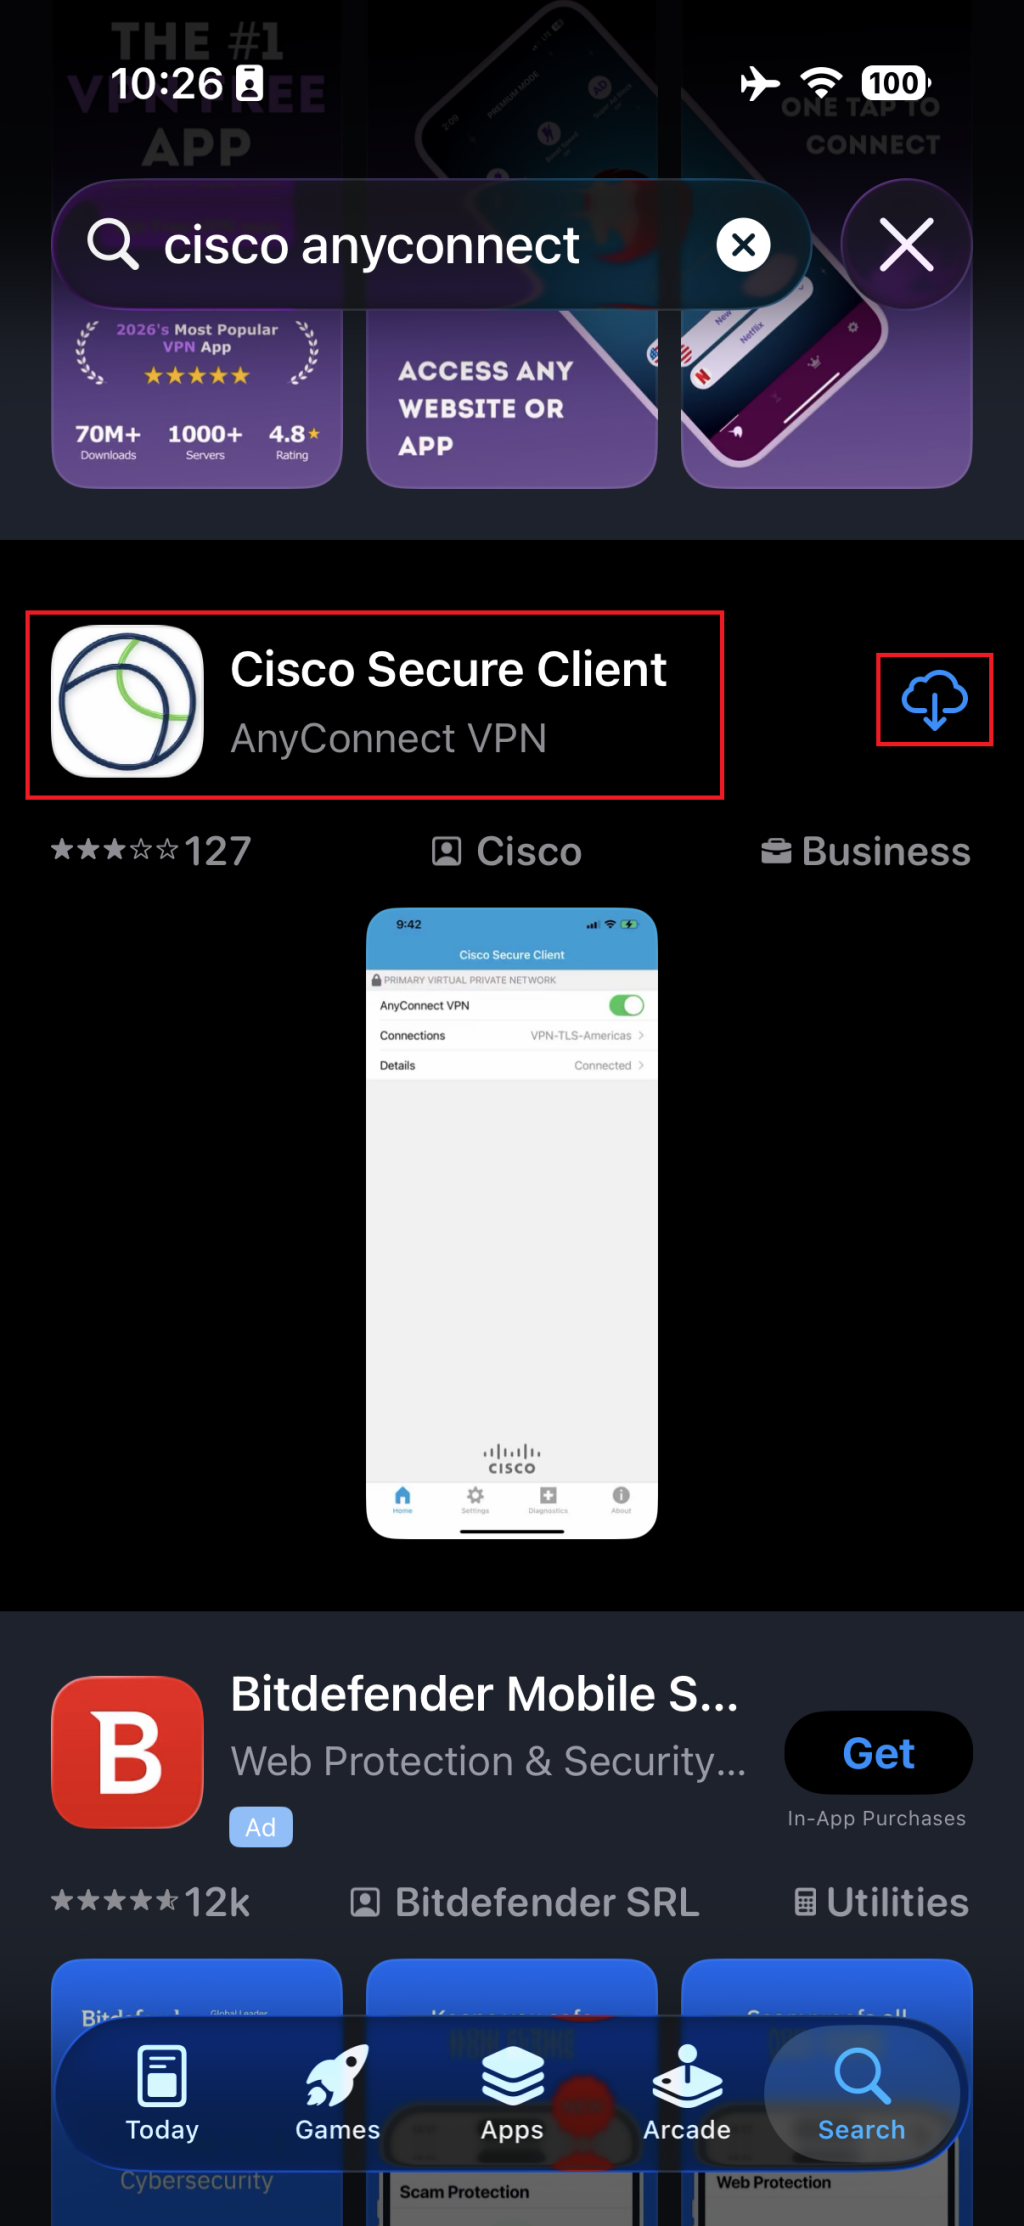
Step 1: Download the Software
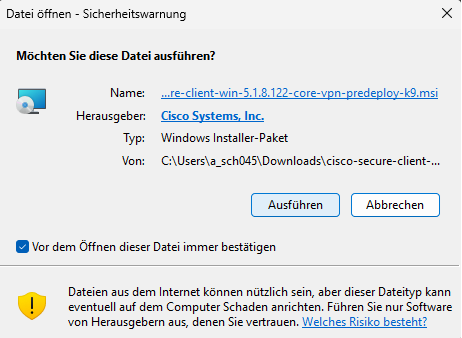
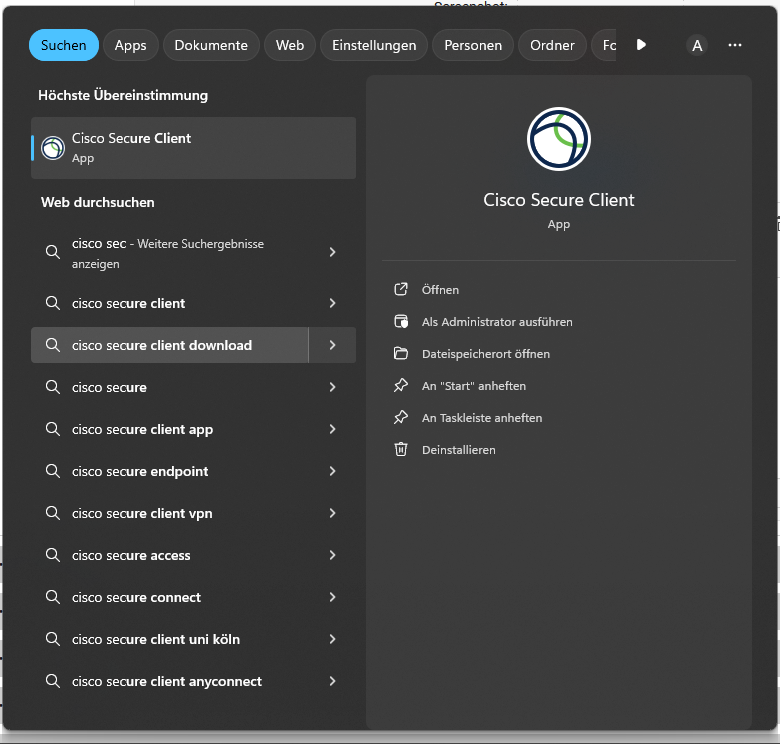
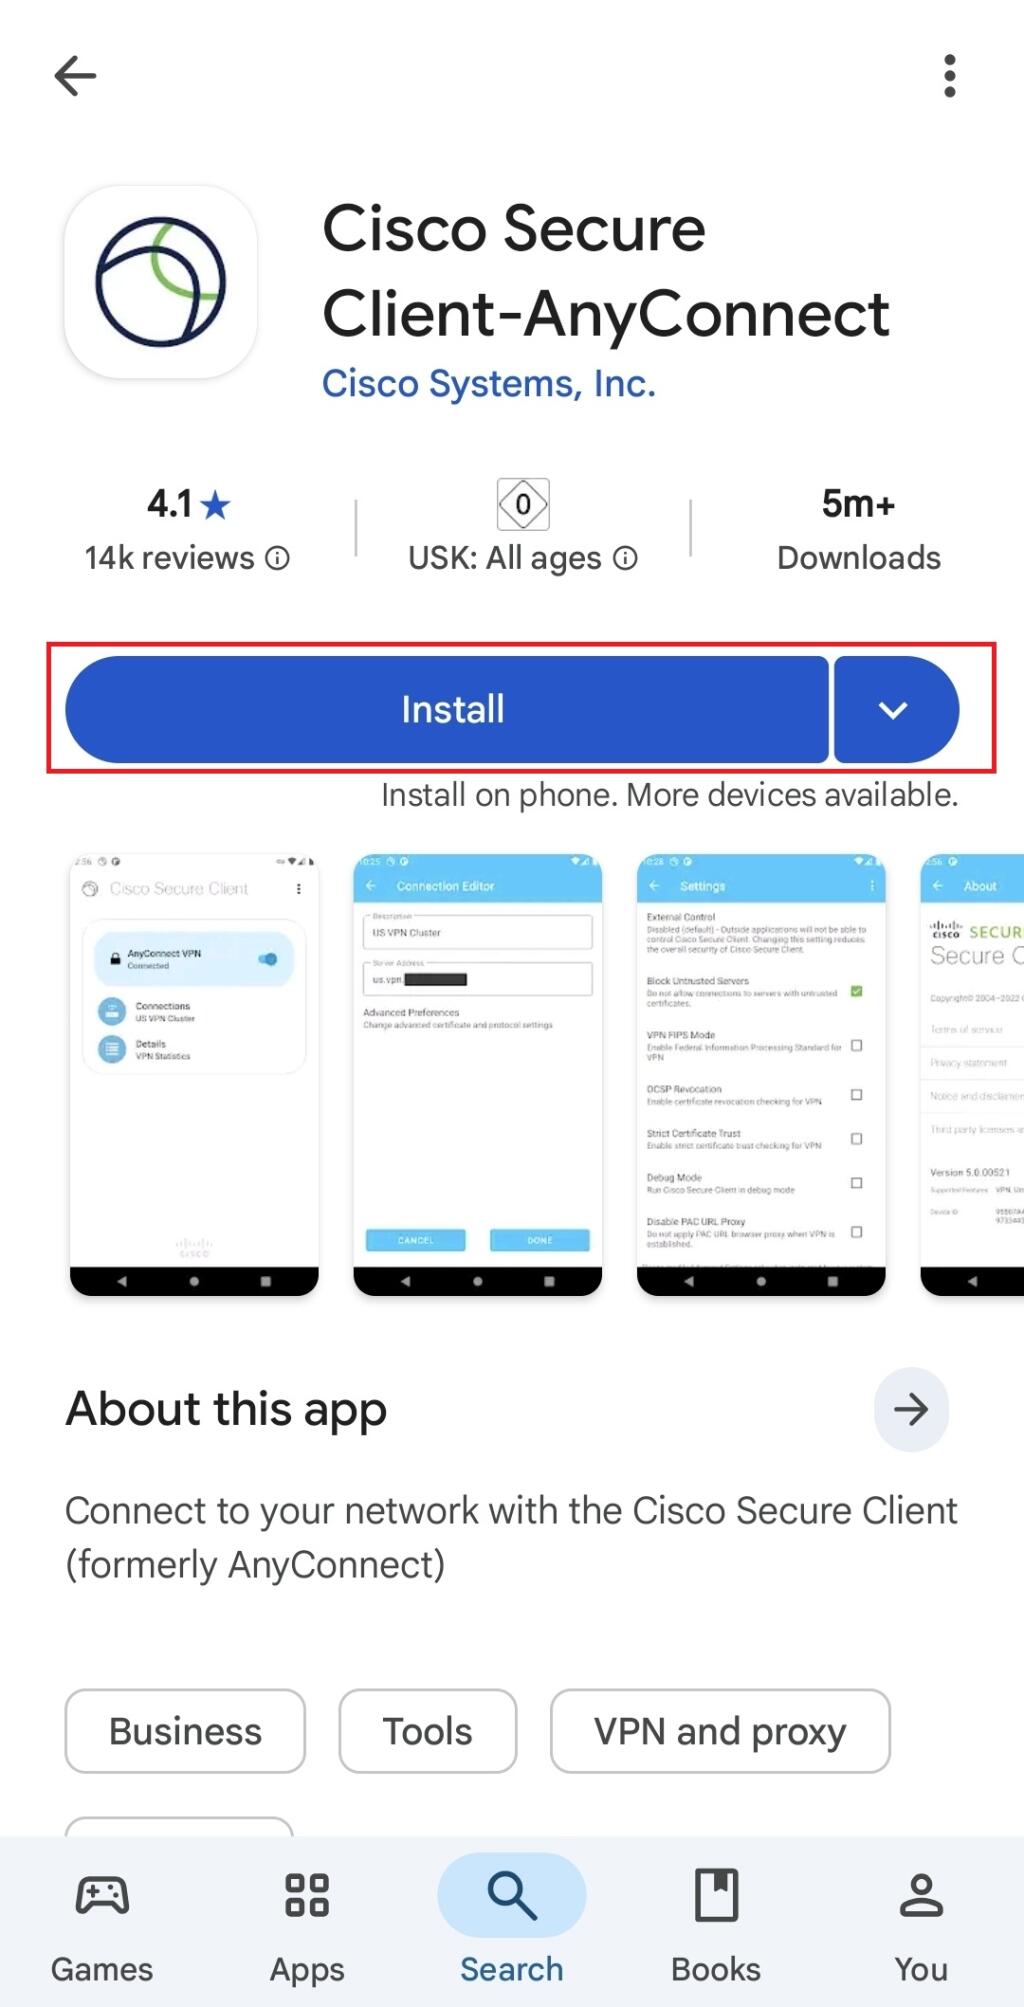
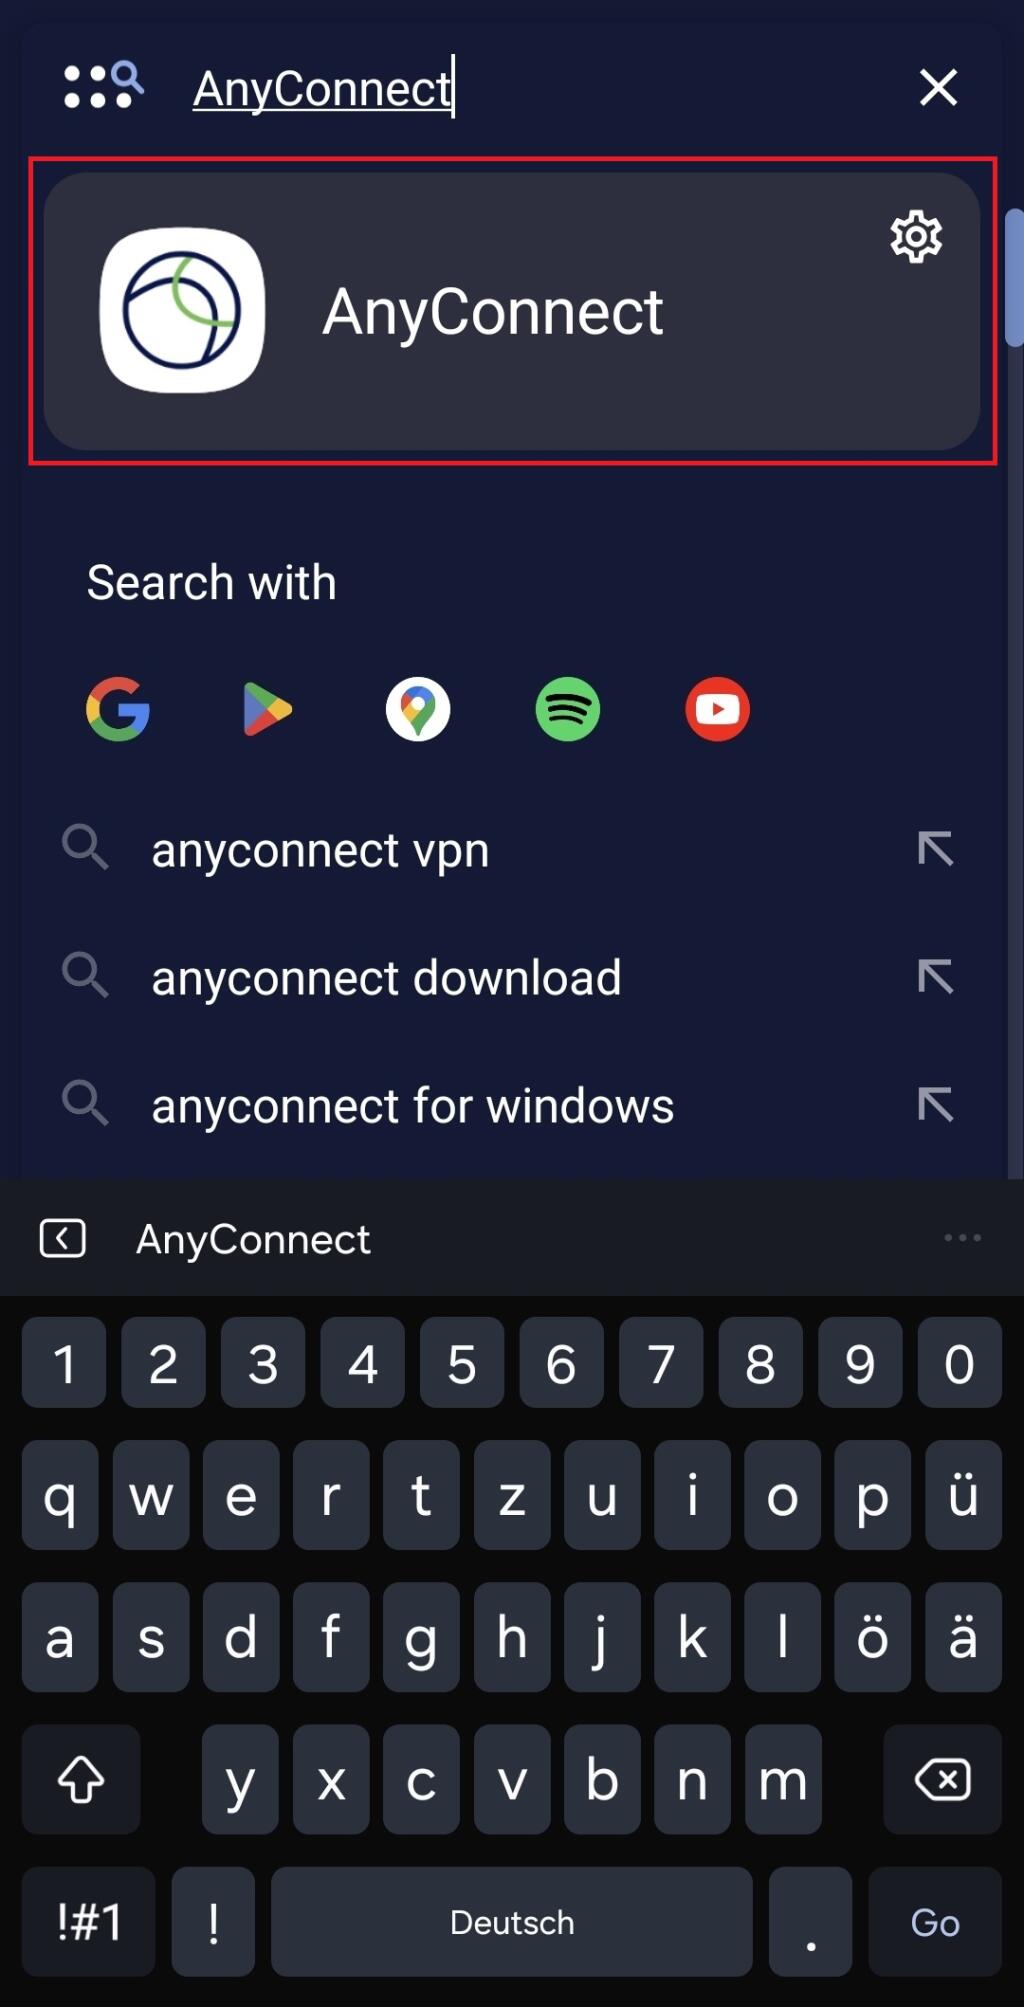
Install Cisco Any Connect. You can download the software via the CIT here. To access the file, you must log in and then select the Windows folder. Then click on the file (see picture) and download it
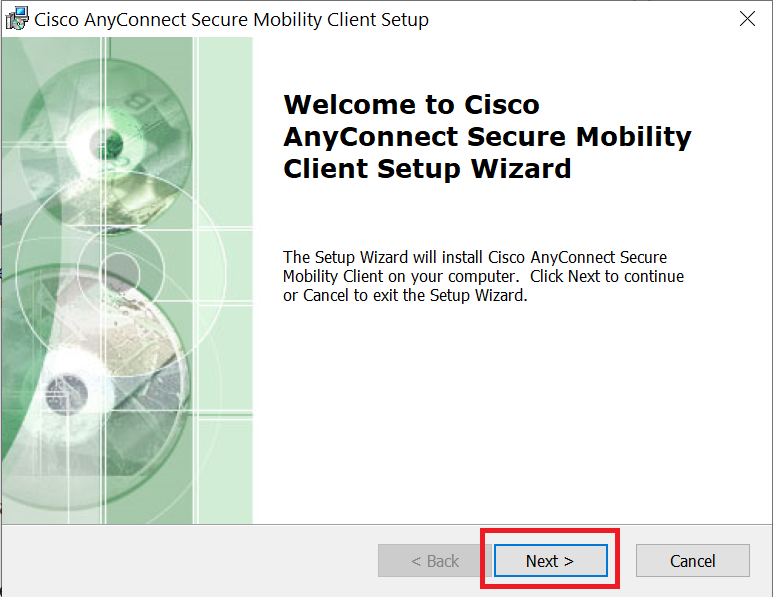
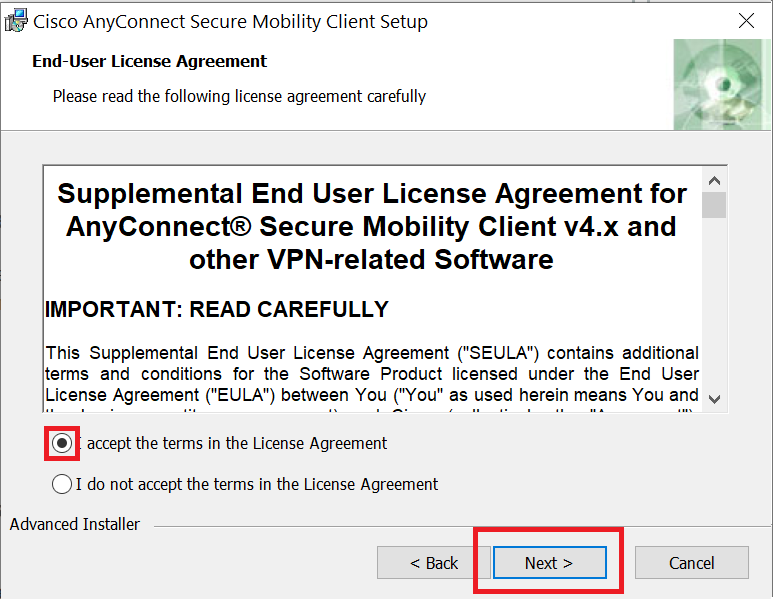
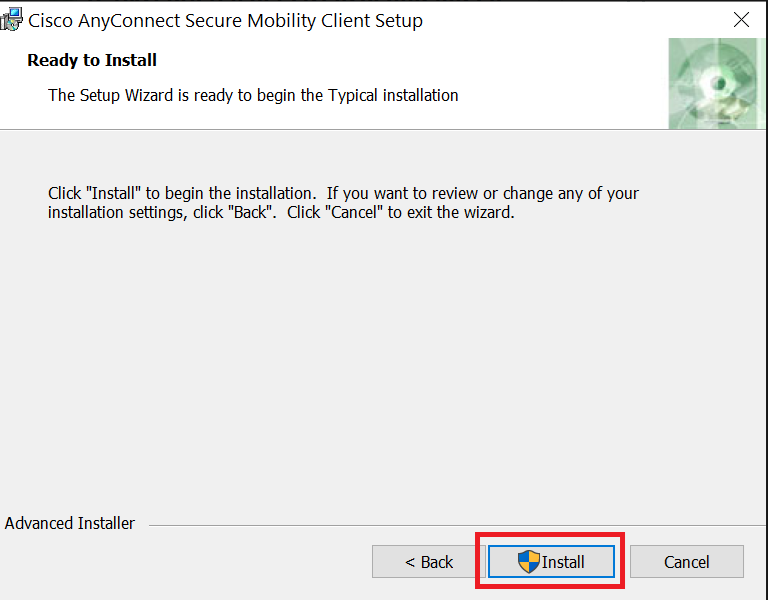
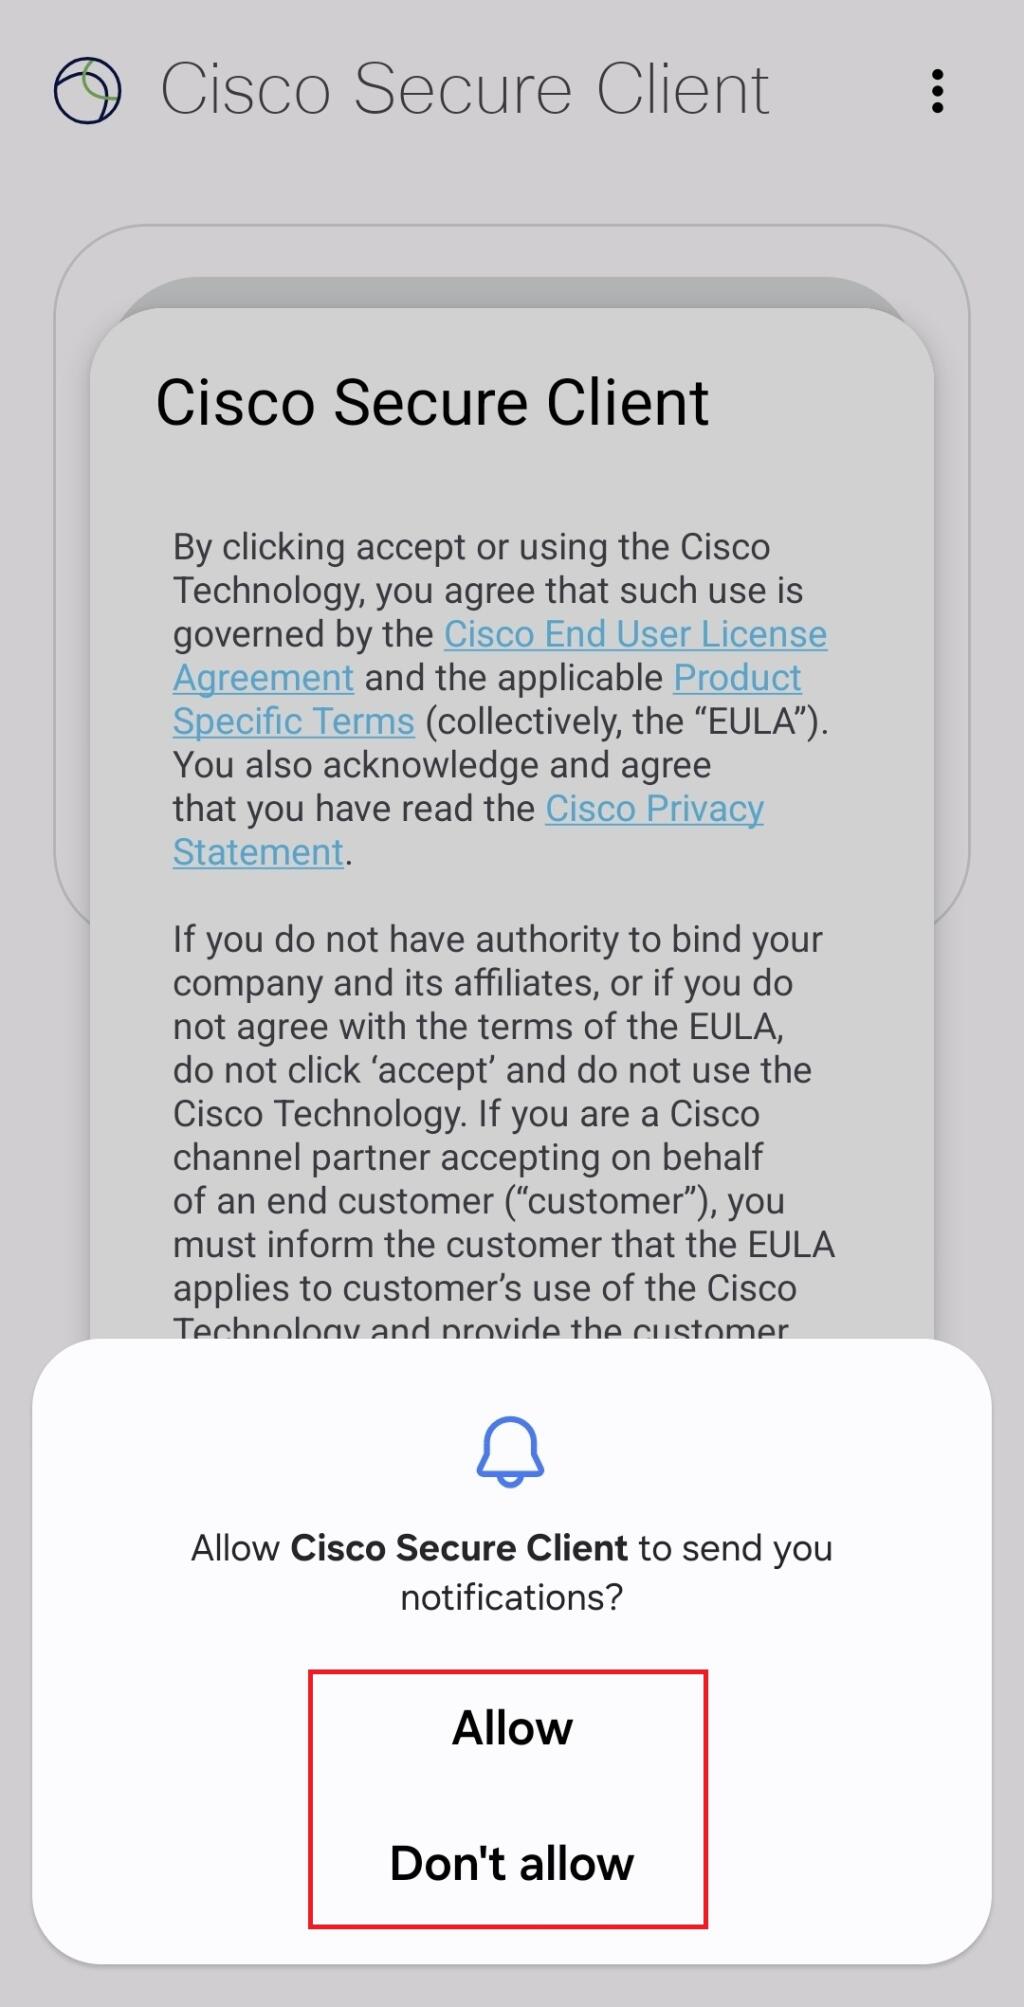
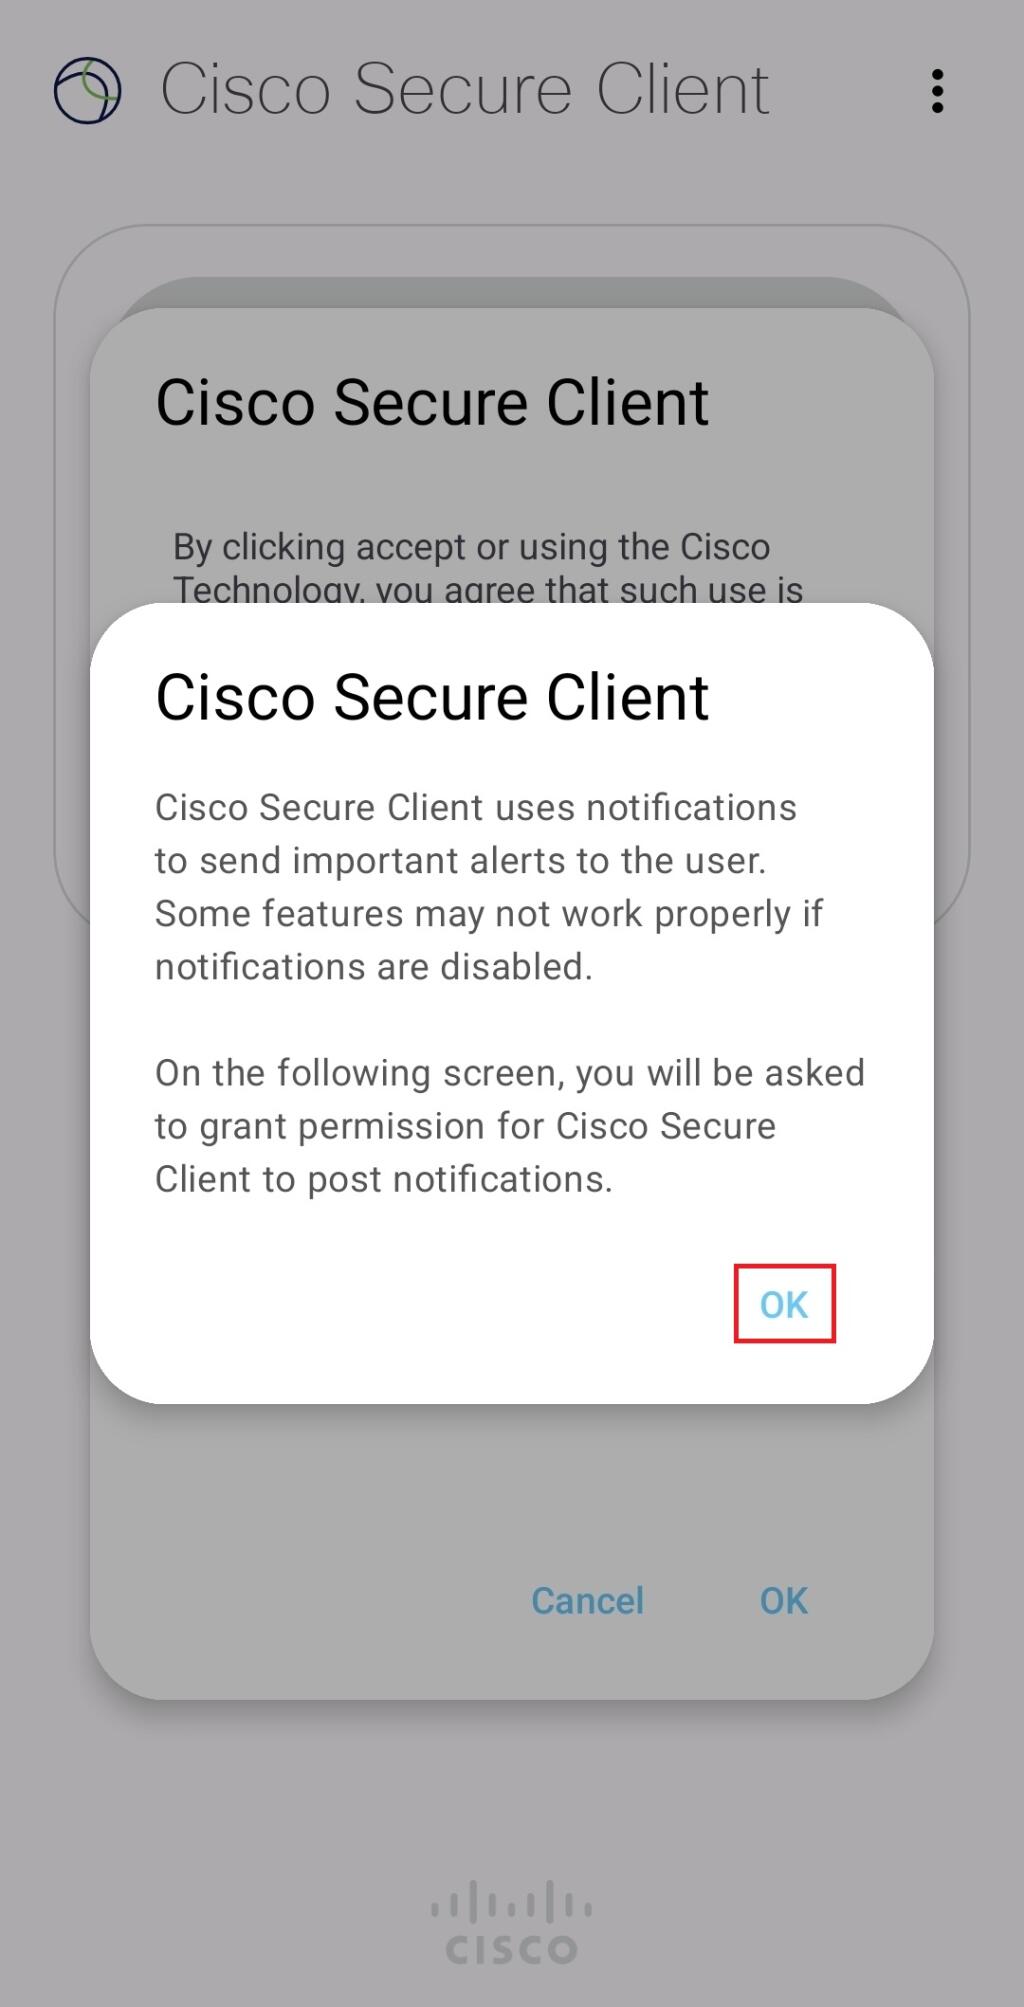
Select Install. If prompted, you may need to confirm that the Cisco AnyConnect Client is allowed to make changes to your computer. Confirm the installation by clicking Yes.
Once the installation is complete, click Finish. The installation is now finished.
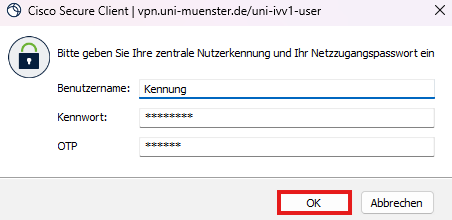
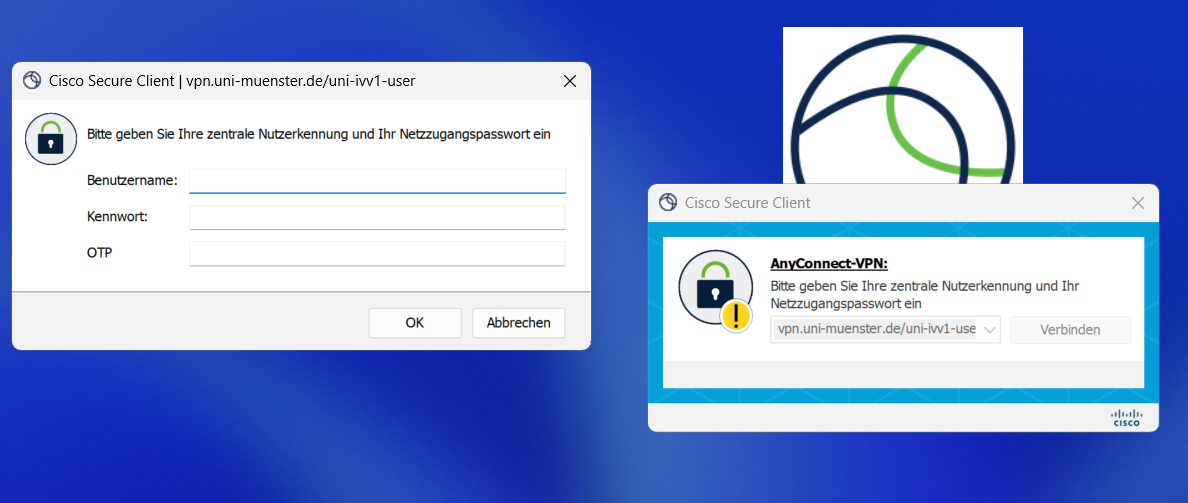
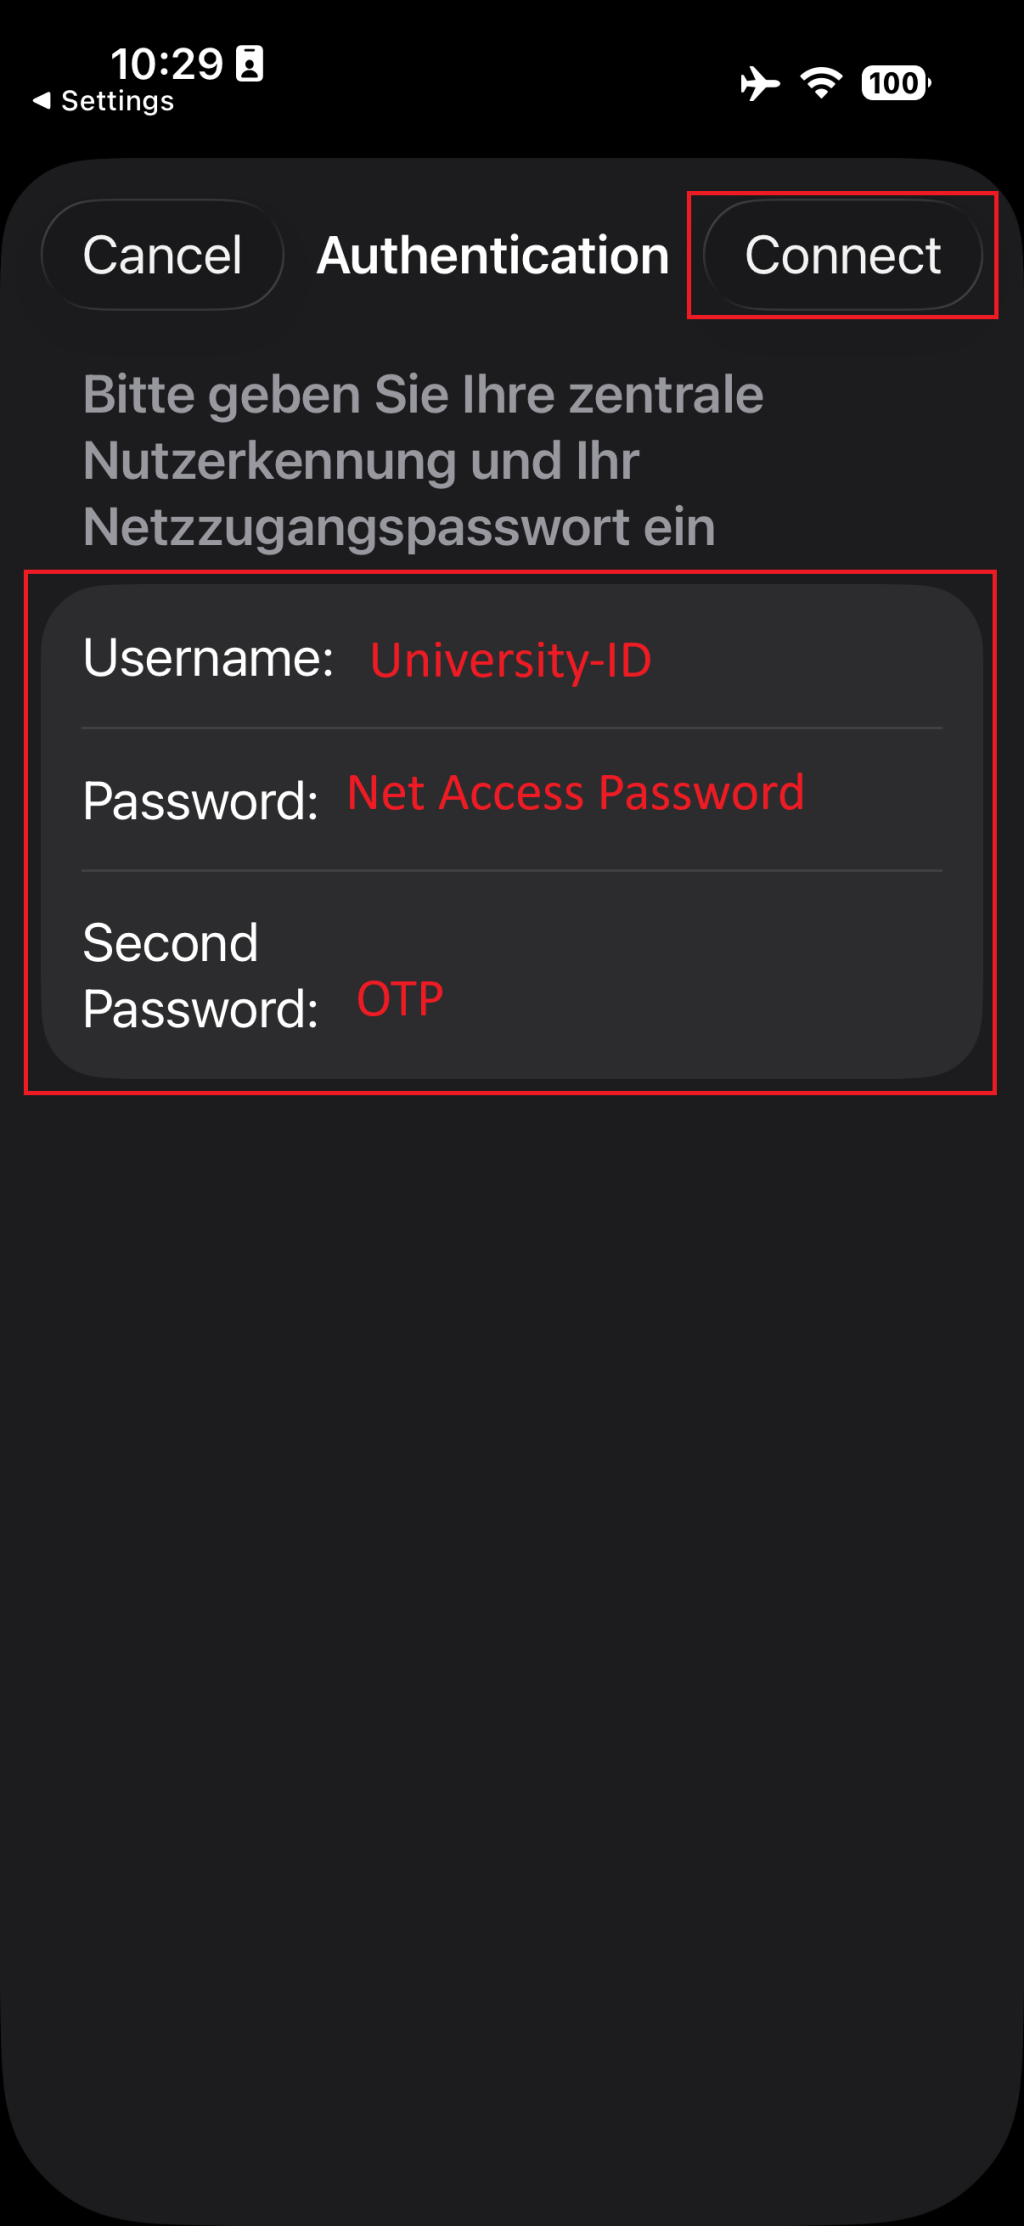
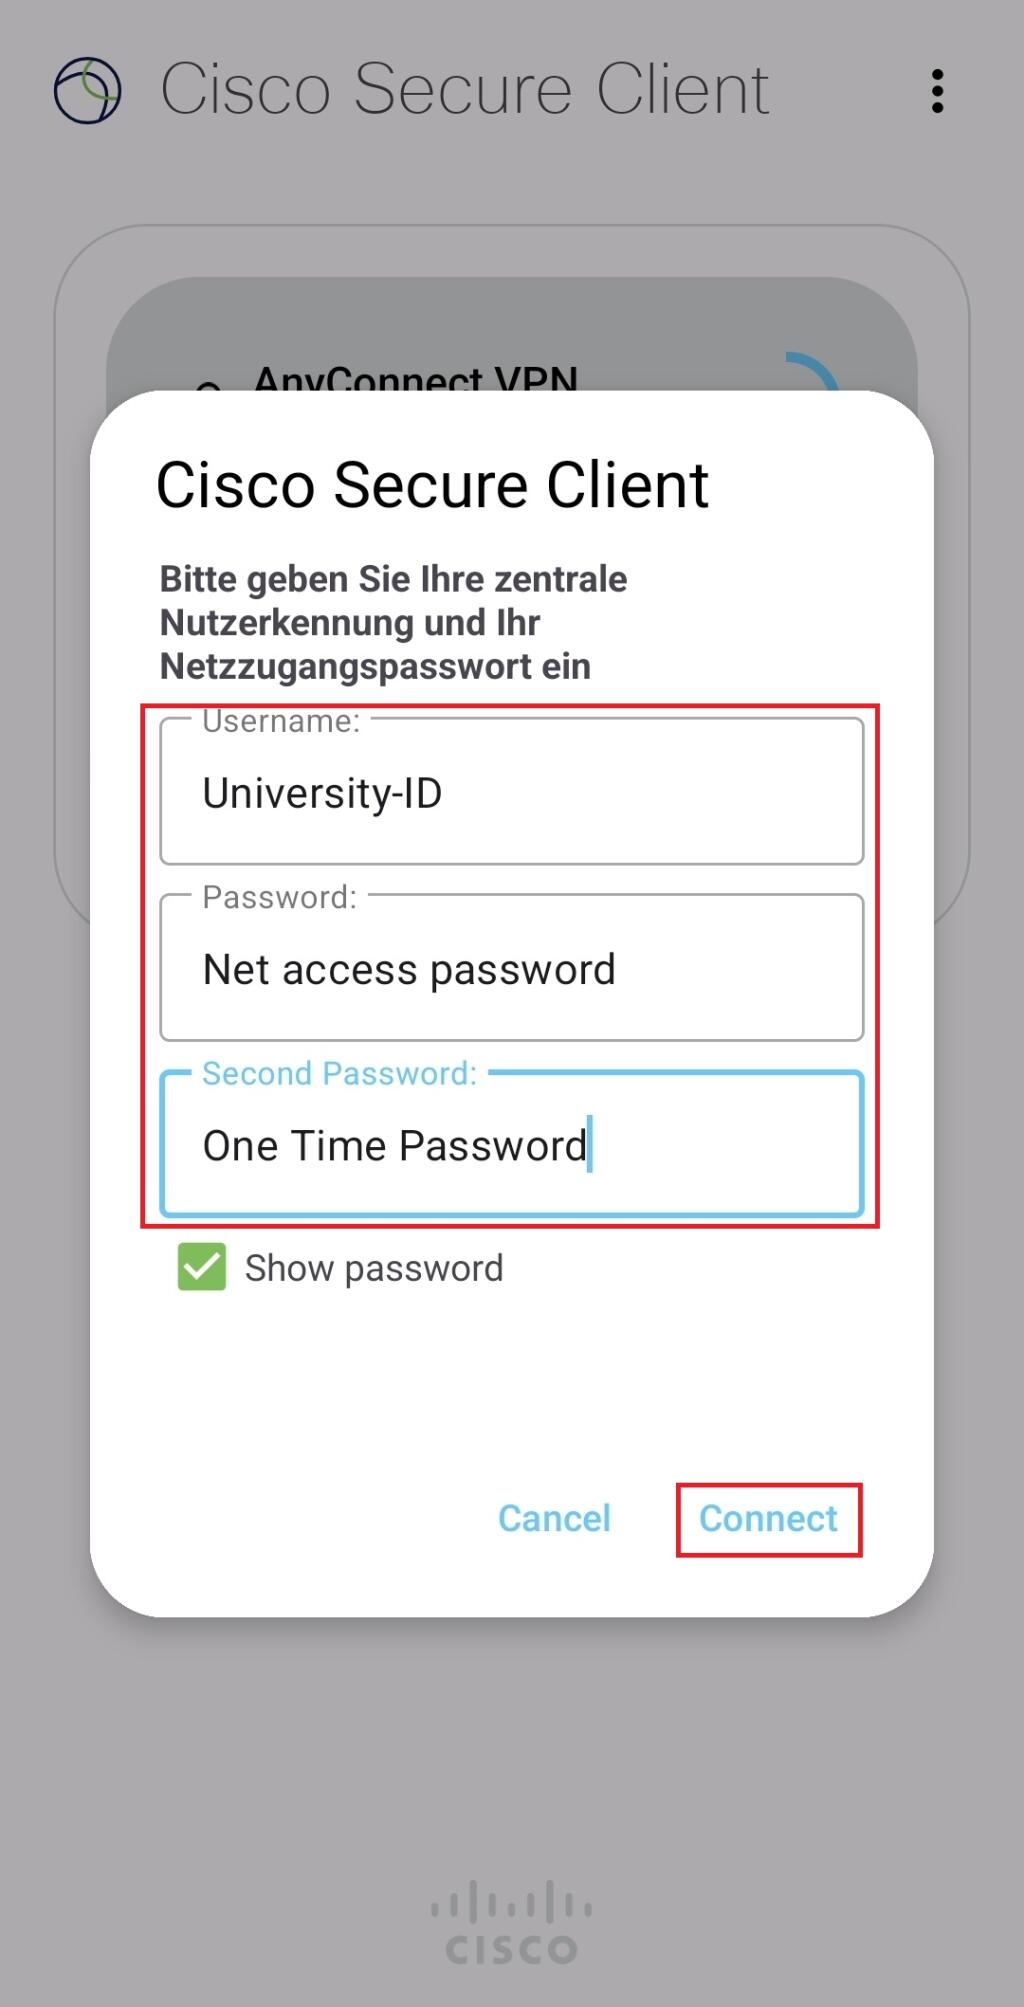
A window for identification will now open. Here you must enter your university ID, your network access password and your OTP. Finally, confirm the entries with the ‘OK’ button.
With the Start Before LogOn (SBL) module from Cisco on your new laptops, you can establish a secure connection to the university network even before logging into Windows. This feature allows you to connect to the university network via VPN before you log in to Windows.
Thanks to SBL, you can now access your previously added network drives and printers without any issues as soon as you start your laptop. These will be automatically reconnected without requiring you to log in again.
If you are denied login access to your PC because it has not been connected to the university network for an extended period, or if the university account you want to use is unknown, you can easily establish a VPN connection to the university network without having to log in first. This should then enable the login to work, as the necessary information can be retrieved from the PC.
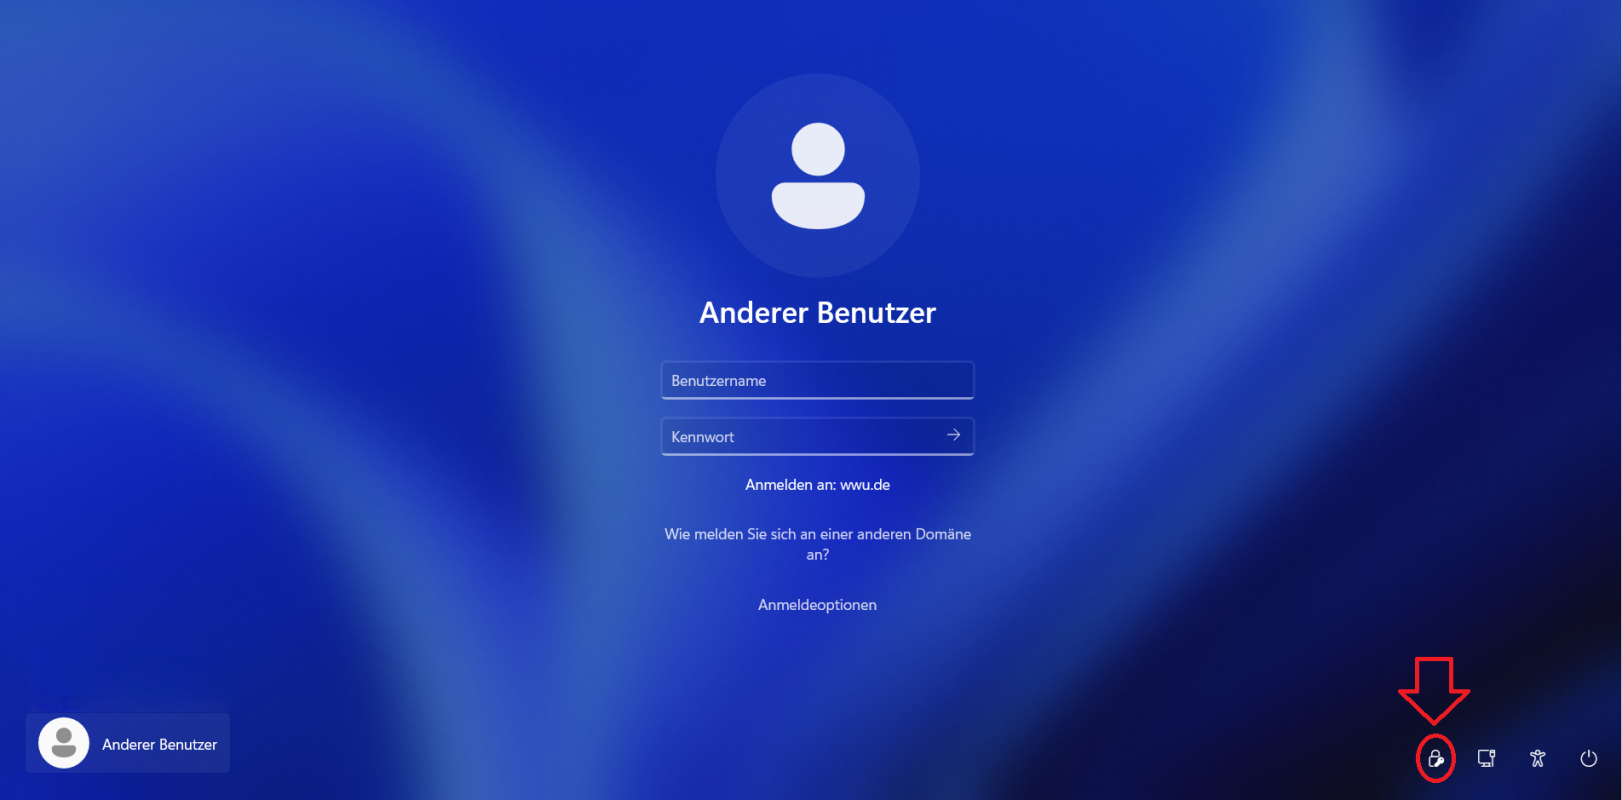
Step 1: Select SBL icon and start Cisco
You will find the SBL icon at the bottom right of the login screen (circled in red in the example image). You start Cisco by clicking on the icon.
Finally, you will need to enter your username, network access password, and an OTP (One-Time Password). Then, confirm everything with OK, and the client should connect you to the university's network.
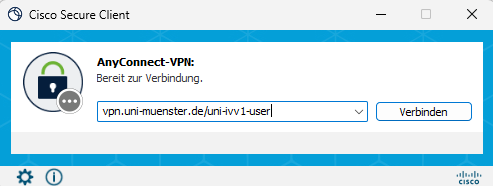
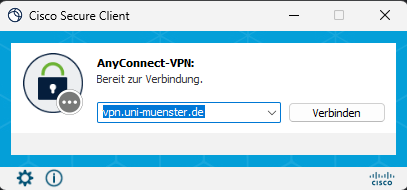
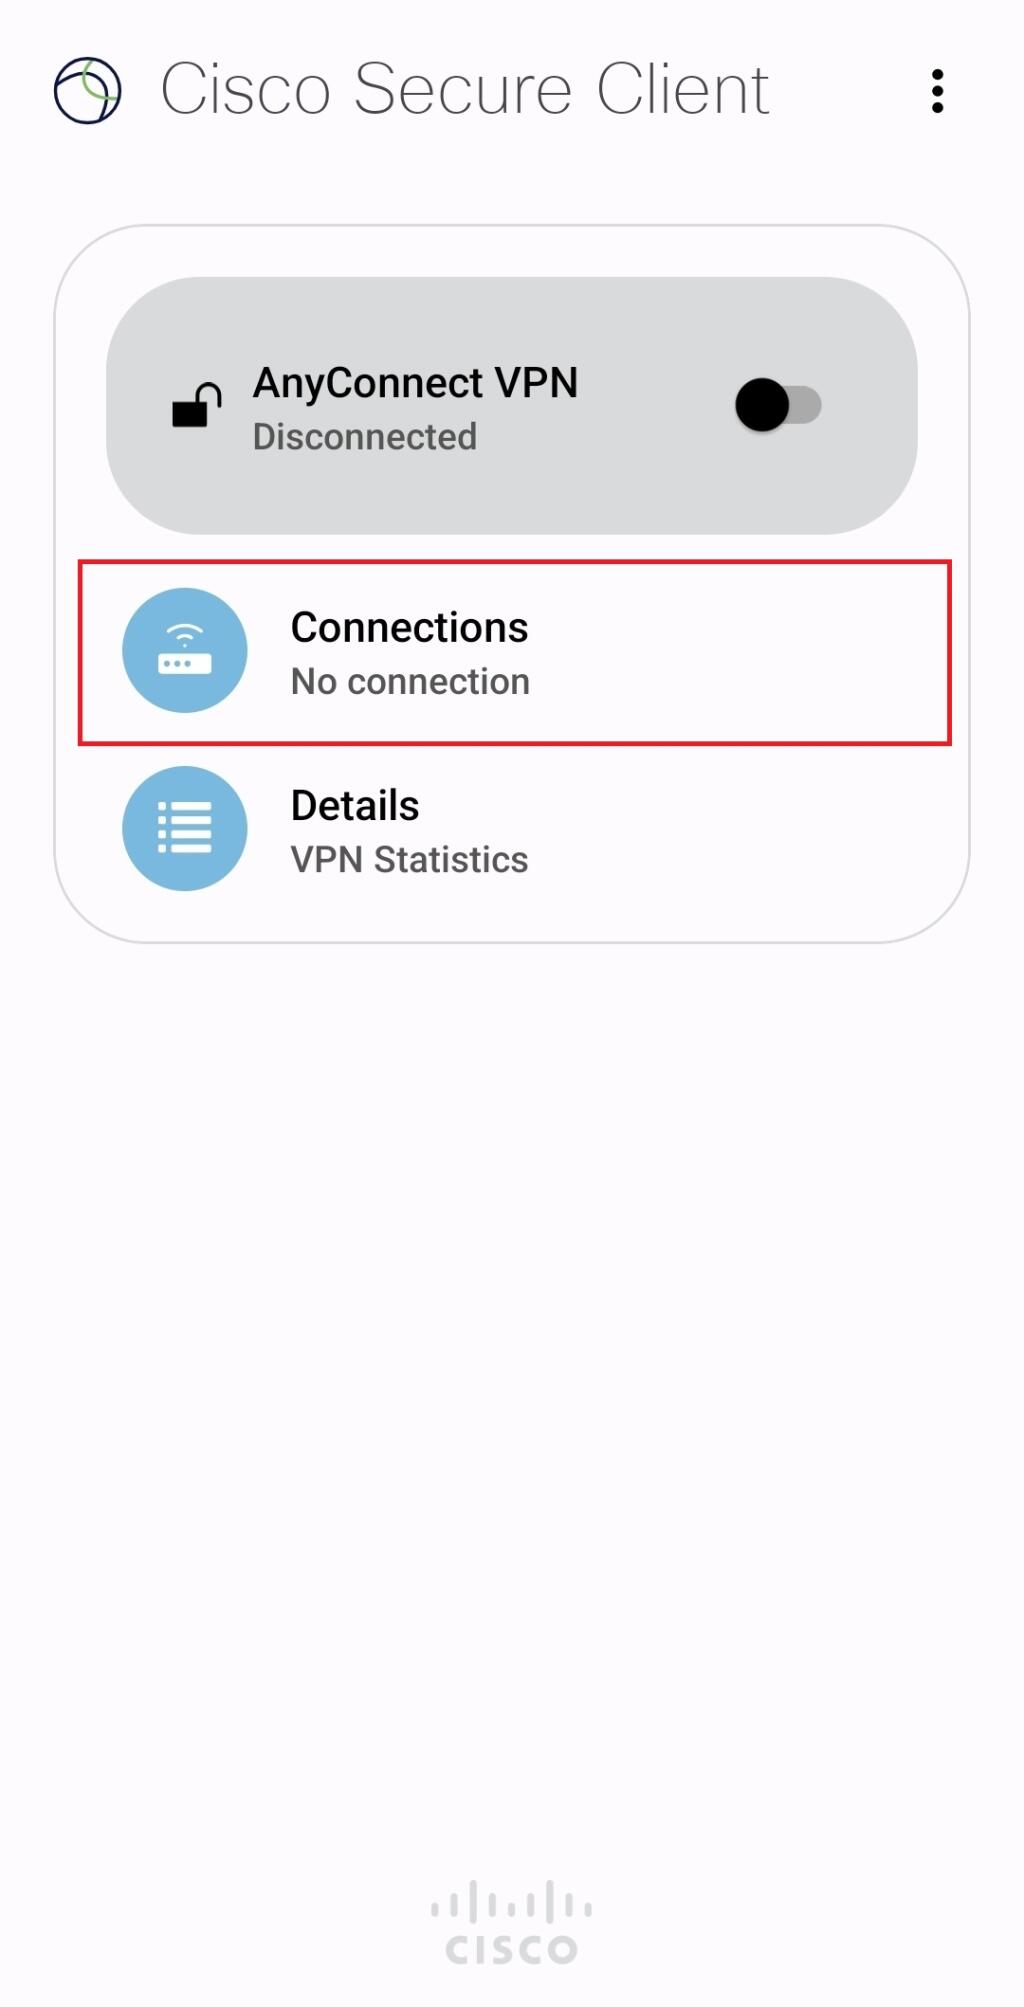
Now enter the desired VPN address (for example that of IVV1: vpn.uni-muenster.de/uni-ivv1-user ). You can then click on Connect and your credentials will be requested.
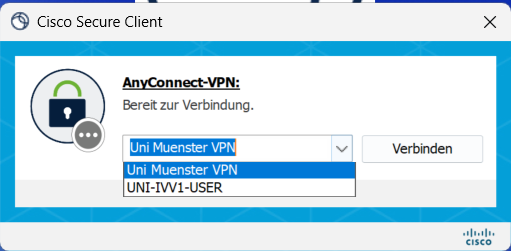
Step 4: Choose the VPN-Adress you want to connect to
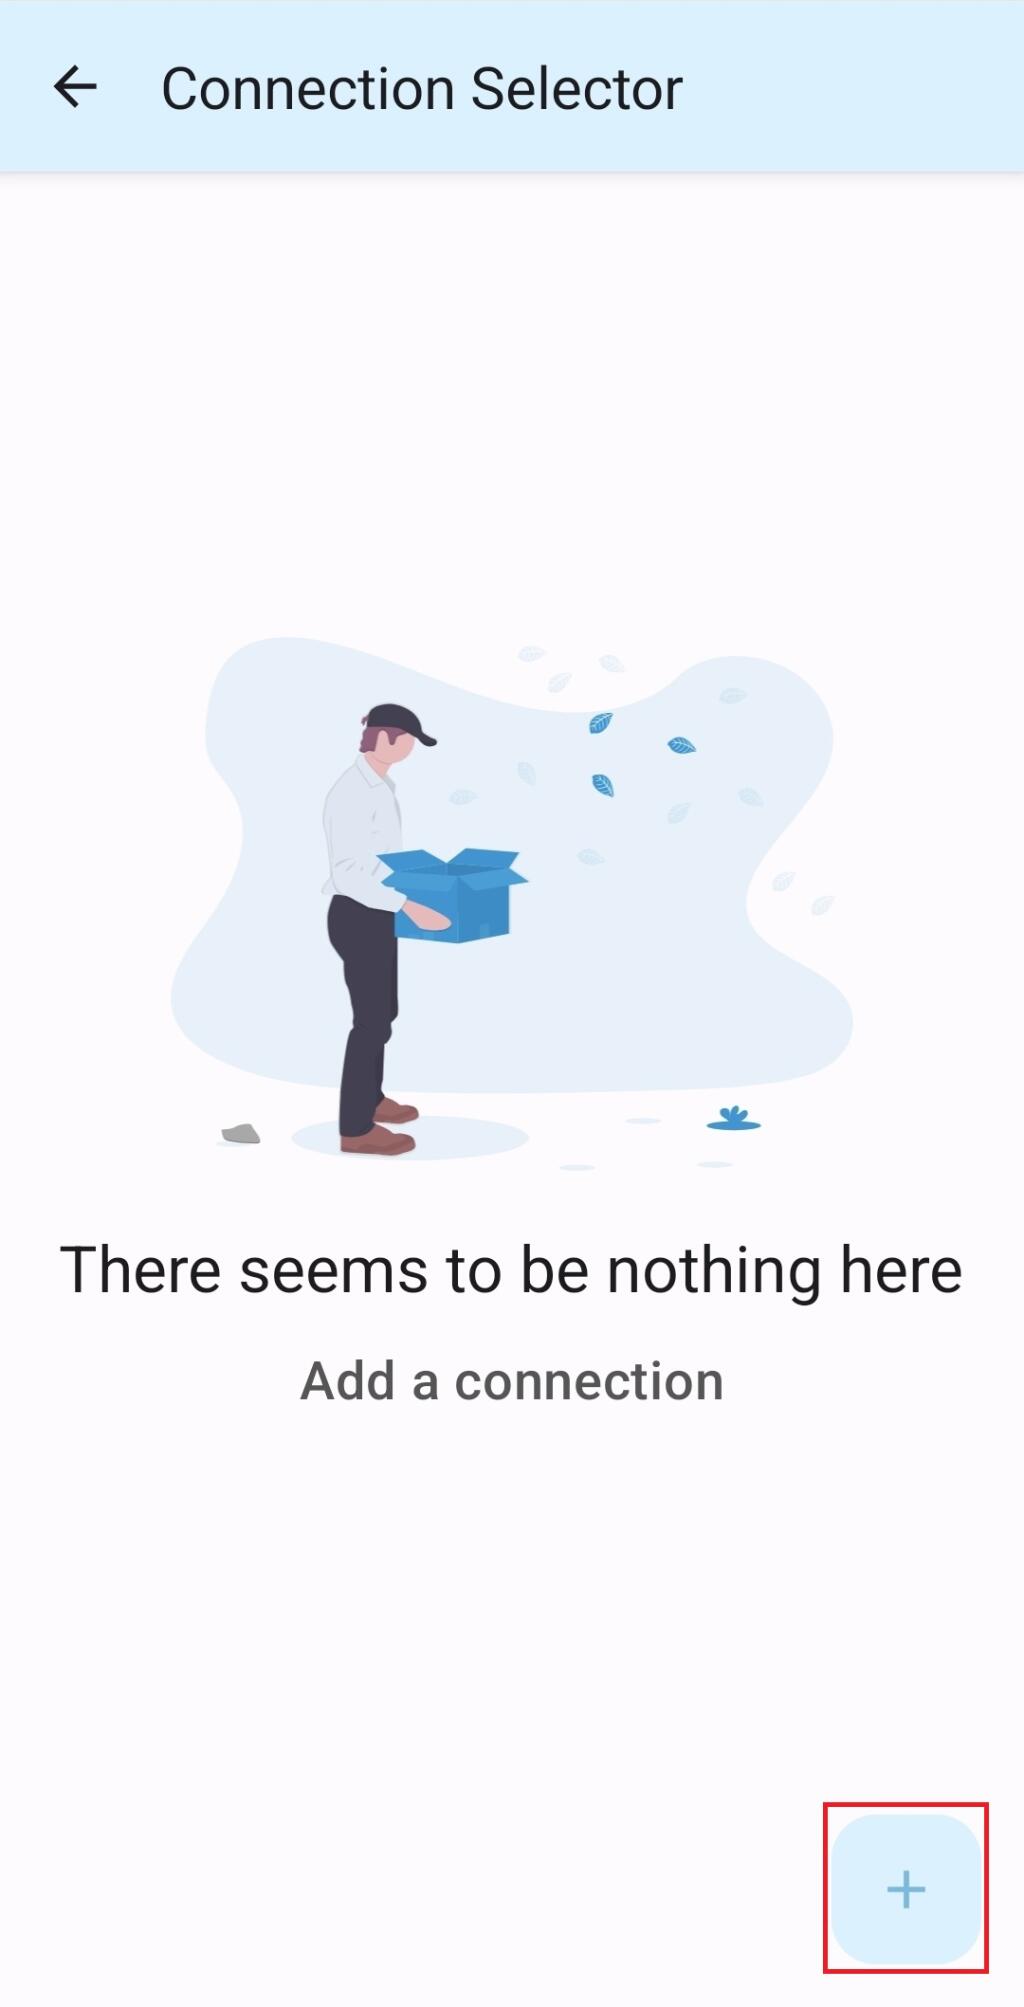
You can switch to a VPN address that you have already connected to at any time. After starting Cisco, you should be able to choose between the VPN addresses in the drop-down menu in the window that opens.
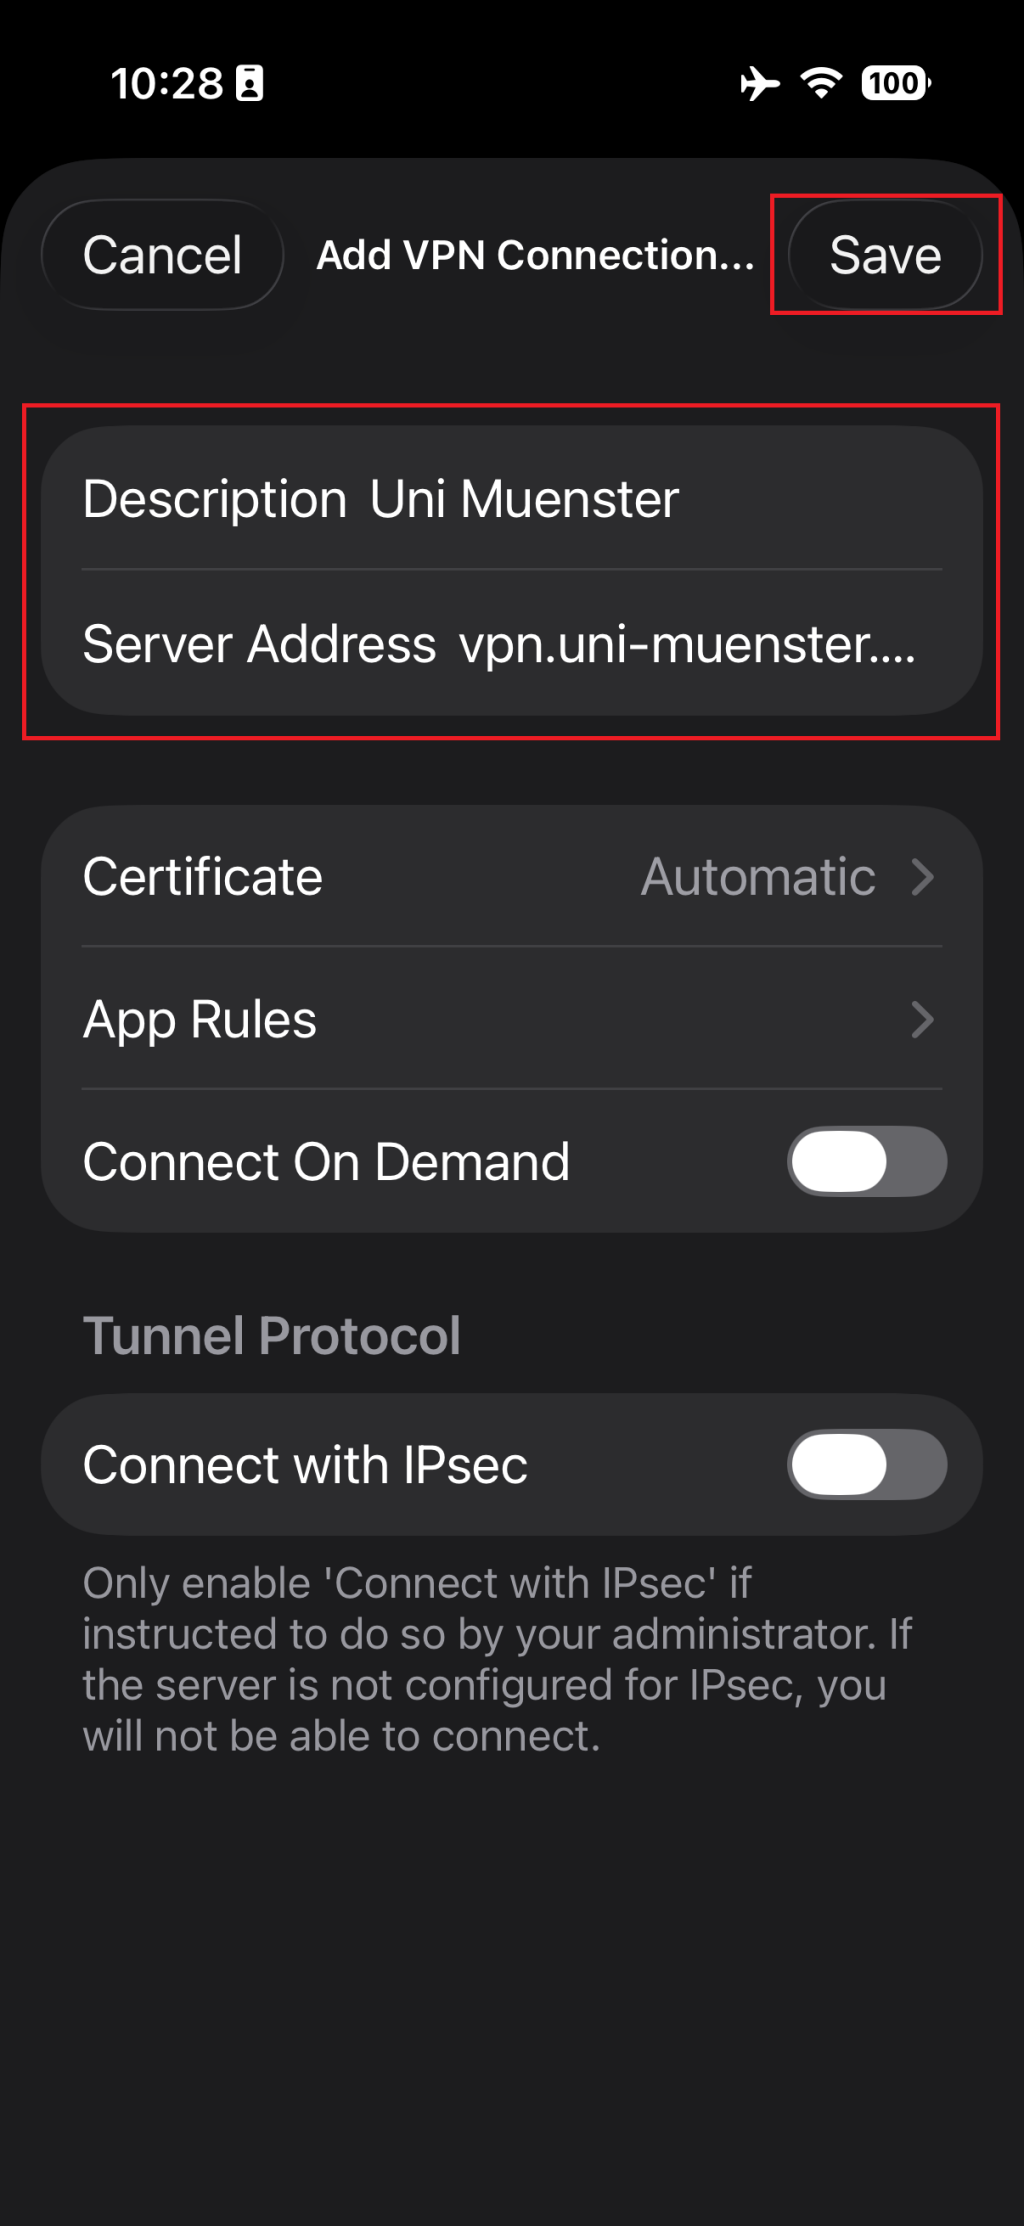
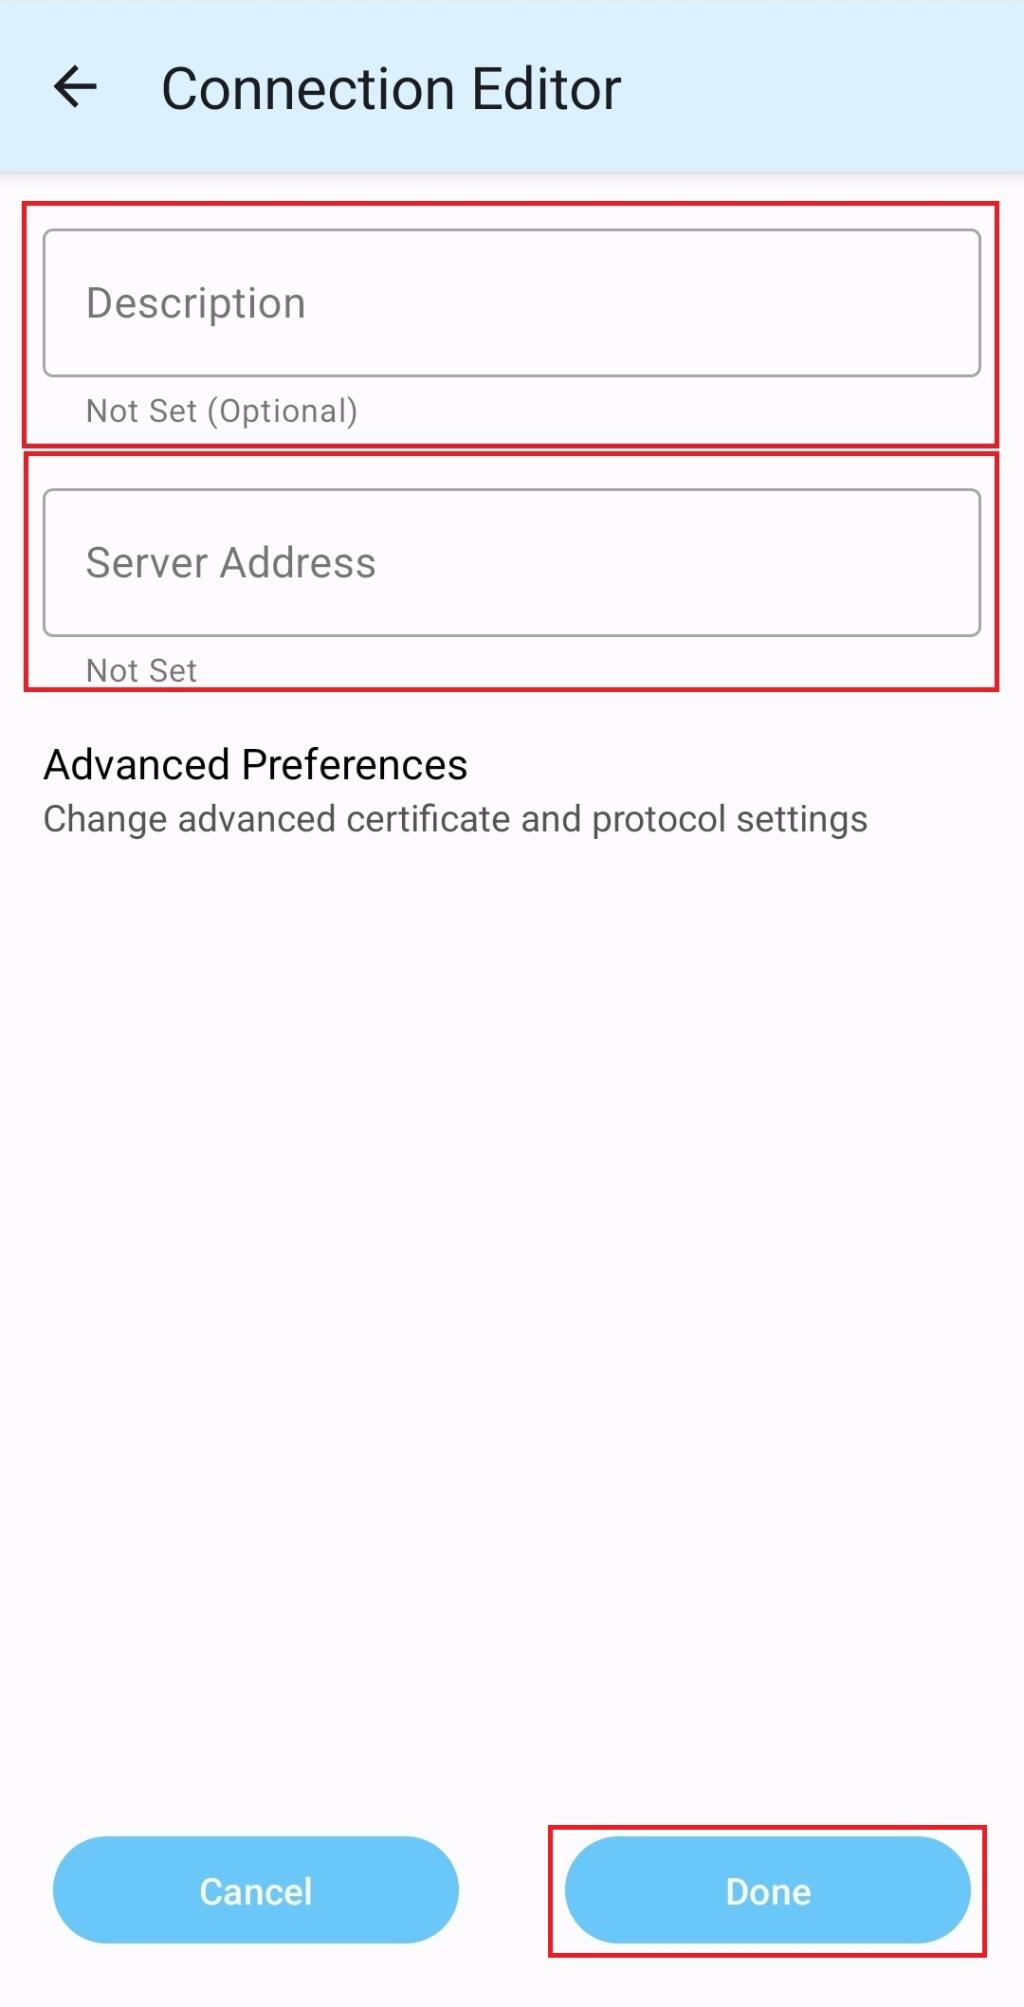
Please enter any description (e.g. „Uni Muenster“) and as server address one of the following options:
„vpn.uni-muenster.de/exchange“, being connected via Exchange-VPN only your e-mail traffic runs through the university's servers. Any kind of other date traffic (browser etc.) runs through the Wi-Fi network you are connected to or your mobile network
„vpn.uni-muenster.de/uni-ivv1-user“, being connected via this VPN you can access all university services, all of your date traffic runs through the university's servers.
At “Description” you can add any description, so that you can distinguish the different VPN-Connections (e.g. “Uni Münster IVV1 VPN” or “Uni Münster Exchange VPN”).
At “Server Adress” you add one of these options:
E-Mail (Exchange) VPN: “vpn.uni-muenster.de/exchange“, being connected via Exchange-VPN only your e-mail traffic runs through the university's servers. Any kind of other date traffic (browser etc.) runs through the Wi-Fi network you are connected to or your mobile network.
IVV1 VPN: “vpn.uni-muenster.de/uni-ivv1-user”, being connected via this VPN you can access all university services, all of your date traffic runs through the university's servers.
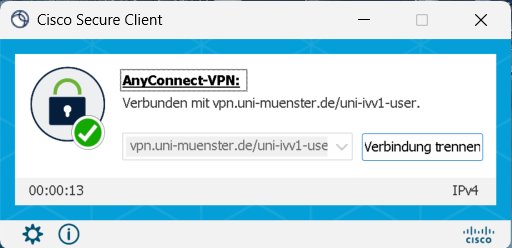
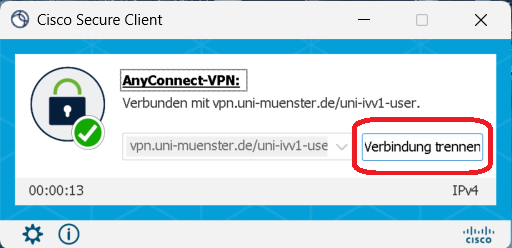
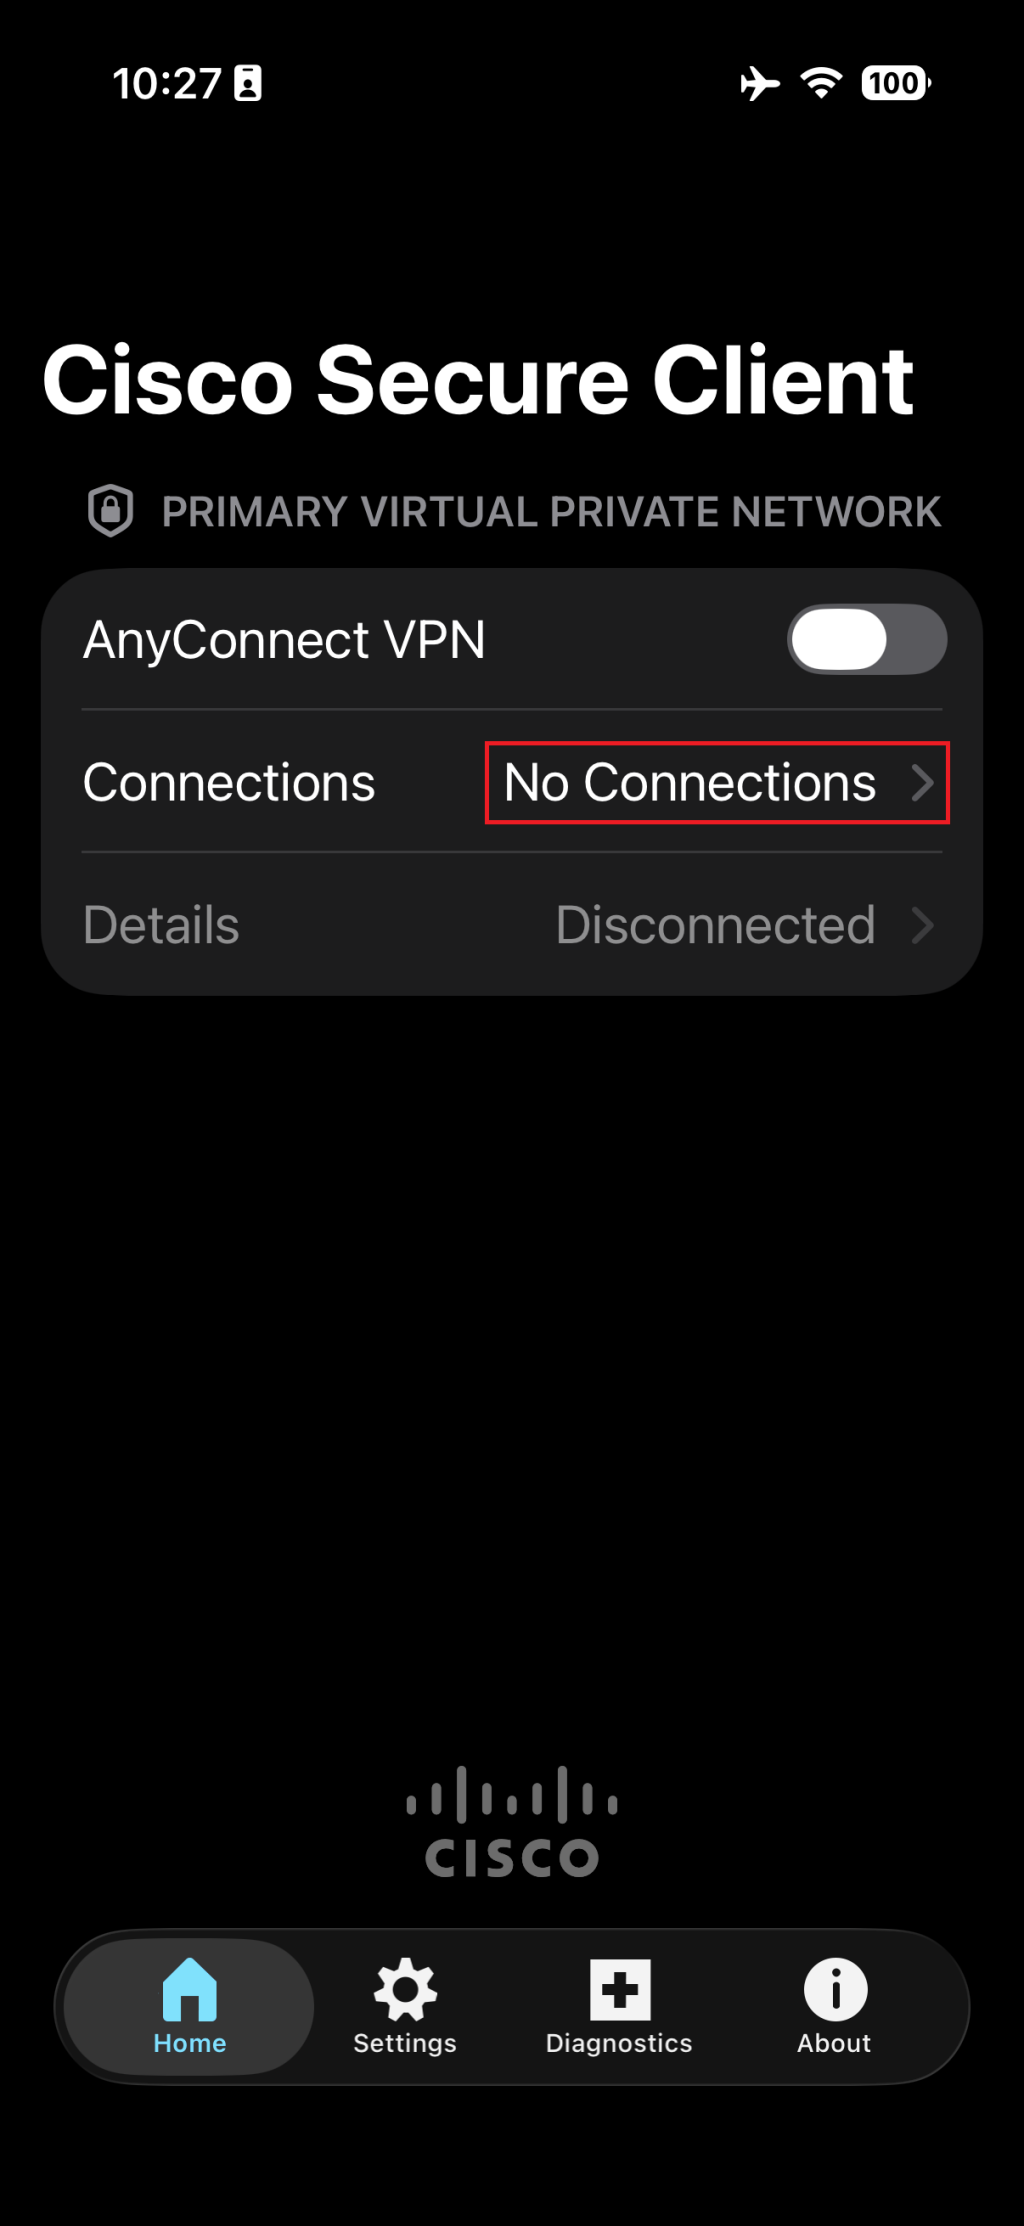
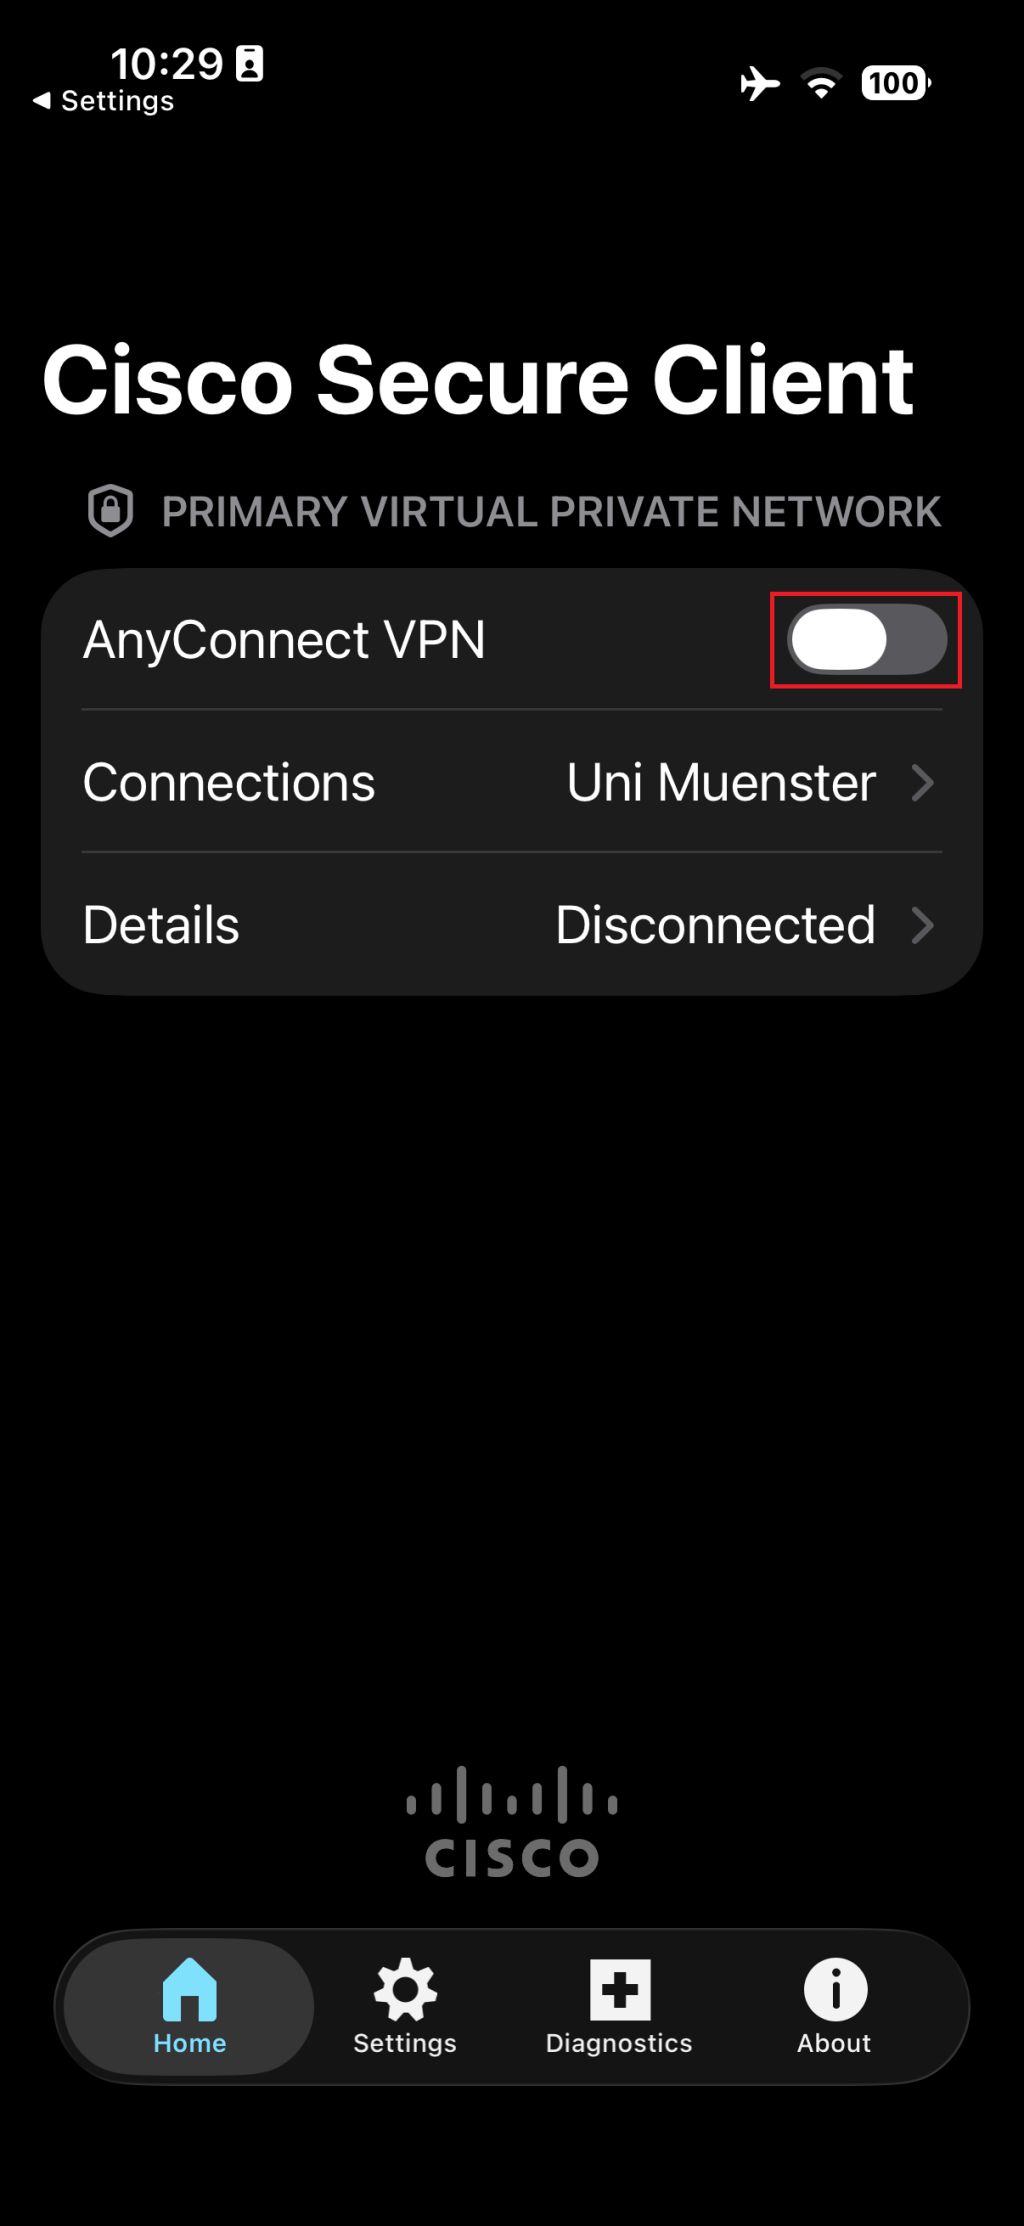
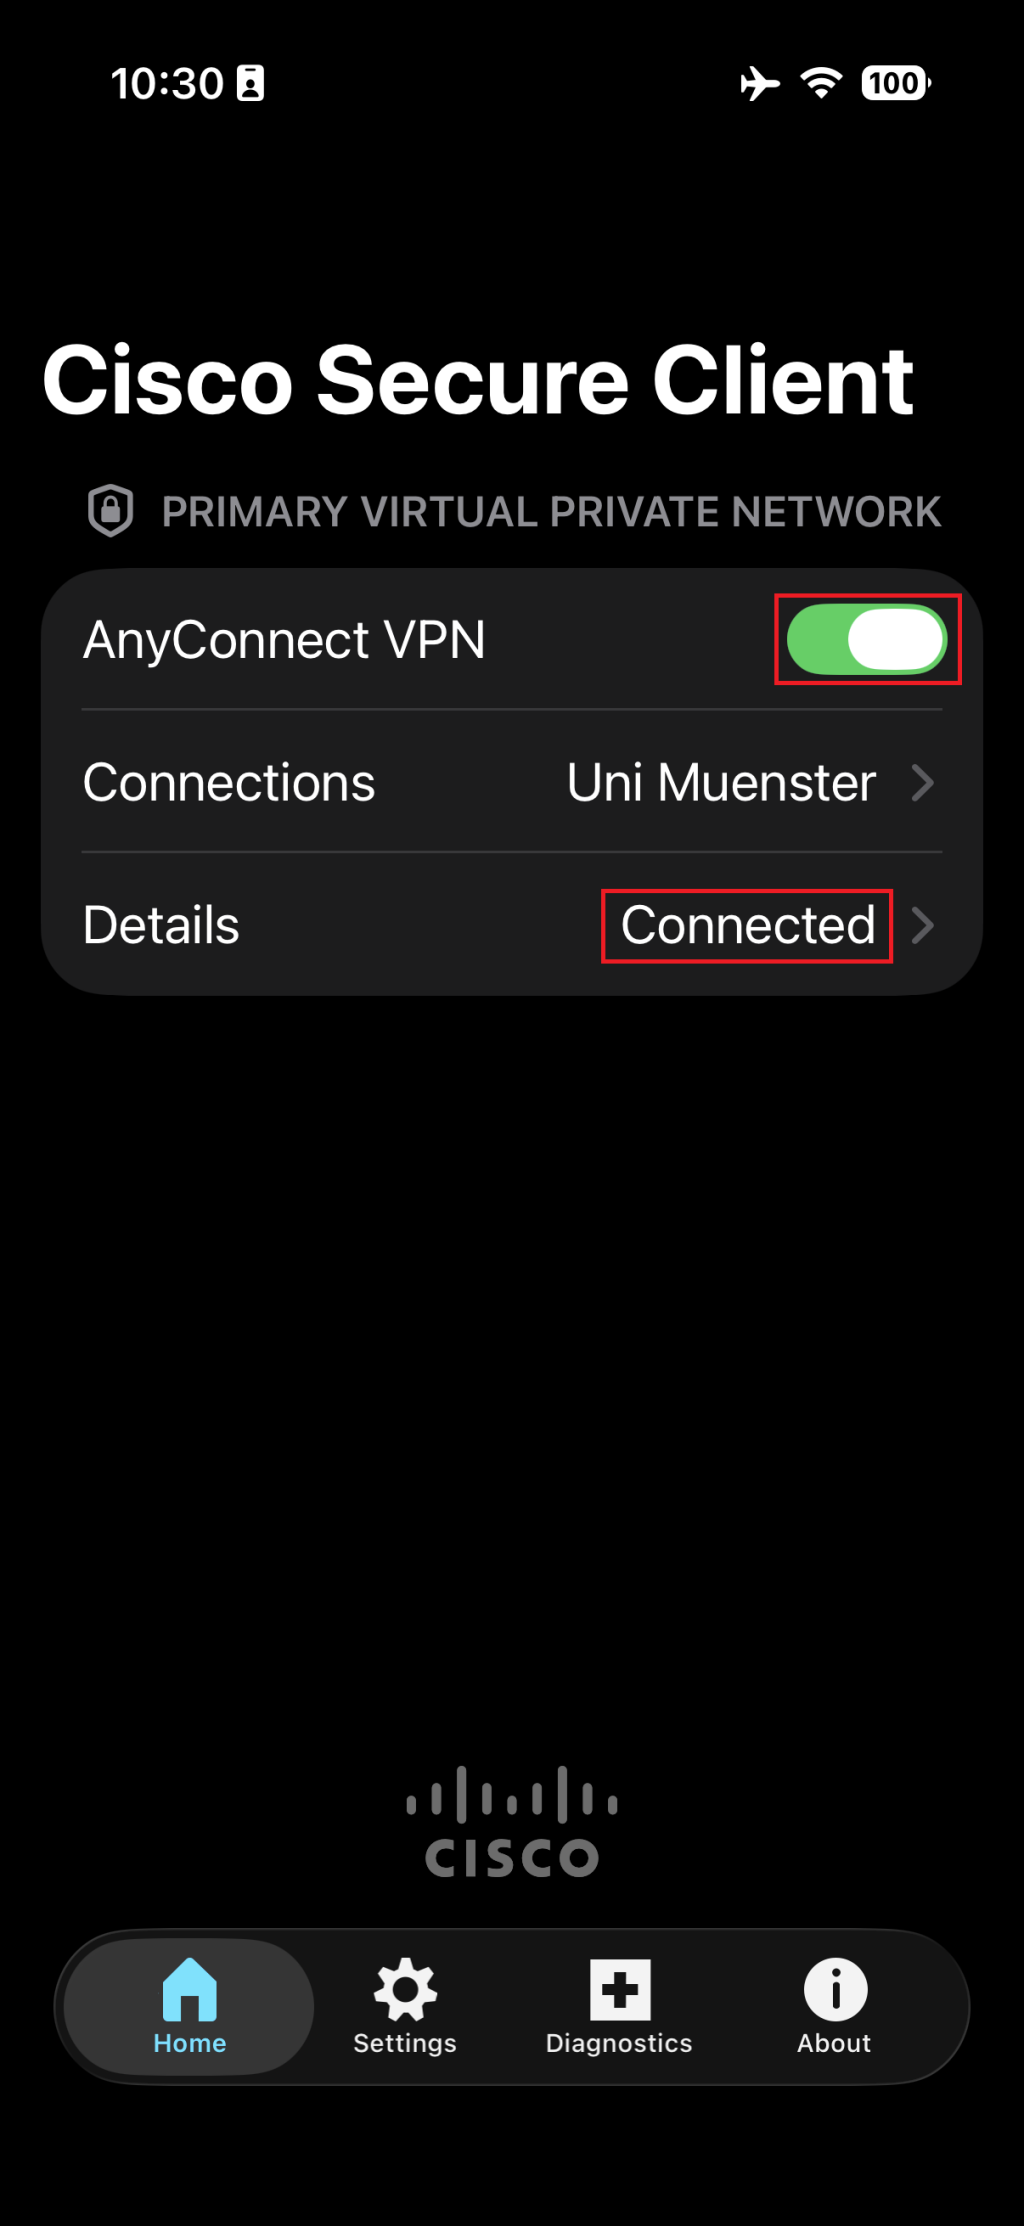
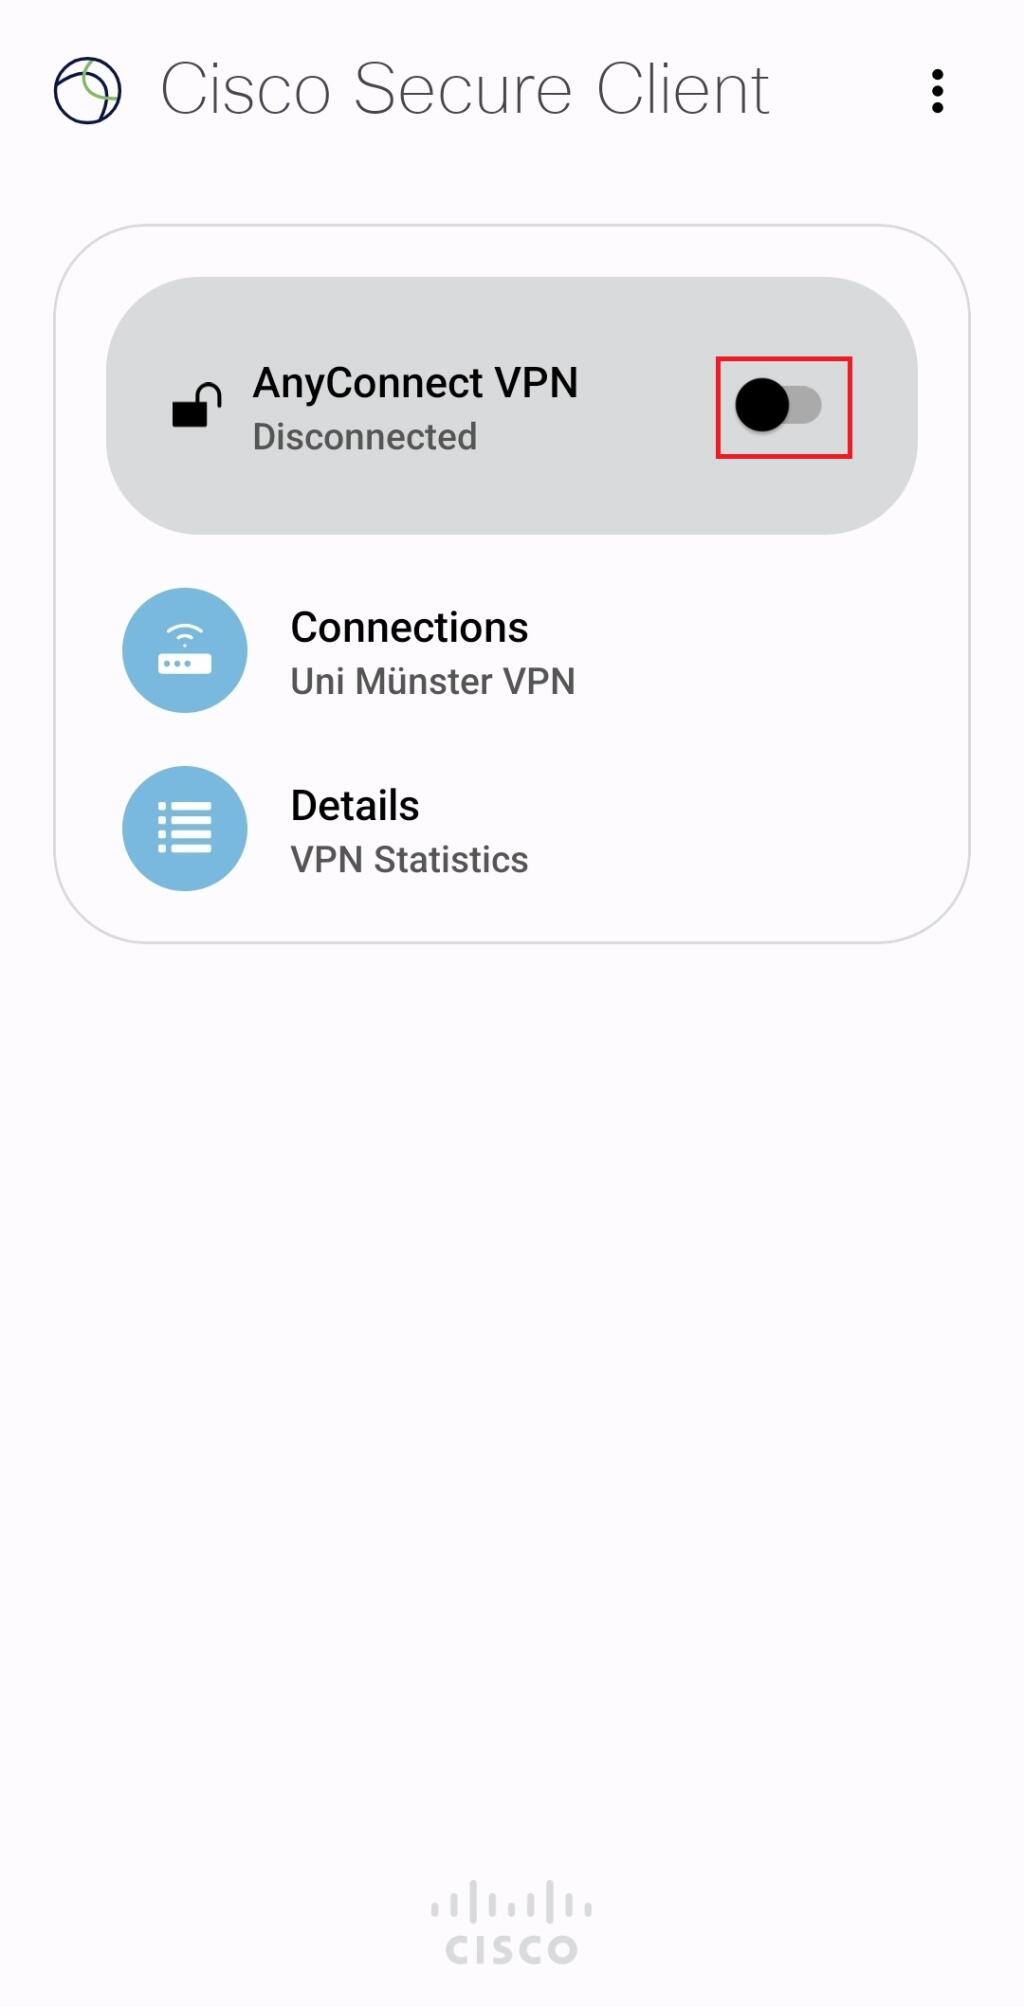
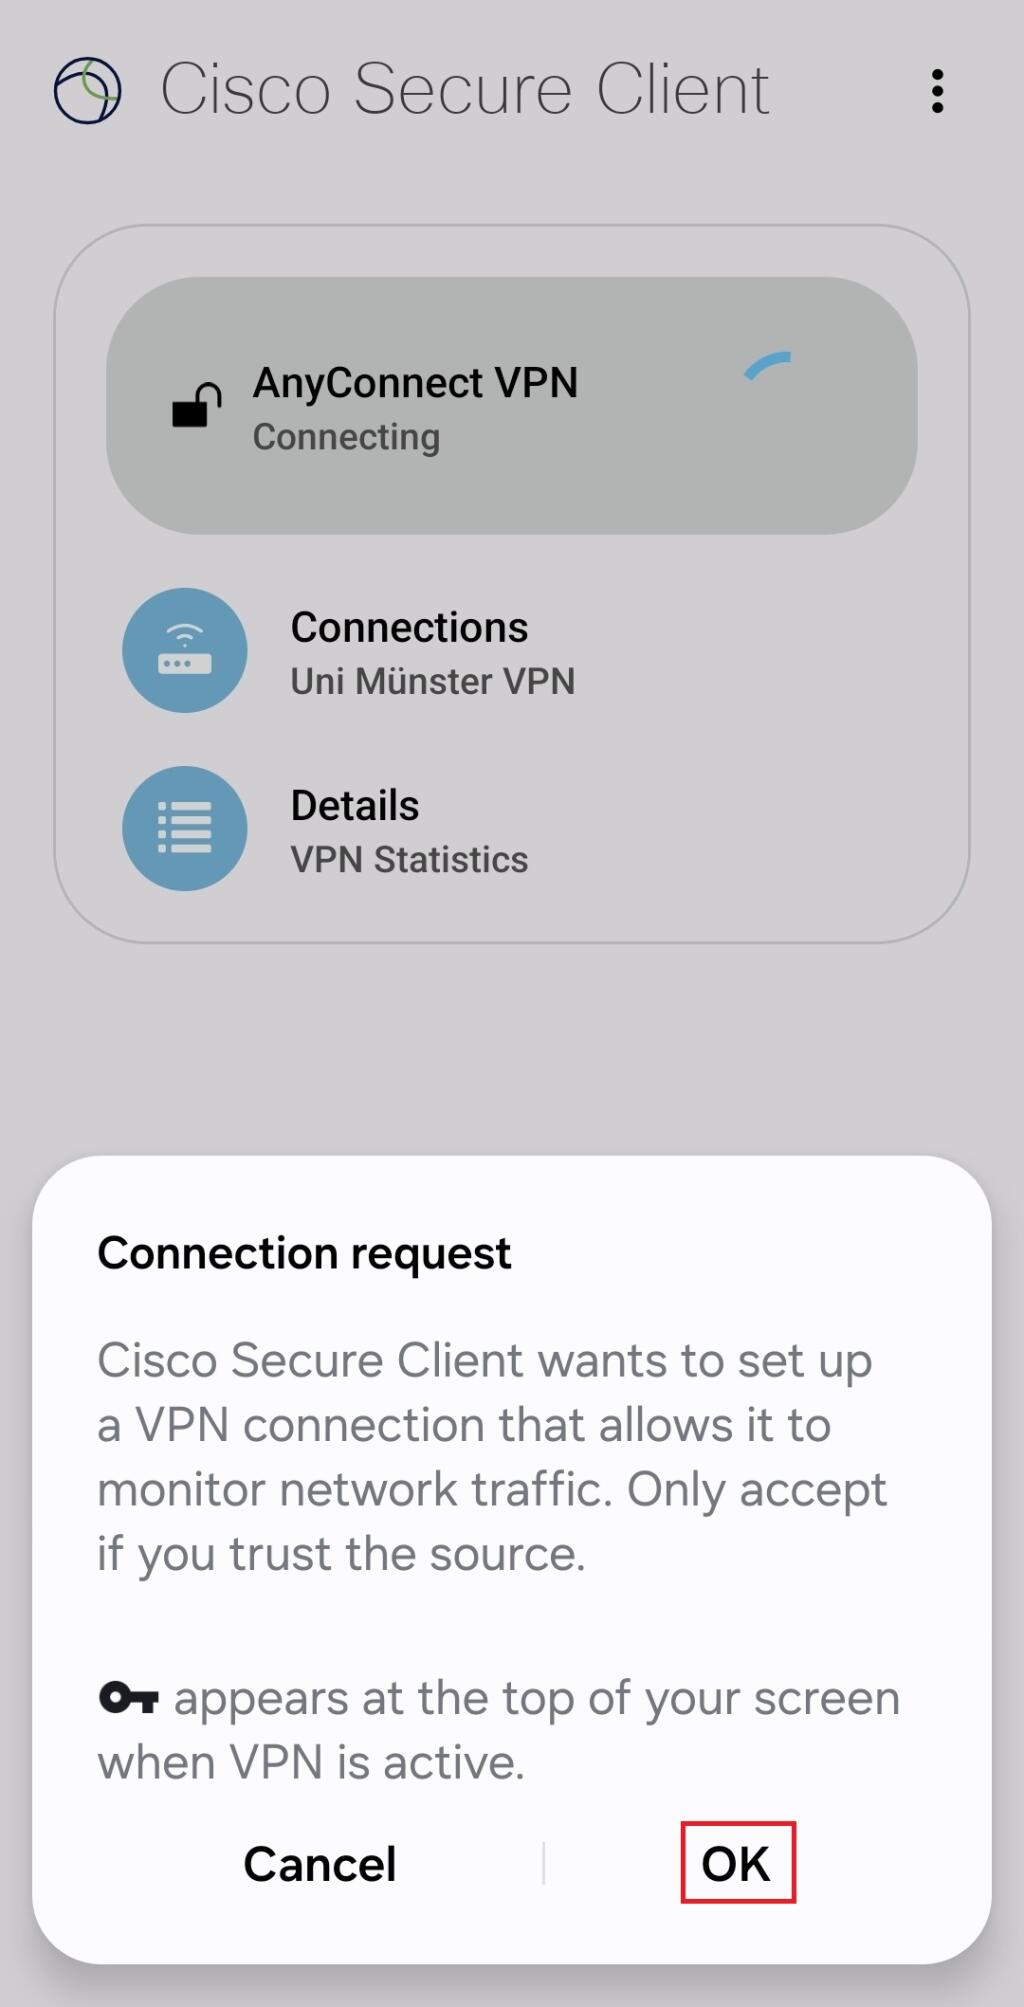
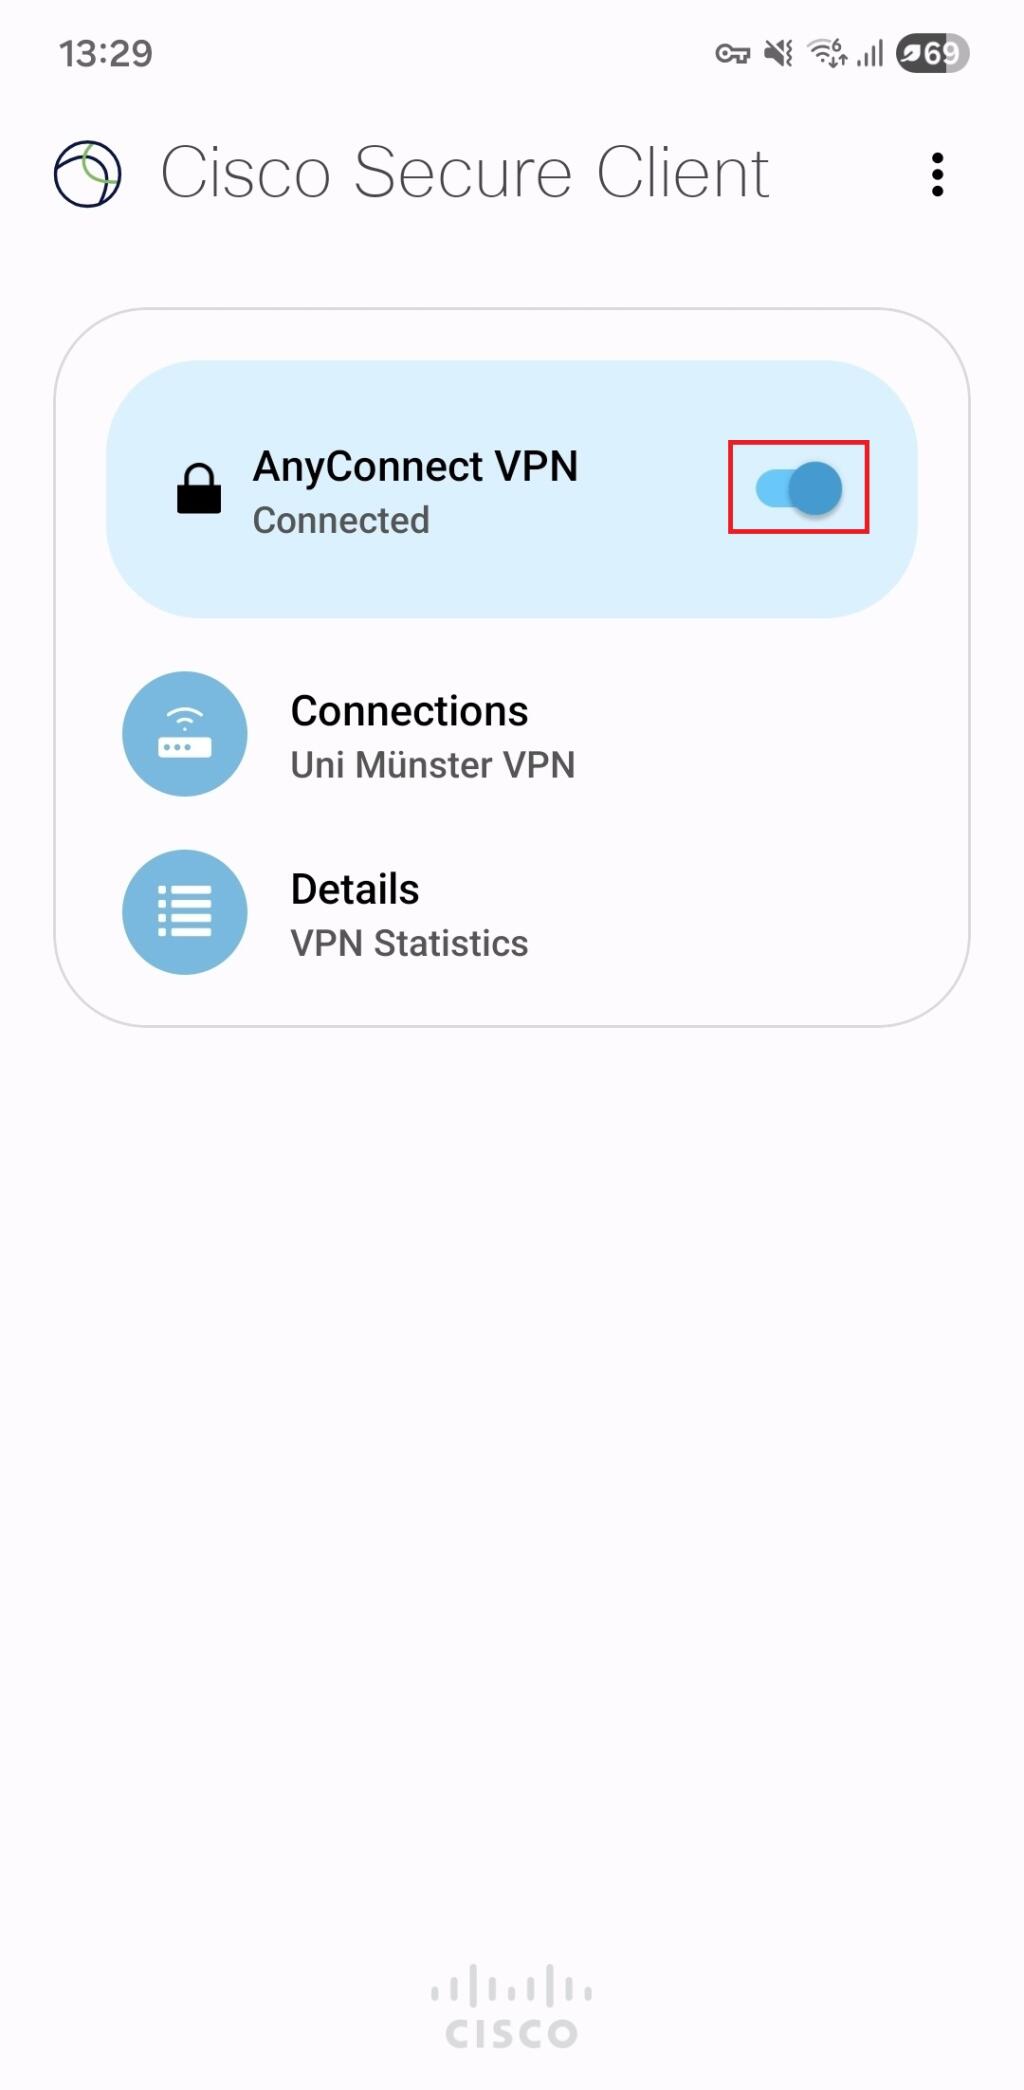
Connection is successfully established; you can see that on the notification bar.
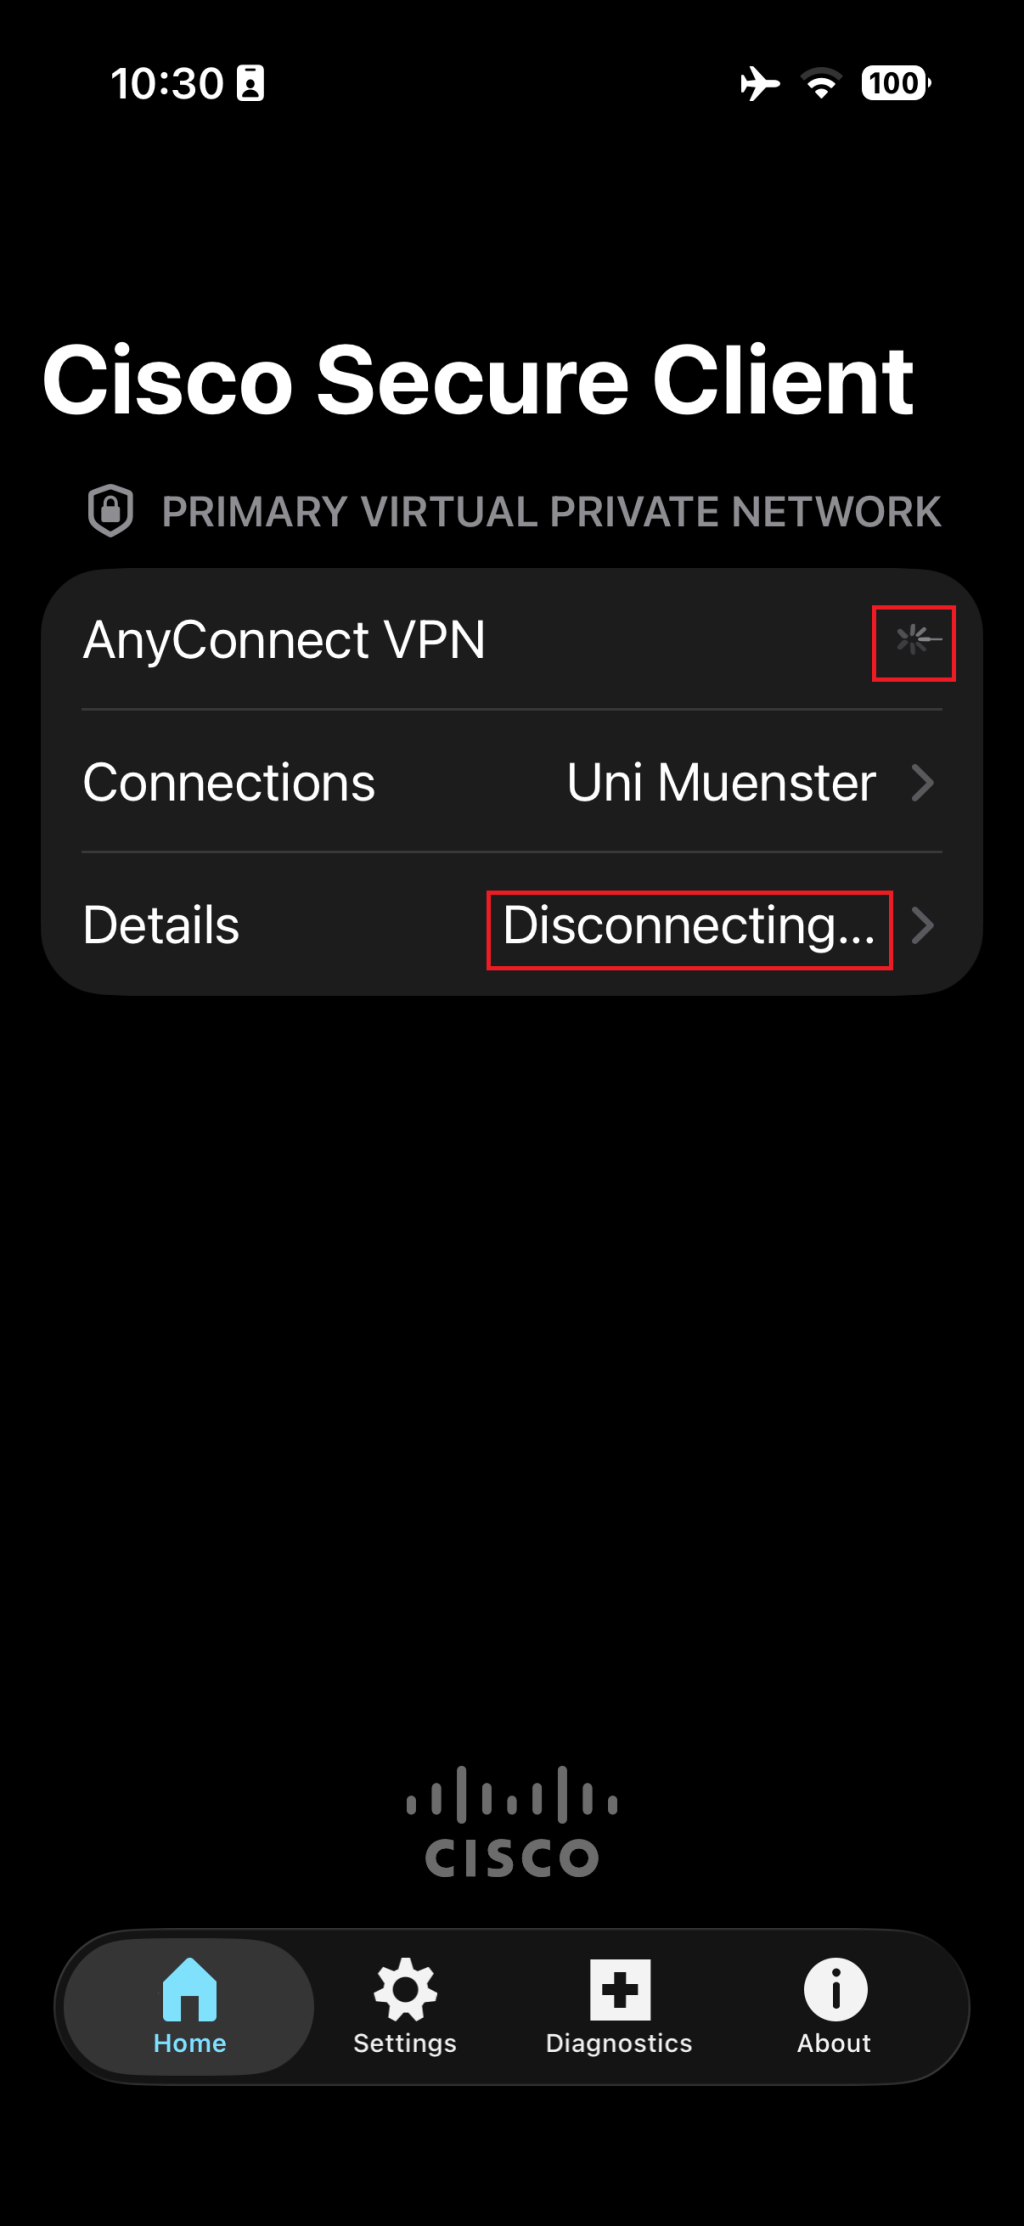
To stop the connection press in the “AnyConnect” app again on the button next to “AnyConnect-VPN”.