Set up a network drive
Here you will find information on applying for and setting up network drives.
Further information on the advantages and disadvantages of these can be found in the service area under Data storage.
Application
Every employee in the IVV1 area has the option of requesting user or project drives. All you need to do is send an e-mail or call IVV1, stating your user ID. For project drives, please give us the name of the project, the name of the project manager, if you are not the project manager yourself, and the names of those who are to have access. SHK and SHB cannot become a project manager. As a project leader, you will receive an e-mail from us twice a year at the beginning of each semester listing the members of your project drive(s).
Deployment
As soon as the network drive has been set up, it is automatically integrated on the Windows service computers after you have logged in. This happens at the latest on the next working day after we have set it up. If the network drives are not displayed immediately, wait a little (approx. 5 minutes), sometimes the systems need a little longer in the background.
For all other scenarios, you will find the instructions for integrating your network drive below.
Important: Prerequisite for laptops and home computers
Unless you are connected to the university network via cable, you will need a VPN connection to the IVV1-network. Please follow the instructions below for your system to connect to the network drives.
... for Windows
Step 1:
Important: You can only connect to the network drives if your computer is directly connected to the university network via cable or our VPN.
First open Windows Explorer via the taskbar.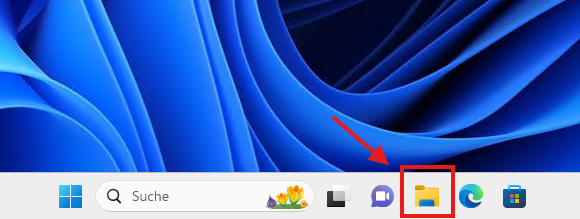
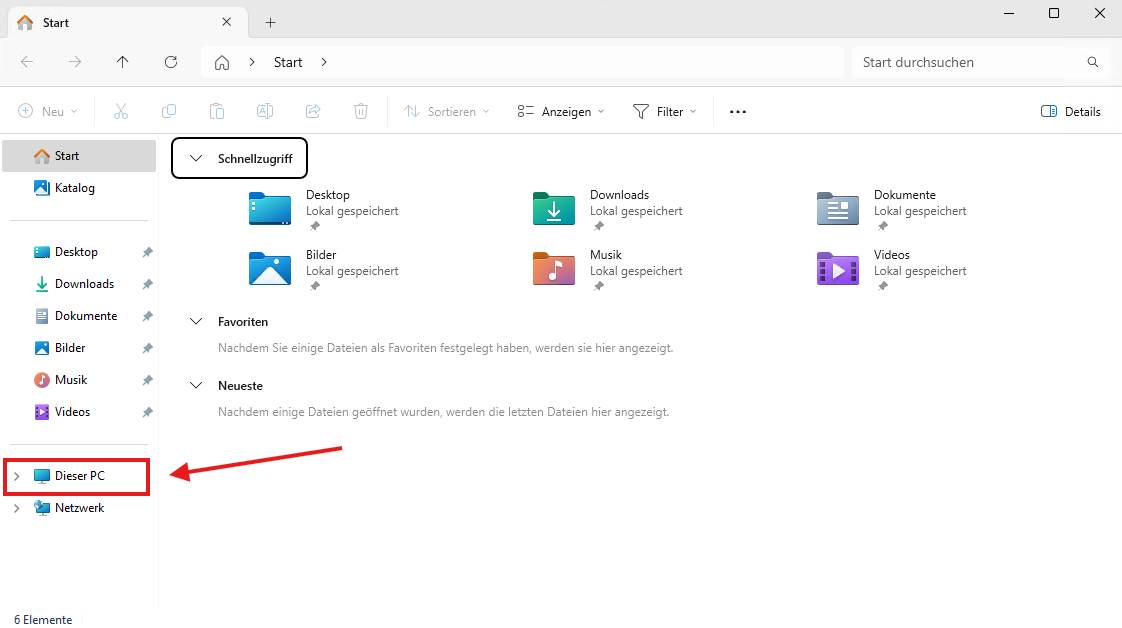
© IVV1 Step 2:
Now click on ‘This PC’ in the left sidebar.
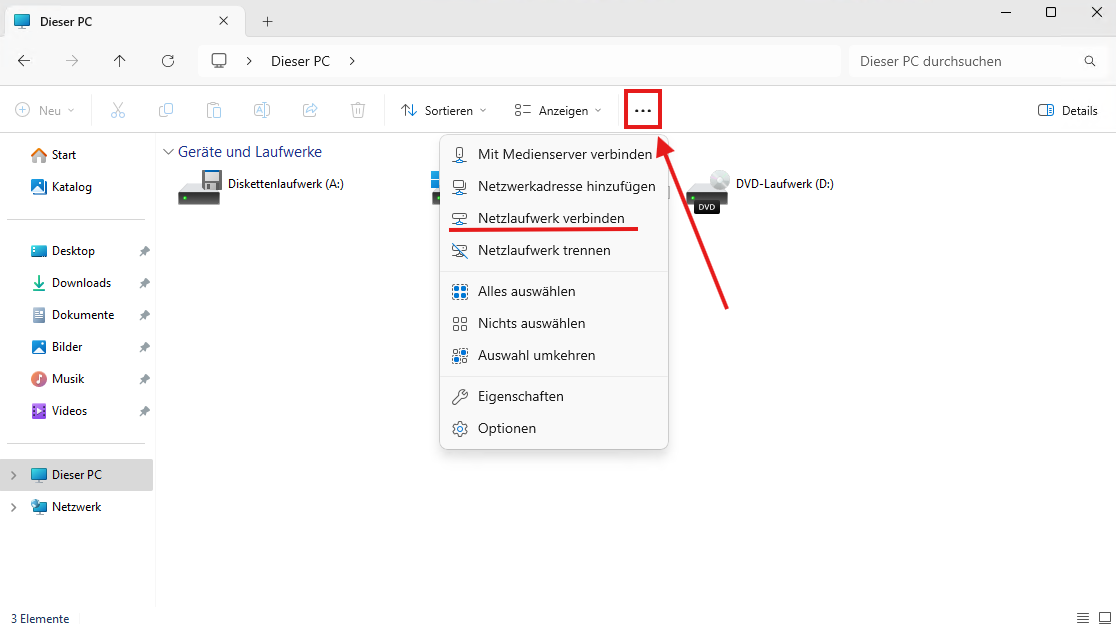
© IVV1 Step 3:
Now press ‘Connect network drive’ in the menu ribbon above.
© IVV1 Step 4:
In the menu that appears, enter one of the following two paths under ‘Folder:’
For project drives:
\\IVV1CLUSTER1.uni-muenster.de\Example$
The share name begins after the server name (ivv1cluster1...). You should have received this by email. ‘Example’ stands for the project here. If you are unsure what the share name of your network drive is, please contact us.
For user drives:
\\IVV1CLUSTER1.uni-muenster.de\user$\x\x_beis01 Please note that the 'x' after user$\ must be the first letter of your user ID (i.e. an 'a' if your ID begins with 'a', a 'b' if your ID begins with 'b', etc.). Enter your user ID after this. If you are connecting multiple network drives, please ensure that you use a different drive letter for each network drive. You can specify the drive letters in the selection menu above the folder path.
IMPORTANT: Which boxes you tick depends on which device you are connecting to the network drive with and, above all, which account you are logged into on the device.
Case 1: University laptop:
If you are working with your university ID, you do not need to tick the box. However, if you want the drive to be reconnected the next time you log in, you should tick the box ‘Reconnect at logon’ (A). Ideally, you should connect to Cisco VPN before logging in to the laptop. Instructions on how to do this can be found here (Start Before Logon).
Case 2: Private computer:
If you want to integrate the network drives on your private computer, you must tick the box ‘Connect using different logon credentials’ (B) for the first drive you integrate. For all other drives, you must leave the check box unchecked. You can also optionally check the box next to ‘Restore connection at logon’ (A) here. However, you will only be able to access the drives once you have connected via VPN.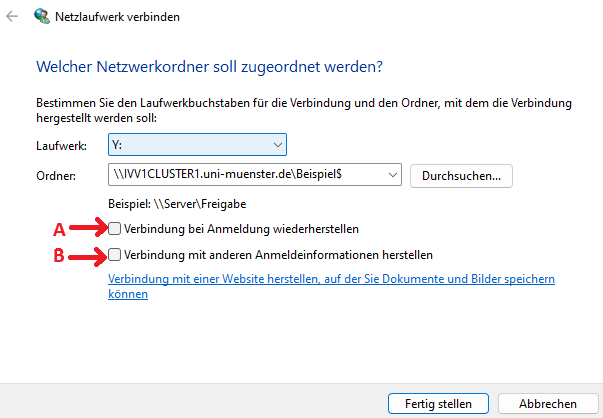
© IVV1 Step 5:
When you click on ‘Finish’, a login window appears.
Now enter ‘wwu.de\’ in front of your university ID as the user name and your university password as the password.
The tick box for ‘Save login details’ is optional again. Confirm with ‘OK’ to finish mounting the drive.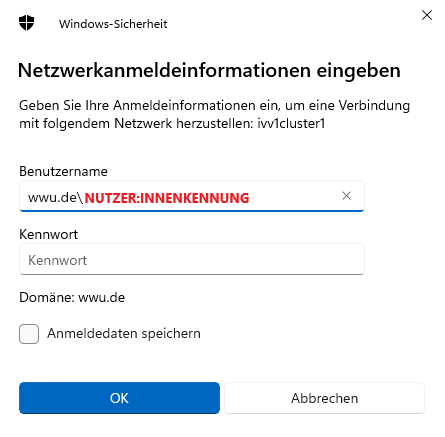
© IVV1
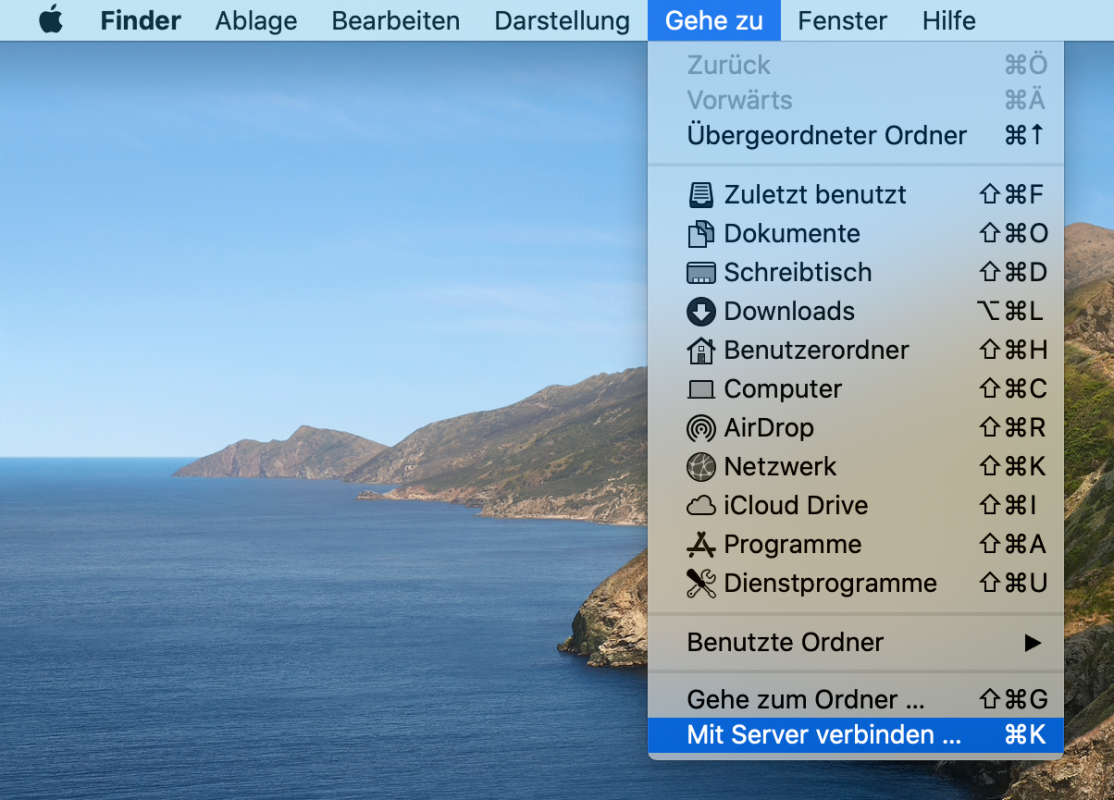
... for MAC
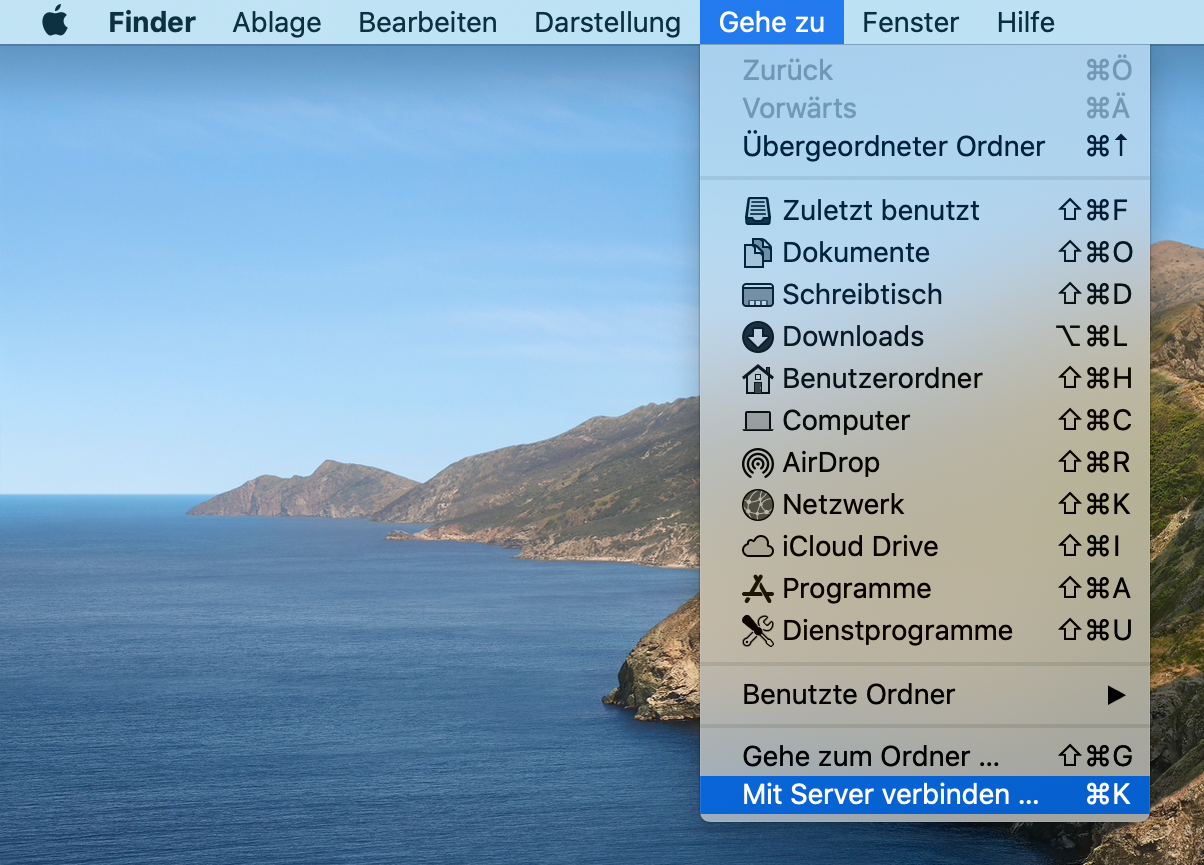
Step 1:
© IVV1-Geisteswissenschaften Step 2:
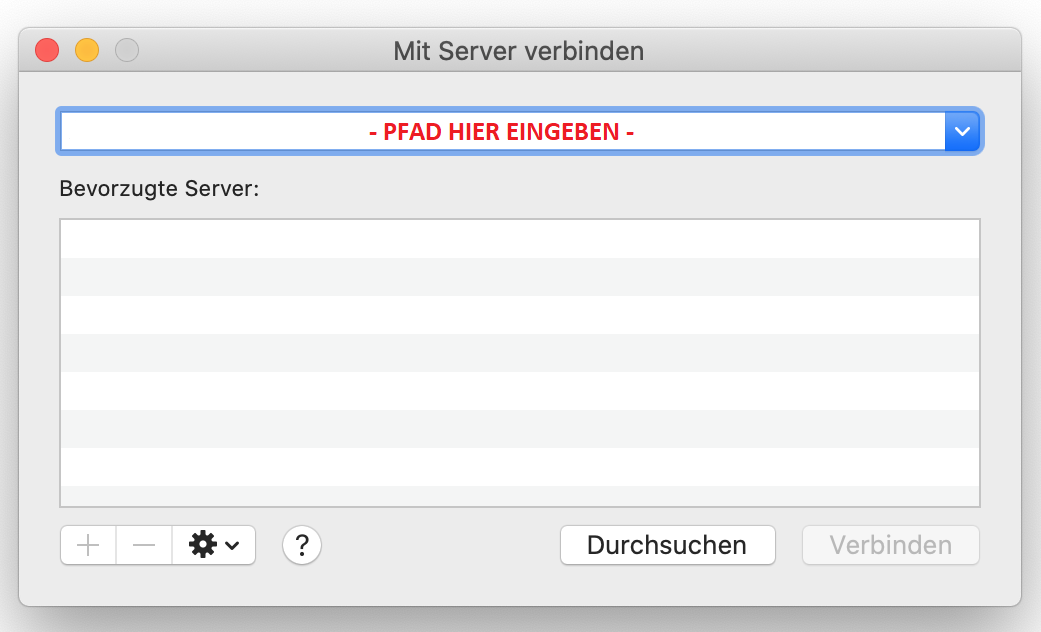
In the window that now appears, enter one of the following two paths under ‘Server address’:
For project drives:
smb://IVV1CLUSTER1.uni-muenster.de/ProjBspExample$
The server address (ivv1cluster1...) is followed by the share name (here ProjBspBeispiel$). ProjExample stands for your project. If you are unsure what the share name of your network drive is, please contact IVV1. Then press the + sign so that the connection is saved as a template. Then click on ‘Connect’.
For user drives:
smb://IVV1CLUSTER1.uni-muenster.de/user$/x/x_examp01
Please note that the ‘x’ after user$/ must be the first letter of your user ID. Enter your user ID after it.
Then press the + sign so that the connection is saved as a template. Then click on ‘Connect’.
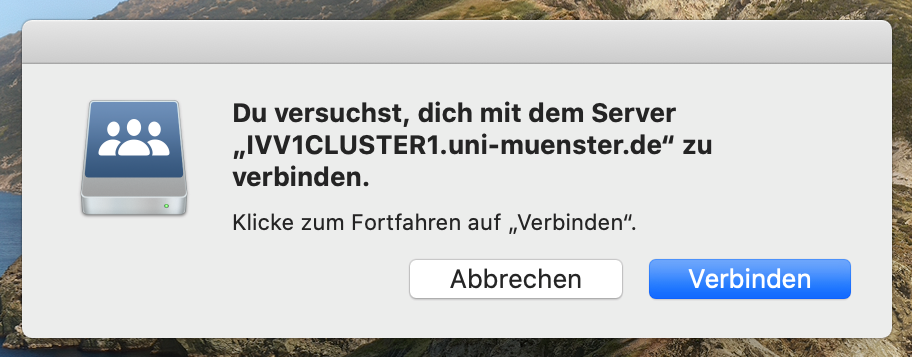
© IVV1-Geisteswissenschaften Step 3:
Now enter your connection data.
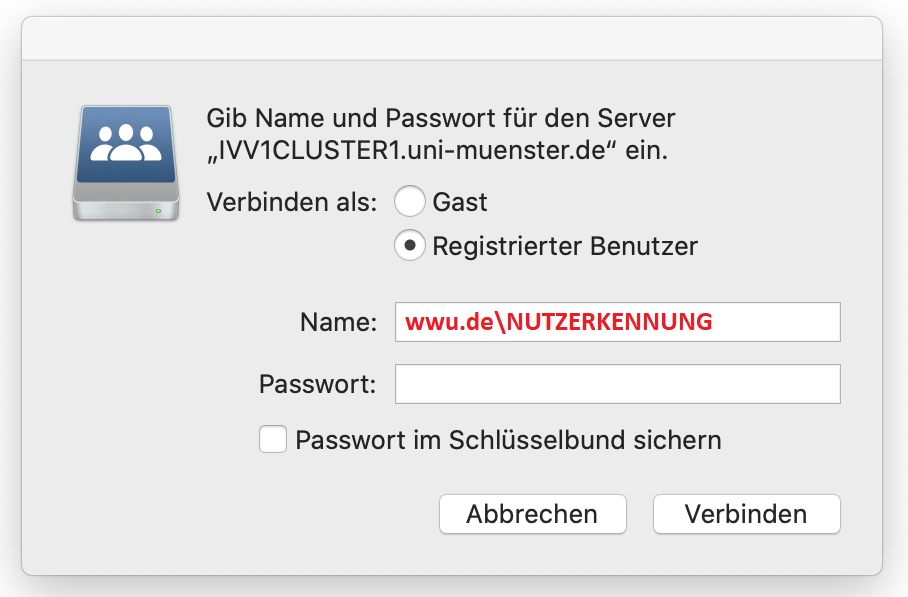
© IVV1-Geisteswissenschaften Step 4:
Under ‘Name’ enter your university abbreviation, e.g. x_examp, possibly also wwu.de\x_examp01. Under ‘Password’ enter your university password. Please note that the Registered user field is selected. After you have clicked on Connect, the window with your data will open automatically.
© IVV1-Geisteswissenschaften