

Setting up a VPN Connection with Linux (Ubuntu)
Requirement:
- You have set your network access password in the IT Portal.
- You have registered an one-time password. OTP
Detailed Instructions
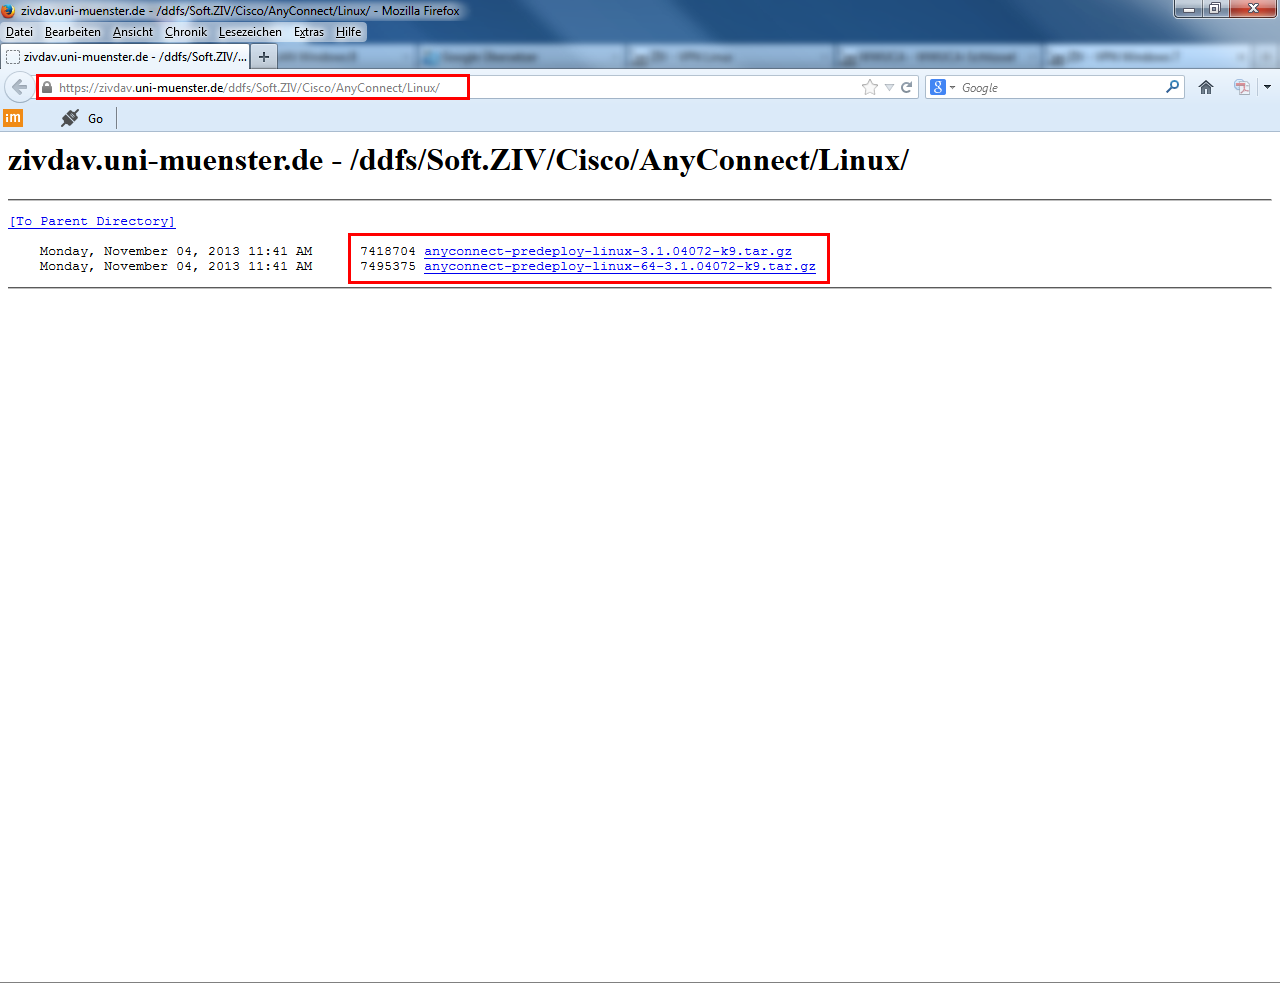
1. Download of the Cisco AnyConnect Client
Download the Cisco AnyConnect VPN Client. You may need to log in with your university ID and your university password again. Pay attention whether you need the 32 or 64-bit version. Then open the terminal and switch to the folder to which you download the program: XYZ @ XYZPC :/ home / XYZPC / # cd Downloads
2. Installation and Start of the VPN Client
Unzip the file XYZ @ XYZPC :/ home / XYZPC / downloads / # tar xfv anyconnect-linux64-VERSION-predeploy-k9.tar.gz
Then start the set up:
XYZ@XYZPC:/home/XYZPC/Downloads/# cd anyconnect-linux64-VERSION/vpn
XYZ@XYZPC:/home/XYZPC/Downloads/anyconnect-VERSION/vpn/# sudo ./vpn_install.sh
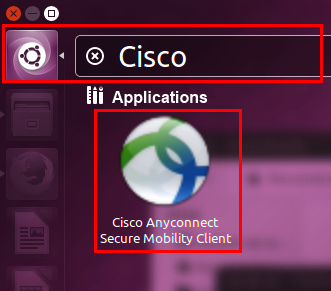
During installation, you are asked if you accept the license terms. This must be confirmed with y and Enter. Search for Cisco within your Launcher and start the Aapplication after successful installation.
If the application does not start from the start menu, the package libpangox must be installed.- For Ubuntu: XYZ@XYZPC:/home/XYZPC/Downloads/anyconnect-VERSION/vpn/# sudo apt-get install libpangox-1.0-0
- For Suse Linux: XYZ@XYZPC:/home/XYZPC/Downloads/anyconnect-VERSION/vpn/# sudo zypper install libpangox
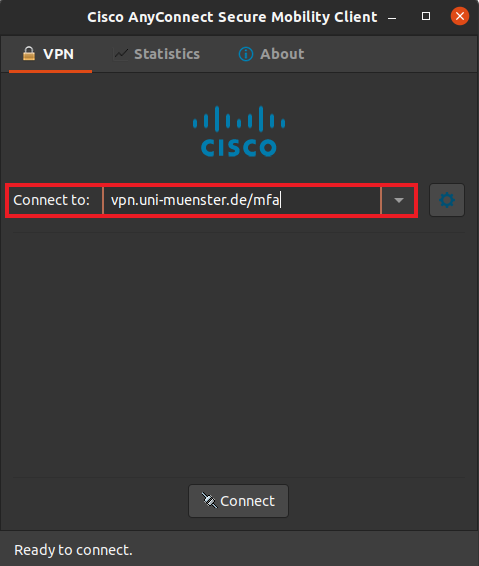
3. Entering the Server Address
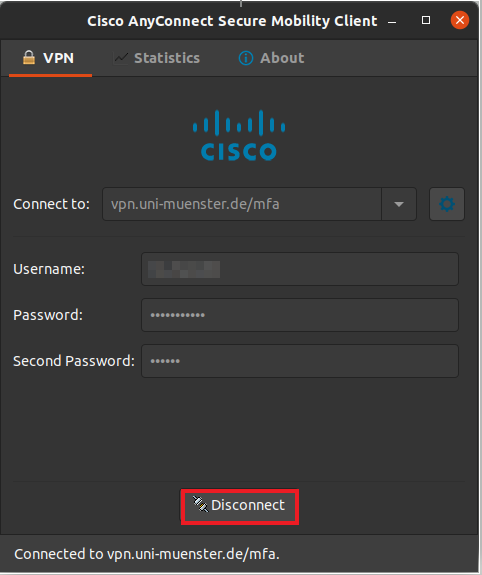
Insert vpn.uni-muenster.de at "Connect to" and confirm your entry by clicking "Connect".
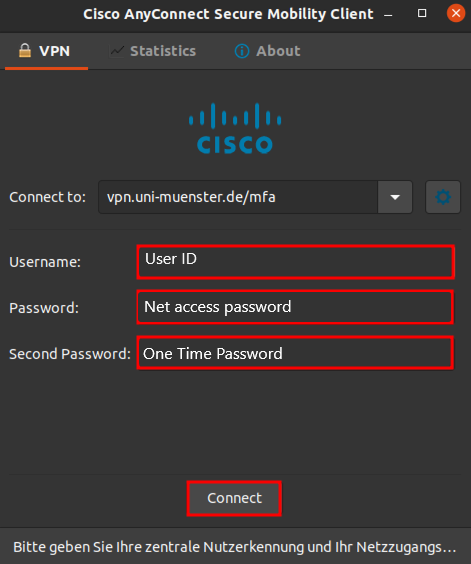
© Uni MS IT 4. Entering the Personal Identification Details
Insert your university ID, your net access password and your One-Time password (OTP / second password) and confirm by clicking "Connect" afterwards. (Note: The net access password is not your normal university password. You can set it in the IT Portal.)
© m_maru02 5. Established Connection
The blue background of the Cisco item at your Launcher indicates that you are successfully connected to the VPN network via Cisco AnyConnect now.
6. Trennen der VPN-Verbindung
If you do not need the VPN connection anymore, open the application through the Cisco symbol within the launcher and click "Disconnect".
© Uni MS IT
