Using pLANet.X under Windows
Requirements:
- Windows 7 or higher
- You do have administrative rights.
- You have installed the latest root certificate (CER).
A. Preparatory Configuration of Your PC
1. Activating the Automatic Configuration
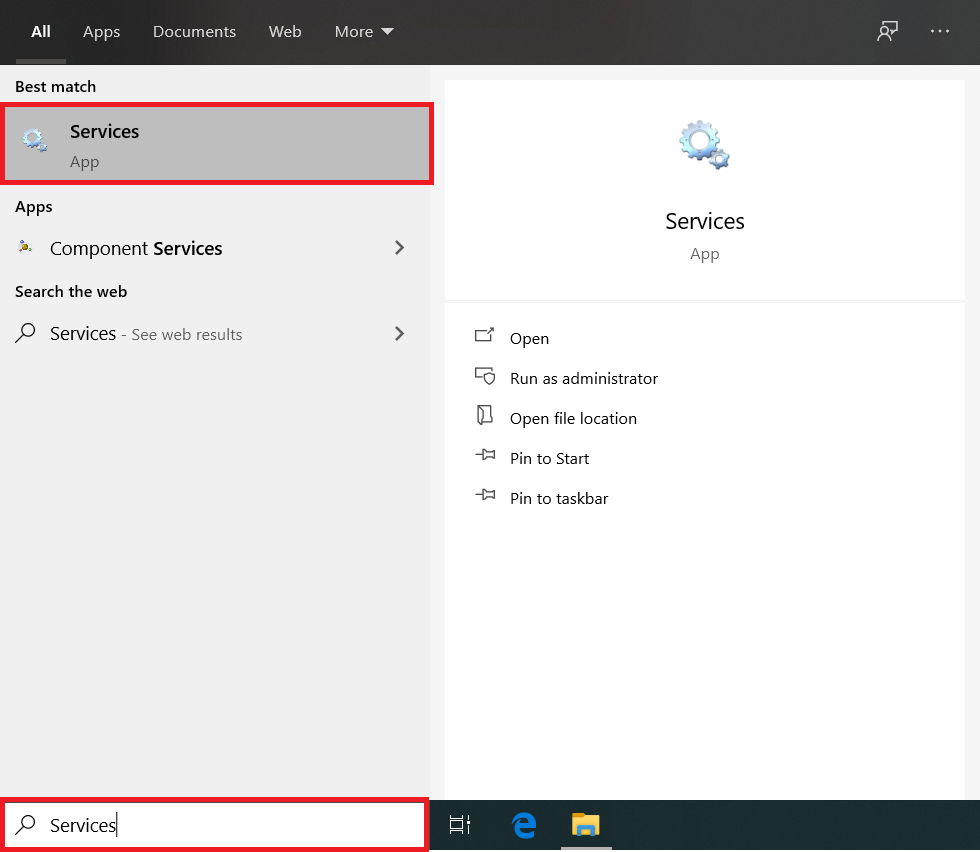
Before using pLANet.X for the first time, your PC must be configured. Open the Search and search for "Services". The Service function will be displayed under "Programs", click on it.
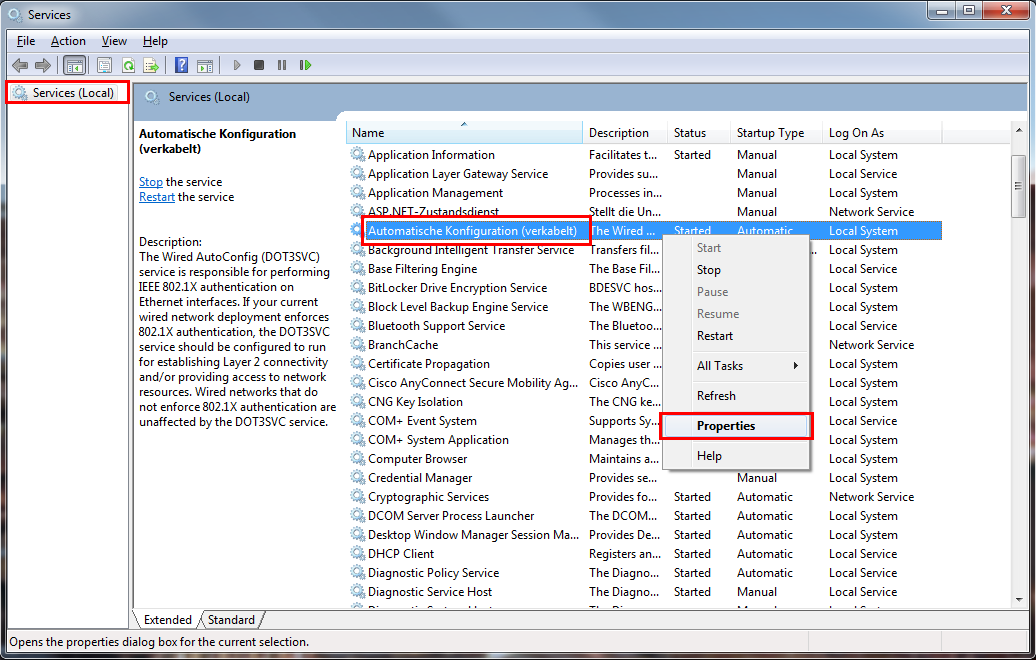
© Uni MS IT Search for the entry "Automatische Konfiguration (verkabelt)" (automatic configuration, wired) and open the context menu with a right click. Choose "Properties".
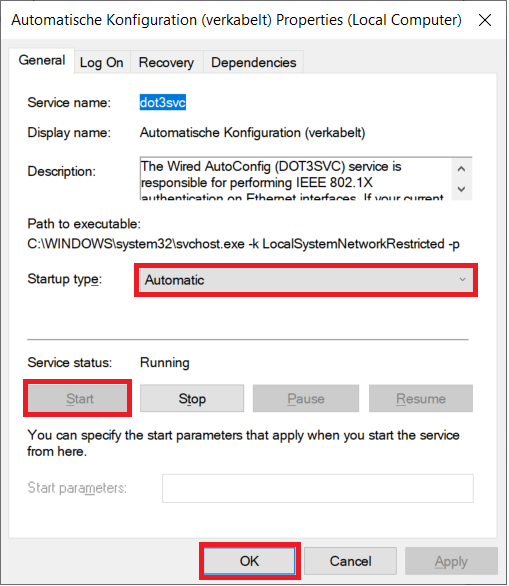
© ZIV A new window opens. Please select "Automatic" as the startup type and click on "Start" afterwards. You may close the window with "OK" now.
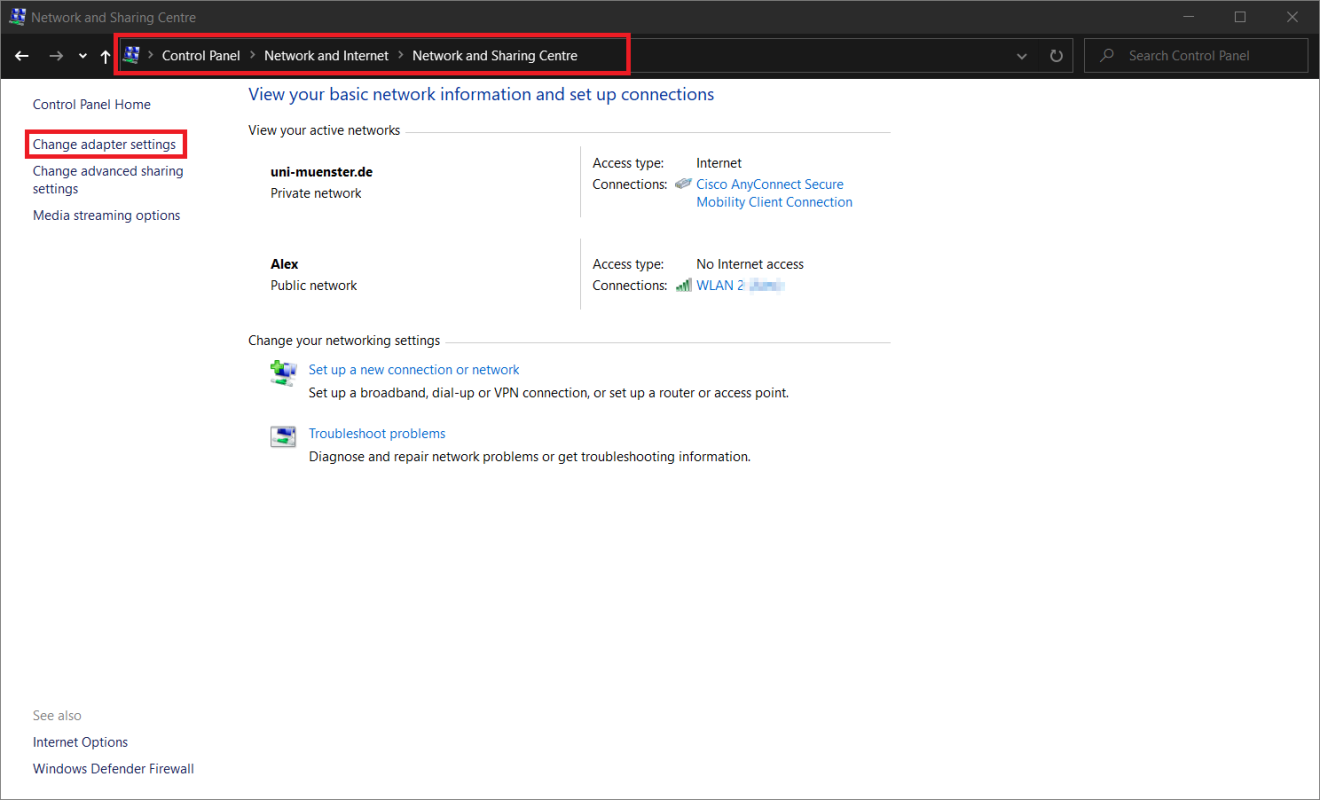
© Uni MS IT 2. Adapter Settings Menu
Open the network and sharing center. The fastest way to access is by right clicking on the network icon at the right hand side of your task bar. Then click on "Change adapter settings" afterwards.

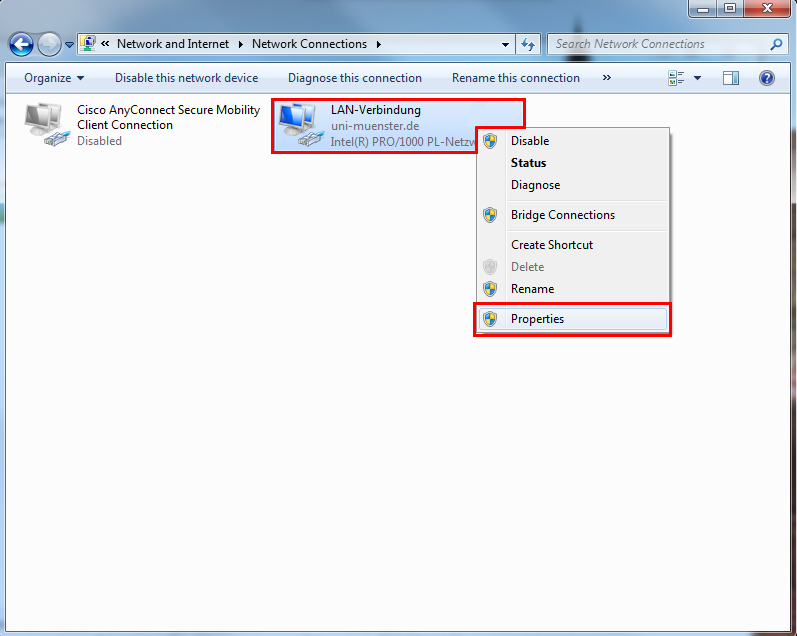
© Uni MS IT 3. Properties of the LAN Connection
Please choose "Properties" within the context menu of your LAN adapter. You open the context menu with a right click on the icon.
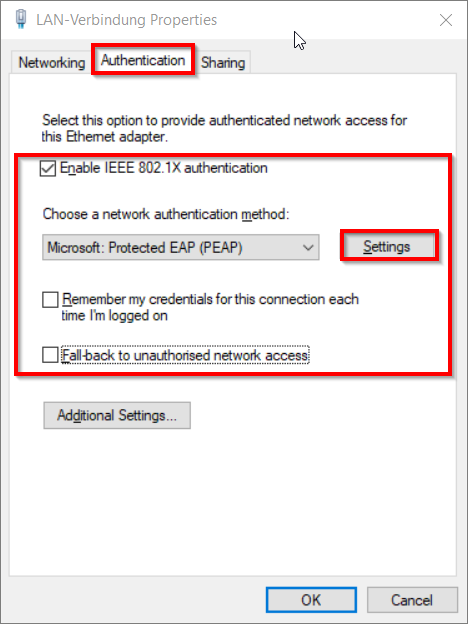
© ZIV 4. Authentication Settings
Please enter the following settings:
- Enable IEEE 802.1X authentication: Tick
- Network authentication method: Microsoft: Protected EAP (PEAP)
- Remember my credentials for this connection each time I'm logged in: Untick
- Fallback to unauthorized network access: Untick
- Remember my credentials for this connection each time I'm logged in: Enable, if you want to use the pLANet.X network without logging in every time again.
- Fallback to unauthorized network access: Enable, if you want to be able to use LAN-connections outside of the pLANet.X network.
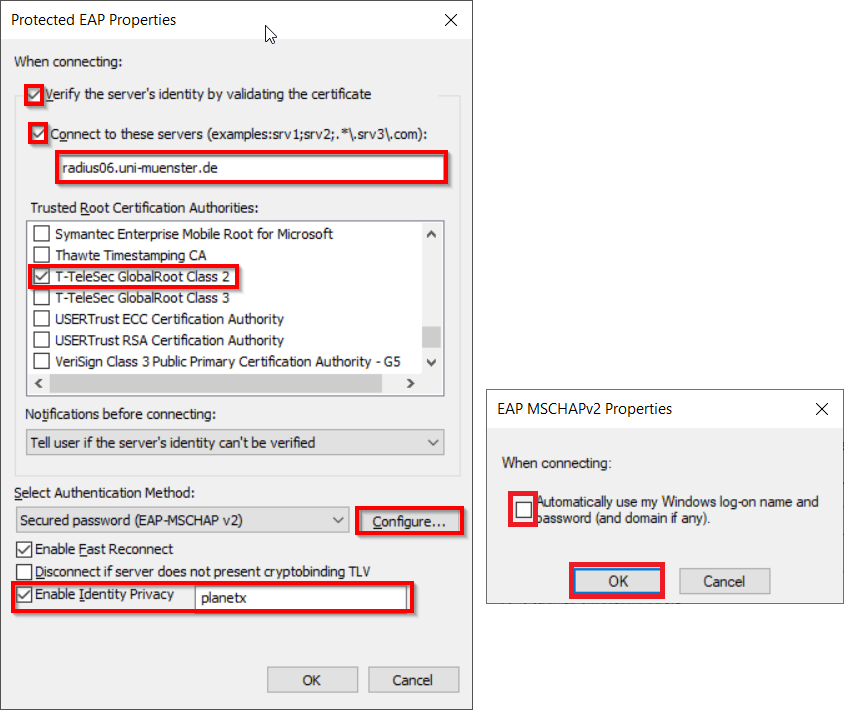
© Uni MS IT Please enter the following settings:
- Validate server certificate: Yes
- Connect to these servers: radius06.uni-muenster.de
- Trusted Root Certification Authorities: T-TeleSec GlobalRoot Class 2 (if applicable install it before, see Specific Requirements)
- Select Authentication Method: Secured password (EAP-MSCHAP v2)
- Enable Identity Privacy: planetx
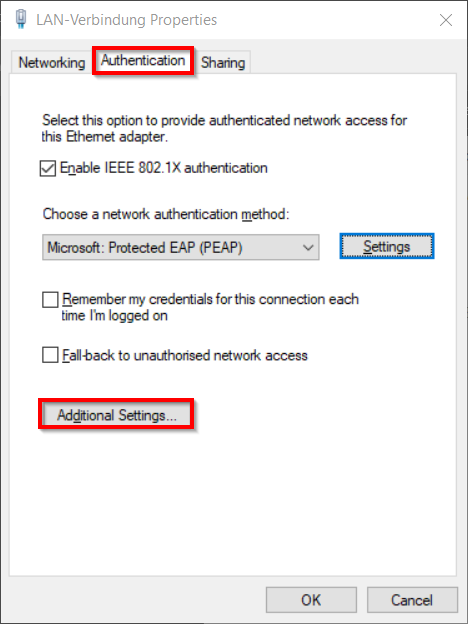
© Uni MS IT Open the "Additional Settings" within the "Authentication" menu tab now.
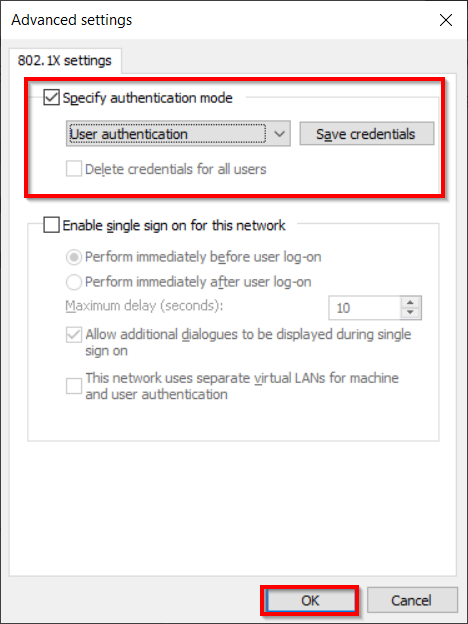
© Uni MS IT Please enter the following settings:
- Specify authentication mode: Yes
- Authentication method: User authentication
© Uni MS IT B. Using the pLANet.X Connection
Restart your PC without a network connection. Afterwards, connect your PC with pLANet.X. You may be asked to enter your user credentials again. Please enter your university e-mail address YourUniversity-ID@uni-muenster.de and your password for network access.