Integrating the University E-Mail Account in Android

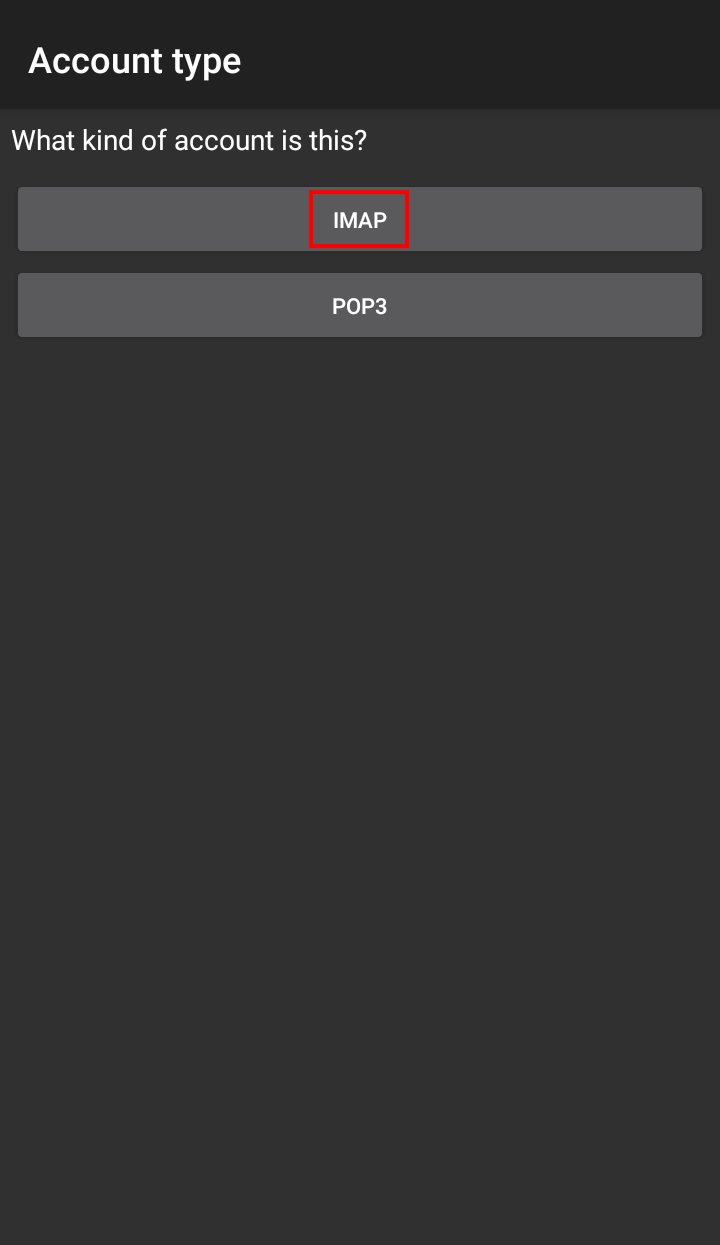
Note: Since there is no pre-installed e-mail client on Android we created this guide using K-9 Mail. You can use any other safe application of course – the menu prompts should be identical in most cases.

  • Detailed Instructions

    1. Setting Up a New Account

    Open the app and open the menu for setting up an e-mail account by either swiping from right to left on your display or by tapping the three-striped symbol in the upper left corner and click on "Settings" at the left bottom afterwards. Click on "Add account" and enter the following information:

    • E-mail address: Your university e-mail address (YourUniversity-ID@uni-muenster.de)
    • Password: Your university password
    Select "Manual setup".

    1. Setting Up a New Account
    © Uni MS IT

    2. Account Type

    Select the account type "IMAP account".

    2. Account Type
    © Uni MS IT

    3. Incoming Server Settings

    Now make the following settings for the incoming mail server:

    • IMAP server: imap.uni-muenster.de
    • Security: SSL/TLS
    • Port: 993
    • Username: Your university ID
    • Authentication: Normal password
    • Password: Your university password
    • Auto-detect IMAP namespace: Deselect
    • IMAP path prefix: Mail

    3. Incoming Server Settings
    © Uni MS IT

    4. Outgoing Server Settings

    Now make the following settings for the outgoing mail server:

    • SMTP server: secmail.uni-muenster.de
    • Security: STARTTLS
    • Port: 587
    • Username: Your university ID
    • Authentication: Normal password
    • Password: Your university password

    4. Outgoing Server Settings
    © Uni MS IT

    5. Account Options

    Now determine the interval at which new e-mails are automatically retrieved. The settings on this page can be set according to your own needs. Whether K-9 Mail shall be allowed to send Push notifications or not can be selected in the overall system settings which can be accessed by clicking on the corresponding notification which the app sends out shortly after configuring the account.

    5. Account Options
    © Uni MS IT

    6. Finishing Setup

    Now enter the following information:

    • Account name (optional): eg. Universität Münster
    • Your name (sender name of outgoing e-mails): First name Last name
    Click "Done".
     

    6. Finishing Setup
    © Uni MS IT