Video Conferences with Jitsi Meet

Requirements:

  • You are using Chrome as a browser (this includes Mac users).
  • Manual for Hosts/Moderators

    1. Open the Jitsi Meet Web Page

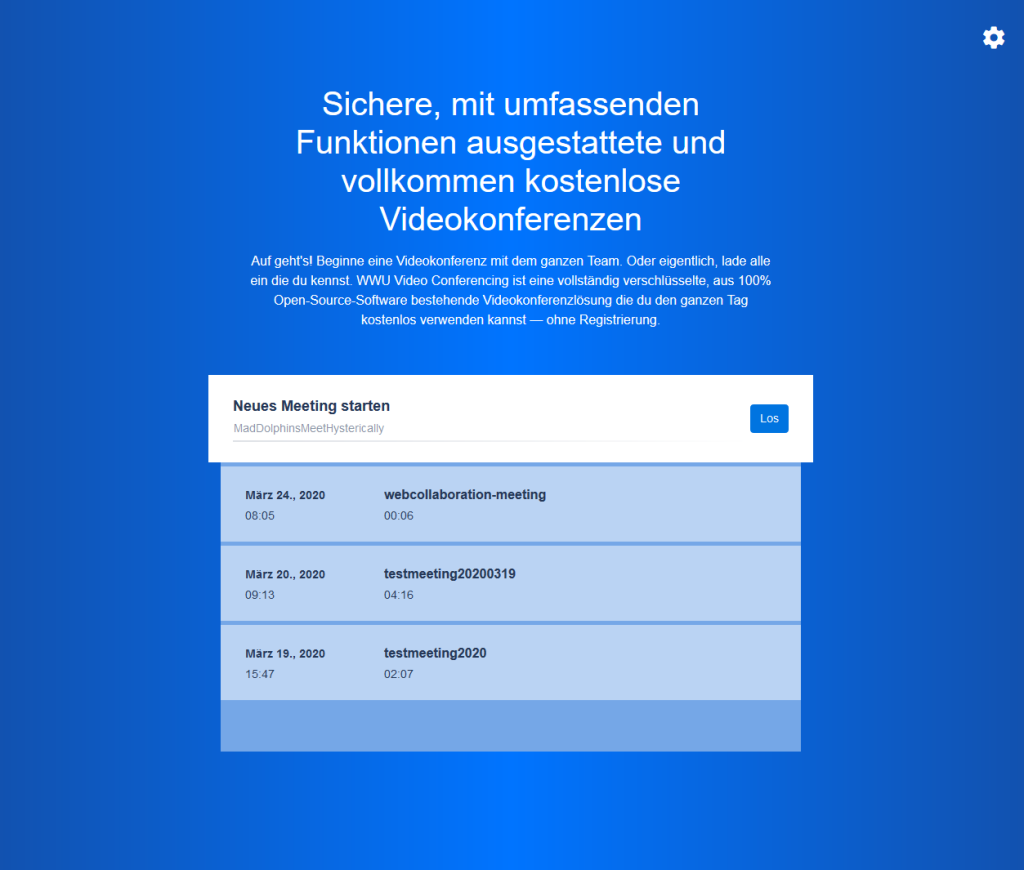
    Go to the website conf.uni-muenster.de. Use Google Chrome as your browser (even as a Mac user). If the page is displayed in German, you can change the language to English by clicking on the gear symbol (Einstellungen > Mehr > Sprache) in the top right corner. Now enter the desired conference name in the field (e.g. ConferenceDepartment2 or Conference-Department-2). Letters, numbers, dots and hyphens are allowed, blanks and umlauts are not. Then click "Go".

    1. Open the Jitsi Meet Web Page
    © Uni MS IT

    2. Enable Microphone / Camera

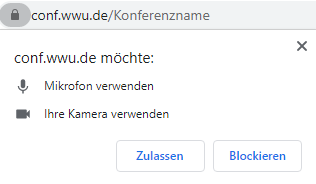
    If you use Jitsi Meet for the first time, you will need to confirm the use of your microphone (and your camera). Click on "Allow".

    2. Enable Microphone / Camera
    © Uni MS IT

    3. Confirm the Host/Moderator

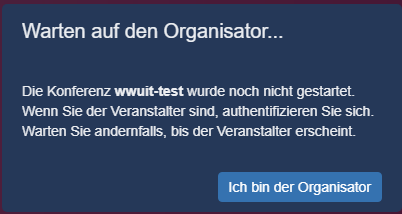
    You will now receive the message "Waiting for the host...". Click on "I am the host".

    3. Confirm the Host/Moderator
    © Uni MS IT

    4. Login

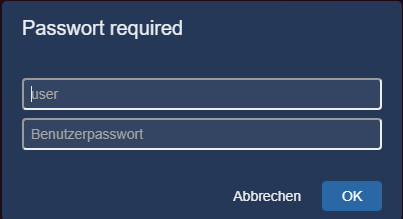
    Log in with your university ID and your university password. The video conference starts.

    4. Login
    © Uni MS IT

    5. Conference Room

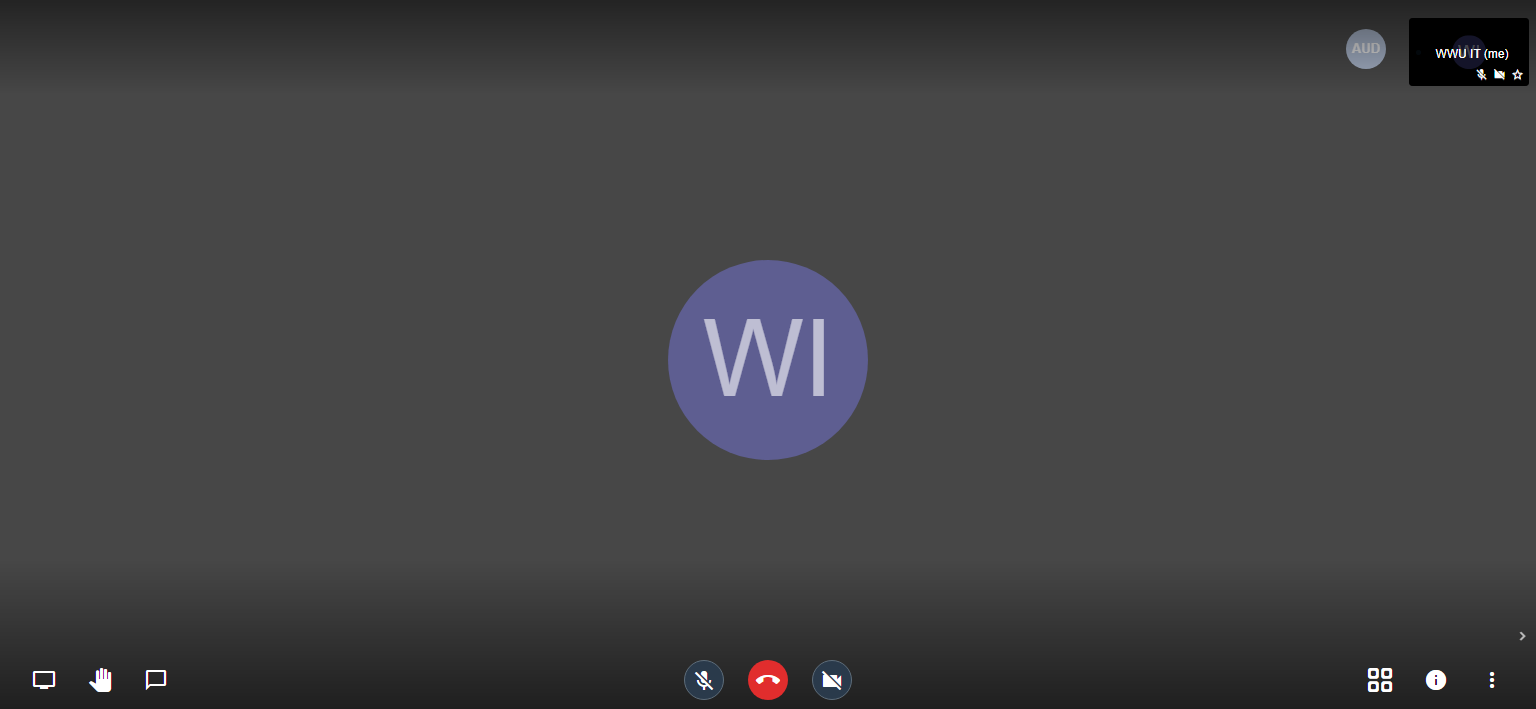
    Now the conference room appears. First click on the information icon in the lower right corner.

    5. Conference Room
    © Uni MS IT

    6. Set Password & Invite Participants

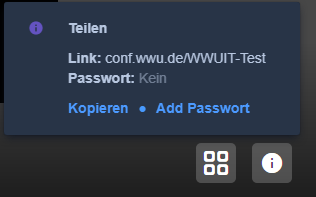
    In the info menu you can view the URL of the conference room and set a password for the room. You should set this password in any case so that only the participants invited by you can enter the conference room. To do so, click on "Add password", enter the desired password and confirm with the "Enter" key. Click on "Copy" to copy the URL of the conference room and send it to the participants by e-mail. If you have set a password, it will not be copied, i.e. you must communicate it separately.

    6. Set Password & Invite Participants
    © Uni MS IT

    7. Quality Settings

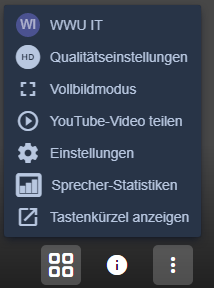
    First click on the three dots in the lower right corner. Under the menu item "Settings" you have the possibility to make further adjustments.

    • Manage video quality: Here you can lower the video quality of the conference to improve the overall quality of communication, especially with multiple users. To do this, set the slider to "Low definition" and click "Done".
    • View full screen: In full screen mode you can use the full width of your screen for the conference.
    • Settings:
      • Under "Devices" you can choose between different microphones (e.g. headseat or webcam microphone) and different camera options (e.g. front or rear camera of a mobile phone).
      • Under "Profile" you can set your display name. You can also log out as the host/moderator of this session in the lower left corner.
      • Under "More", you as the host/moderator can set various initial settings for the conference room. You can, for example, specify that everyone starts muted and/or that everyone starts without video. This can be especially useful for large groups. In addition, this menu also contains the language settings.

    7. Quality Settings
    © Uni MS IT

    8. Microphone and Camera

    You can switch your microphone and camera on and off as you wish using the icons in the middle. You can leave/end the conversation using the handset symbol in the middle.

    8. Microphone and Camera
    © Uni MS IT

    9. View

    With a click on the tile symbol at the bottom right you can switch between the view of an individual or the view of all connected participants.

    9. View
    © Uni MS IT

    10. Information Exchange & Discussion Organisation

    The following options are available in the menu at the bottom right for the exchange of information and the organisation of discussions:

    • Share your screen: Using the screen icon at the bottom left you can show the other participants your own screen (e.g. to present documents).
    • Hand signal: The use of the hand symbol is particularly useful in large, moderated video conferences in which all persons who are not speaking are muted. By clicking on the hand symbol, a participant can indicate that he/she wants to speak.
    • Chat: You can use the speech bubble icon to chat parallel to the video conference.

    10. Information Exchange & Discussion Organisation
    © Uni MS IT

    11. Continue Using a Password-Protected Conference Room

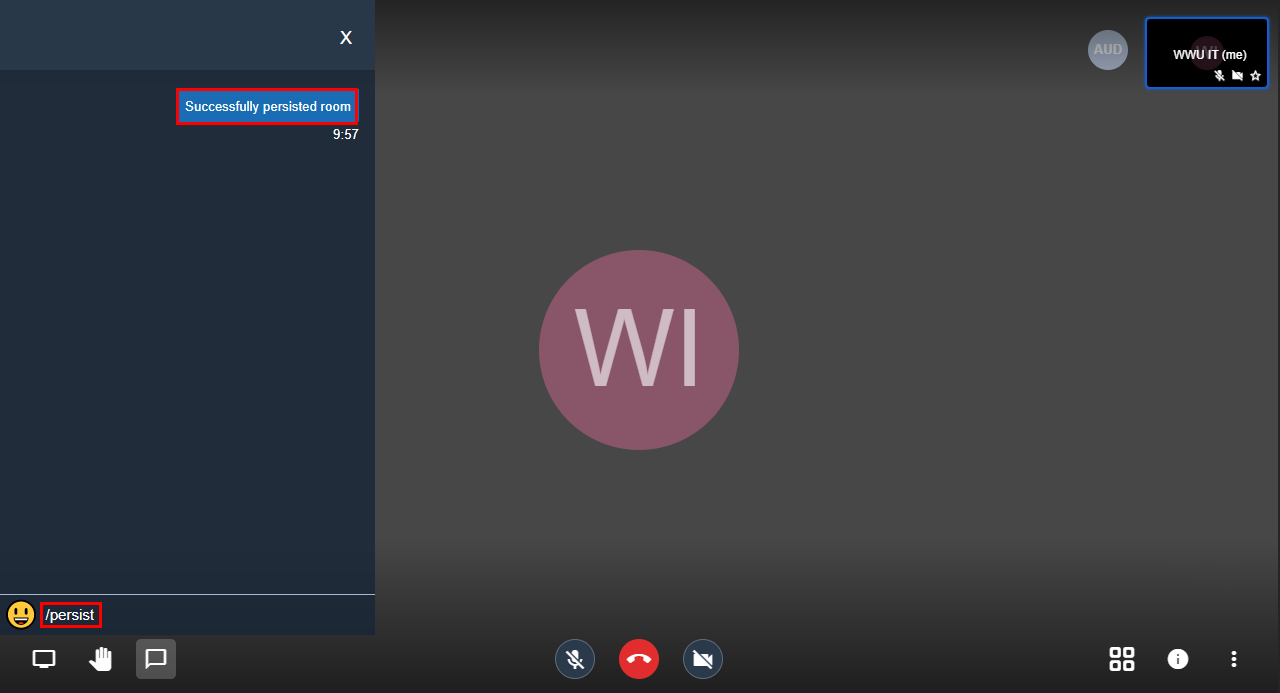
    With Jitsi, a conference room normally only exists as long as users are in the room. If you want to have a password protected conference room for regular appointments (e.g. team meetings), enter "/persist" in the chat of the room. You will receive the confirmation "Successfully persisted room". If you later create a conference room with the same name, the original room is opened with the corresponding password. If you no longer need the conference room in the long term, enter "/unpersist" in the chat area to unblock the room.

    Note: Conference rooms/passwords saved in this way are stored unencrypted in a database for technical reasons. Therefore, for security reasons, no passwords may be stored that are still being used elsewhere. If you unblock the conference room with "/unpersist", you also delete the corresponding password from the database.

    11. Continue Using a Password-Protected Conference Room
    © Uni MS IT
  • Manual for Participants

    Variant 1: PC & Browser

    To participate in the conference on your laptop/PC, use your browser (Google Chrome if possible) to call up the URL of your conference (https://conf.wwu.de/Konferenzname). If you are asked for a conference password, enter it now to enter the conference room. If you do not know the URL or the conference password, please contact the conference host/moderator.

    Option 2: Smartphone & App

    1. In the browser of your smartphone, call up the URL of your conference (https://conf.wwu.de/Conference-Name). If you do not know the URL, please contact the host/moderator of the conference.
    2. On the website you can choose between "Download the App" or "Continue to the App". If you have not yet installed the app, select "Download the App". You will be redirected to the App Store, where you can download and install the app. If you have already installed the app, select "Continue to the App" instead. You will then be automatically directed to the conference room.
    3. If you are asked for a conference password, enter it now to enter the conference room. If you do not know the conference password, please contact the conference host/moderator.

    Note: Please use your browser to dial into the conference room as described here. Starting the app directly and entering the conference room name there will not work without additional settings.

  • Increase the Overall Quality of the Video Conference

    • Browser: Use Chrome if possible, as other browsers cause problems more often. Alternatively, you can use the mobile device apps under iOS or Android.
    • Direct connection: Jitsi Meet can be reached worldwide and should therefore be used directly from your home device. Do without VPN and VDI and thus offload these currently much used services.
    • Mute: Participants who are not currently speaking should mute their microphone using the microphone icon ("Activate/deactivate mute") in the center of the bottom menu. To indicate that you wish to speak, you can click on the hand icon ("Raise hand") in the bottom menu on the left.
    • Video Quality: Each participant should lower the video quality. To do this, click on the three dots in the bottom menu on the right and select "Quality Settings". Set the slider to "Low Resolution" and click "Done".
    • Chat: As a chat, use Mattermost in parallel if you want to keep the notes of your conversation.